Objective
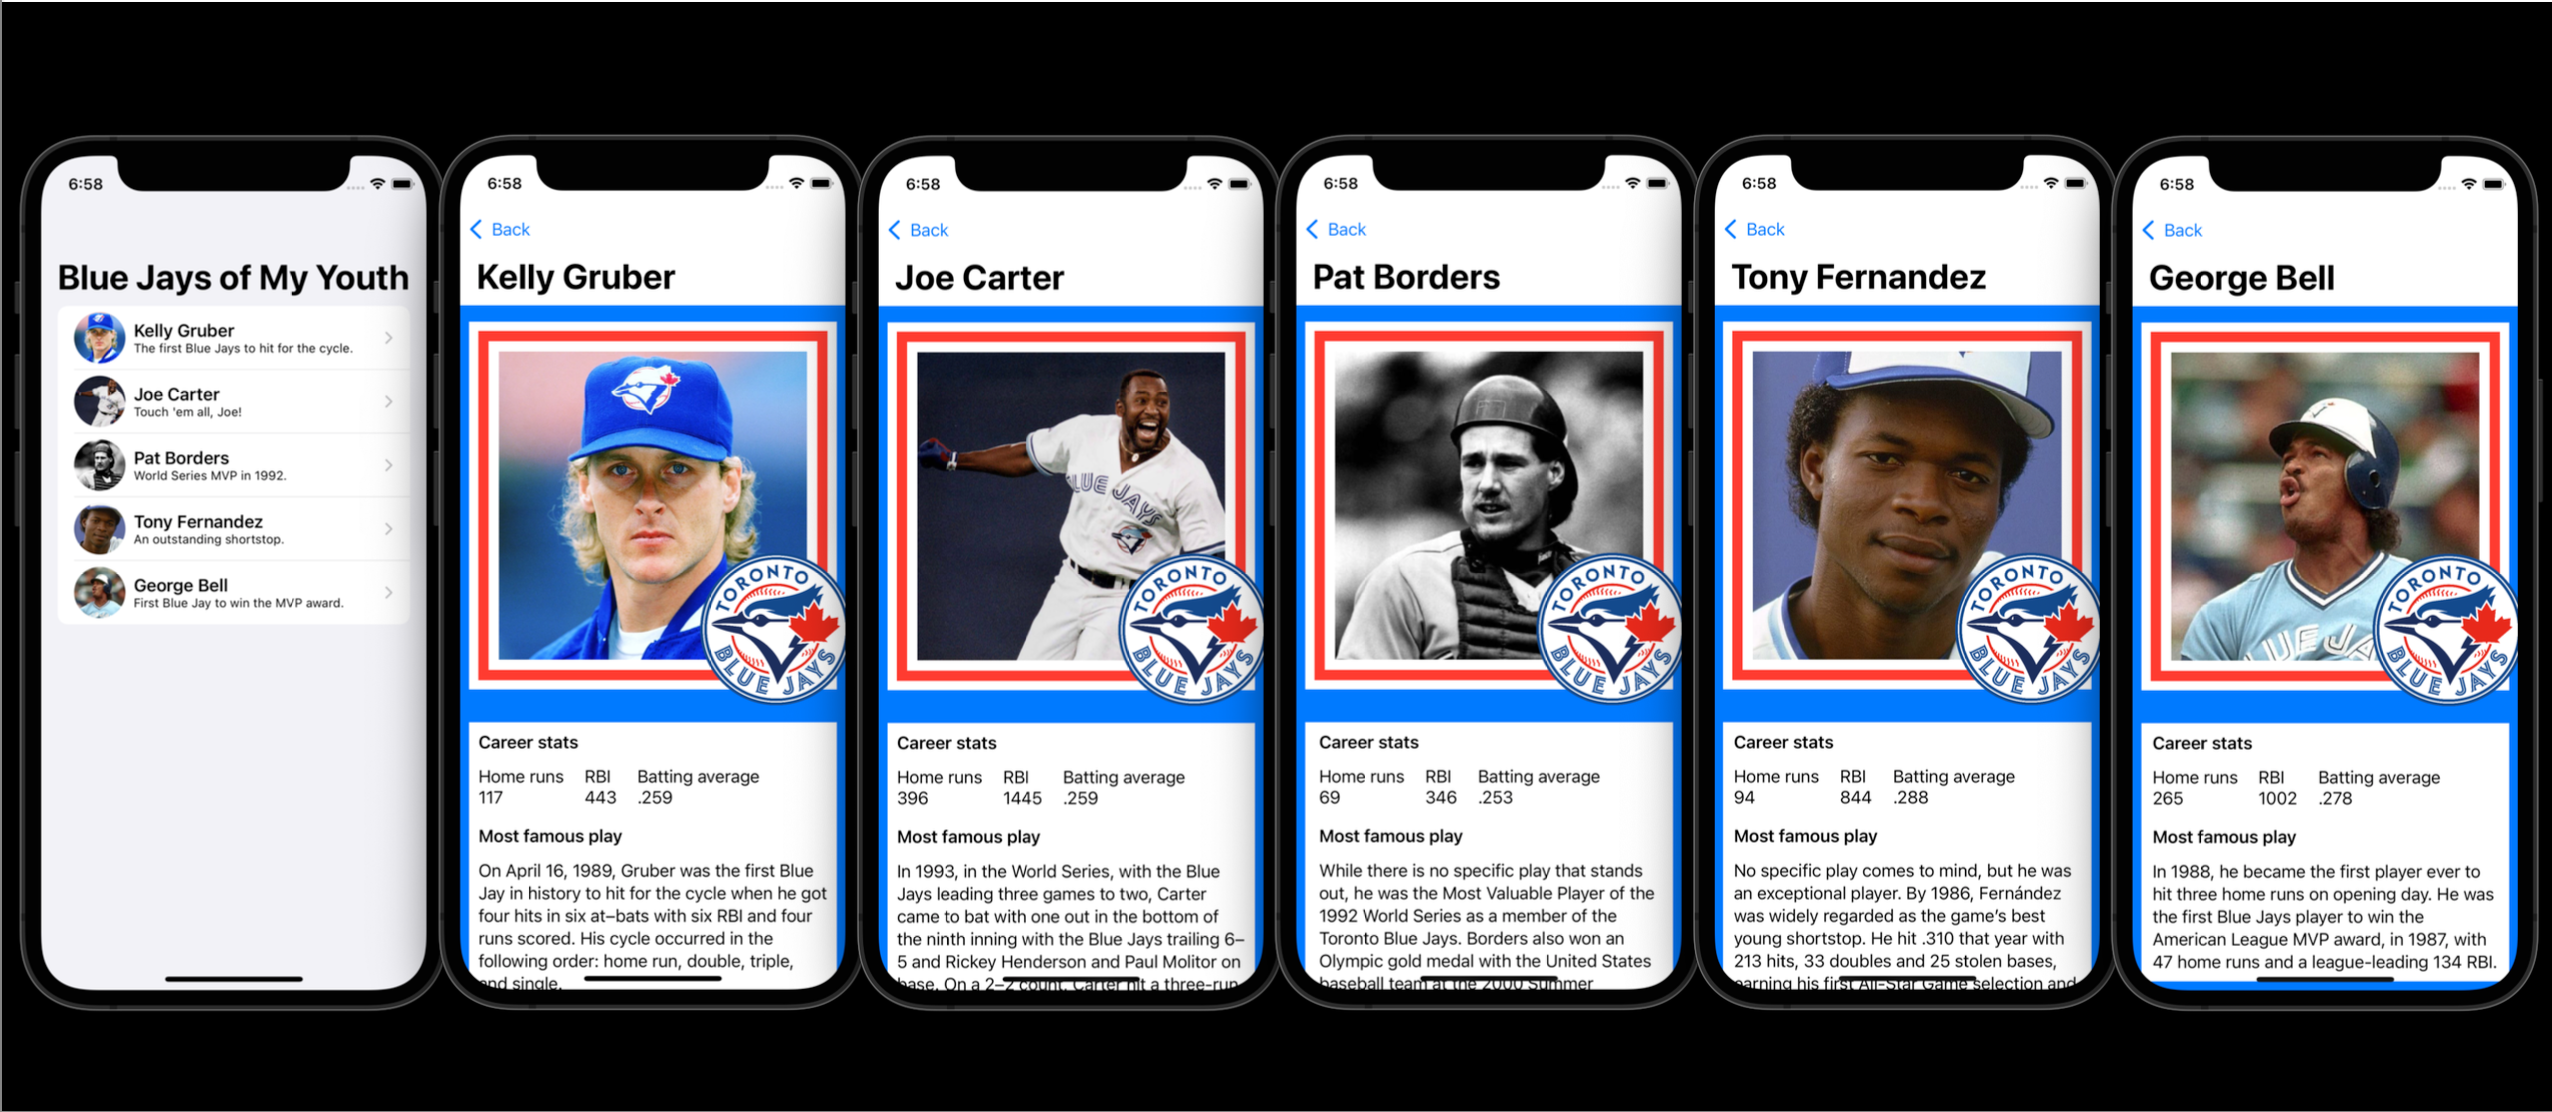
Create your own unique trading card that has the look and feel of the broader examples of trading cards for sports, board games, video games, or other areas of interest.
Purpose
A second opportunity to demonstrate your understanding of key concepts from the first thread of this course. Specifically, using structures to:
- describe related data
- build user interfaces
Success criteria and exemplar
-
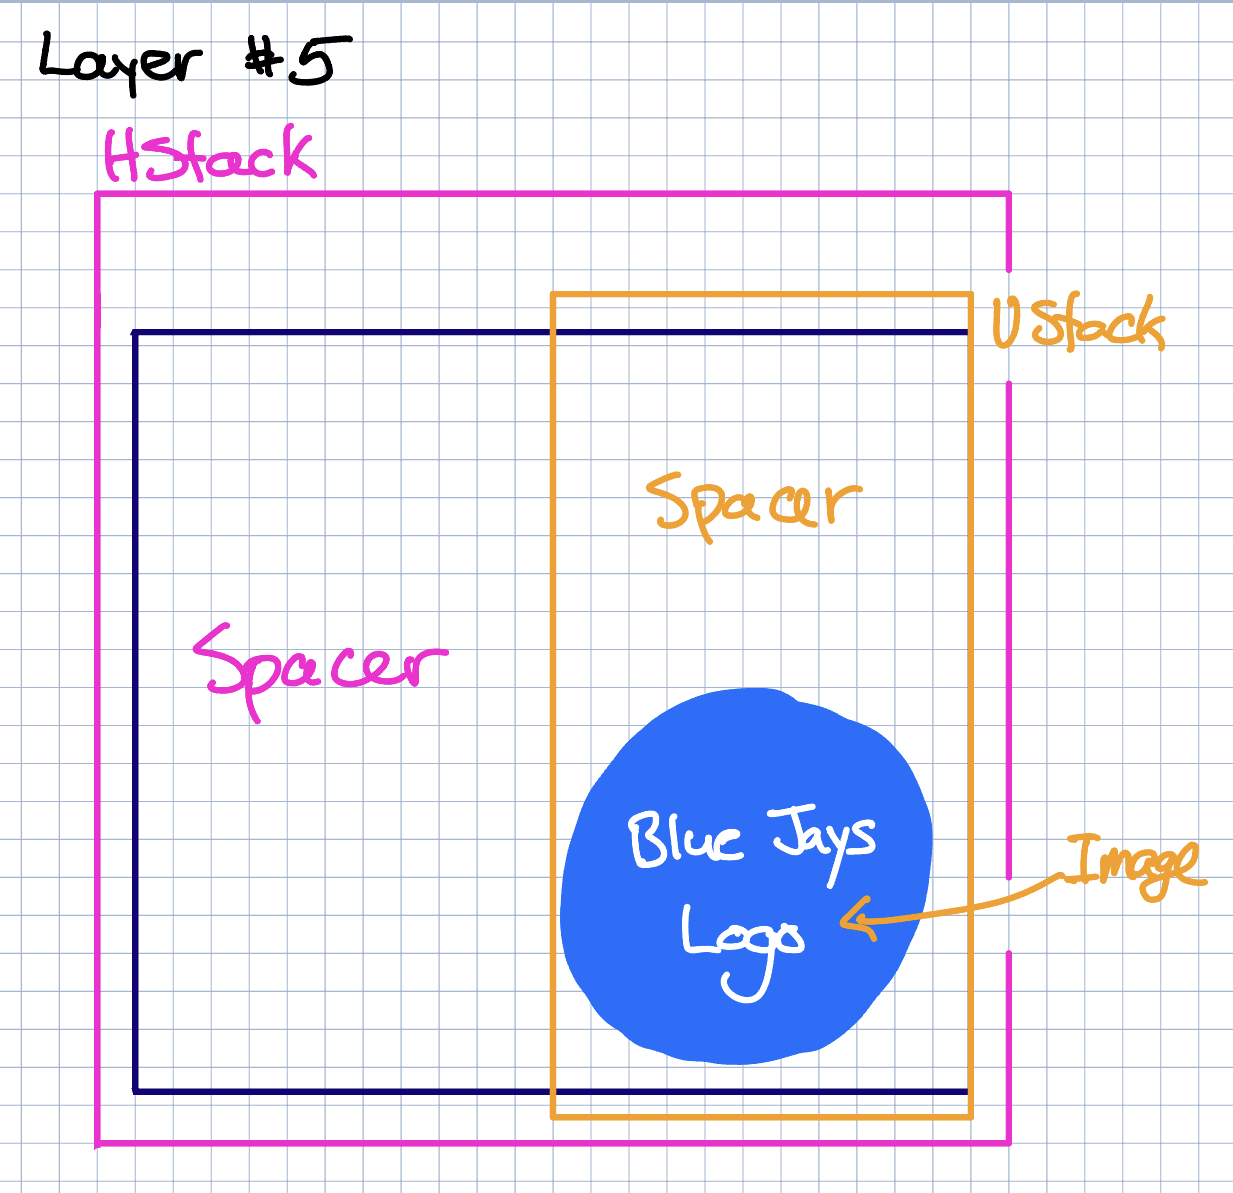
Made a rough plan where you have identified how various structures (
VStack,HStack,ZStack,Image, et cetera) might be used to create part of your design.For example:
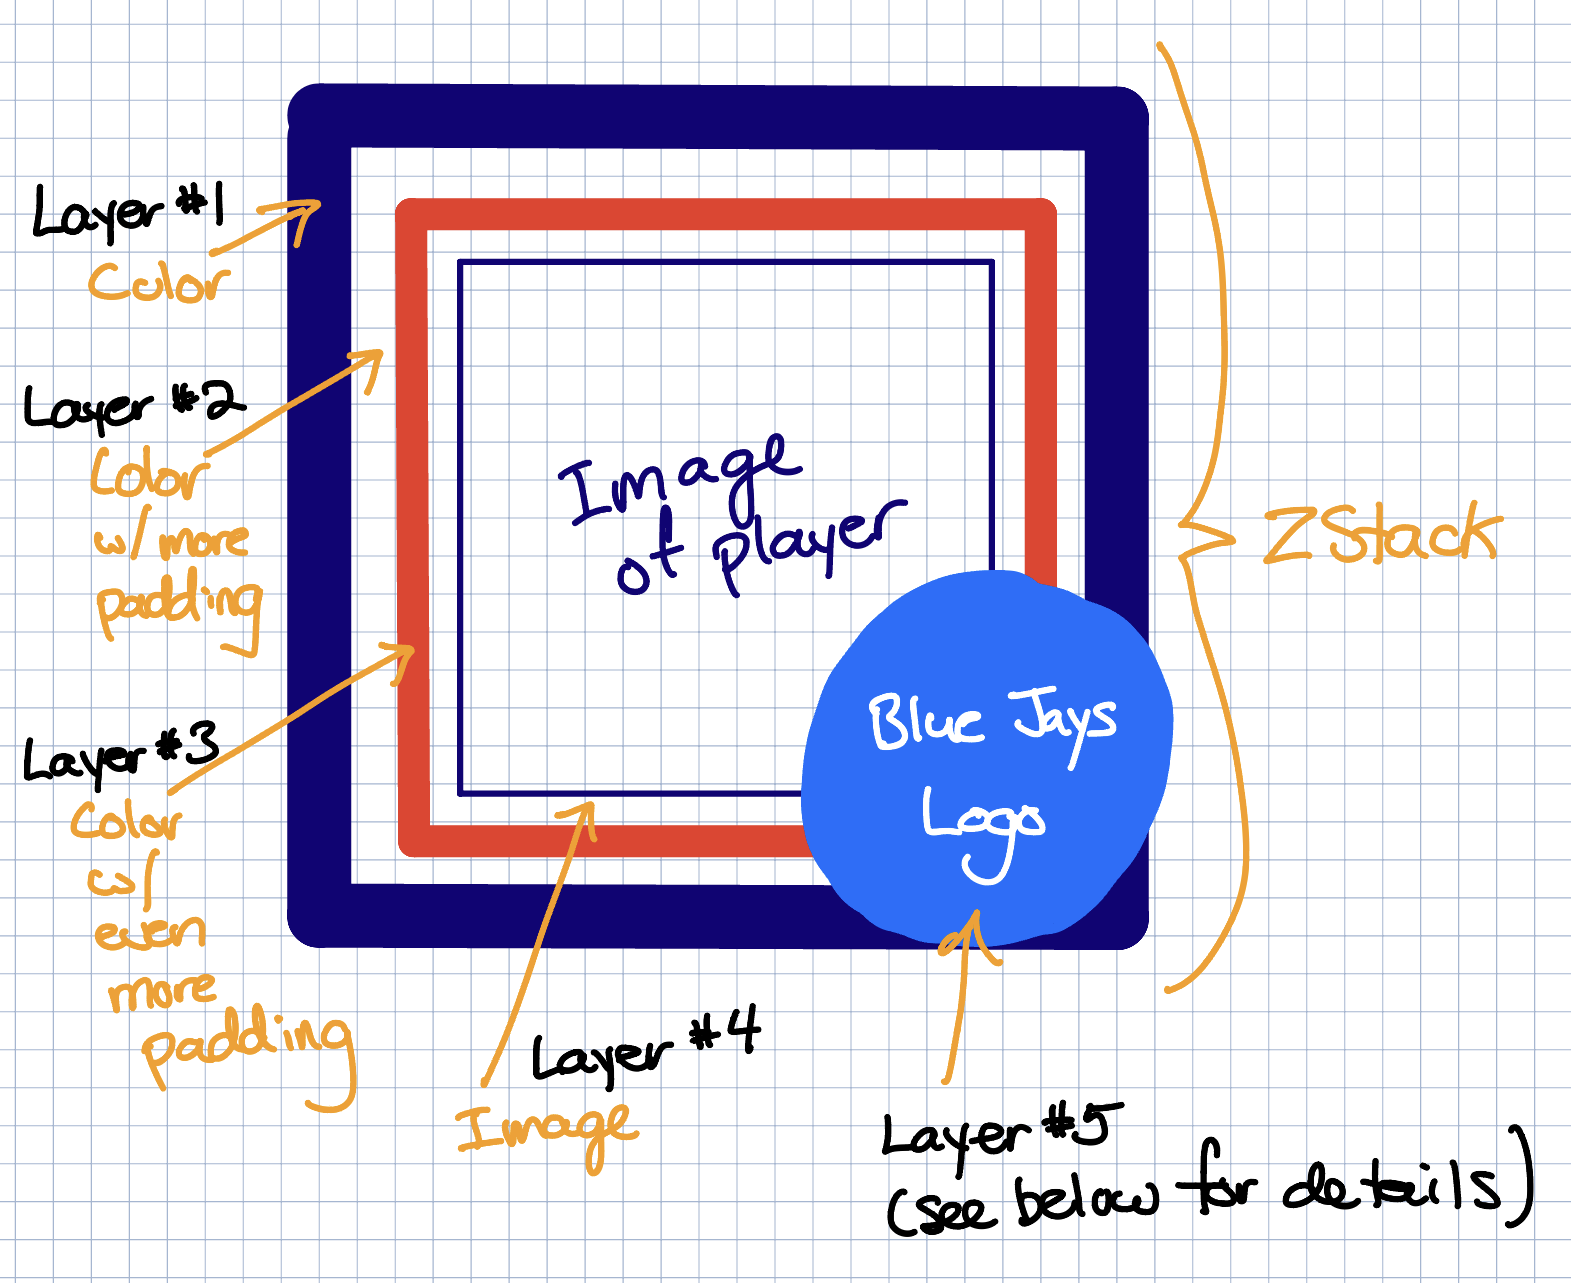
And:
-
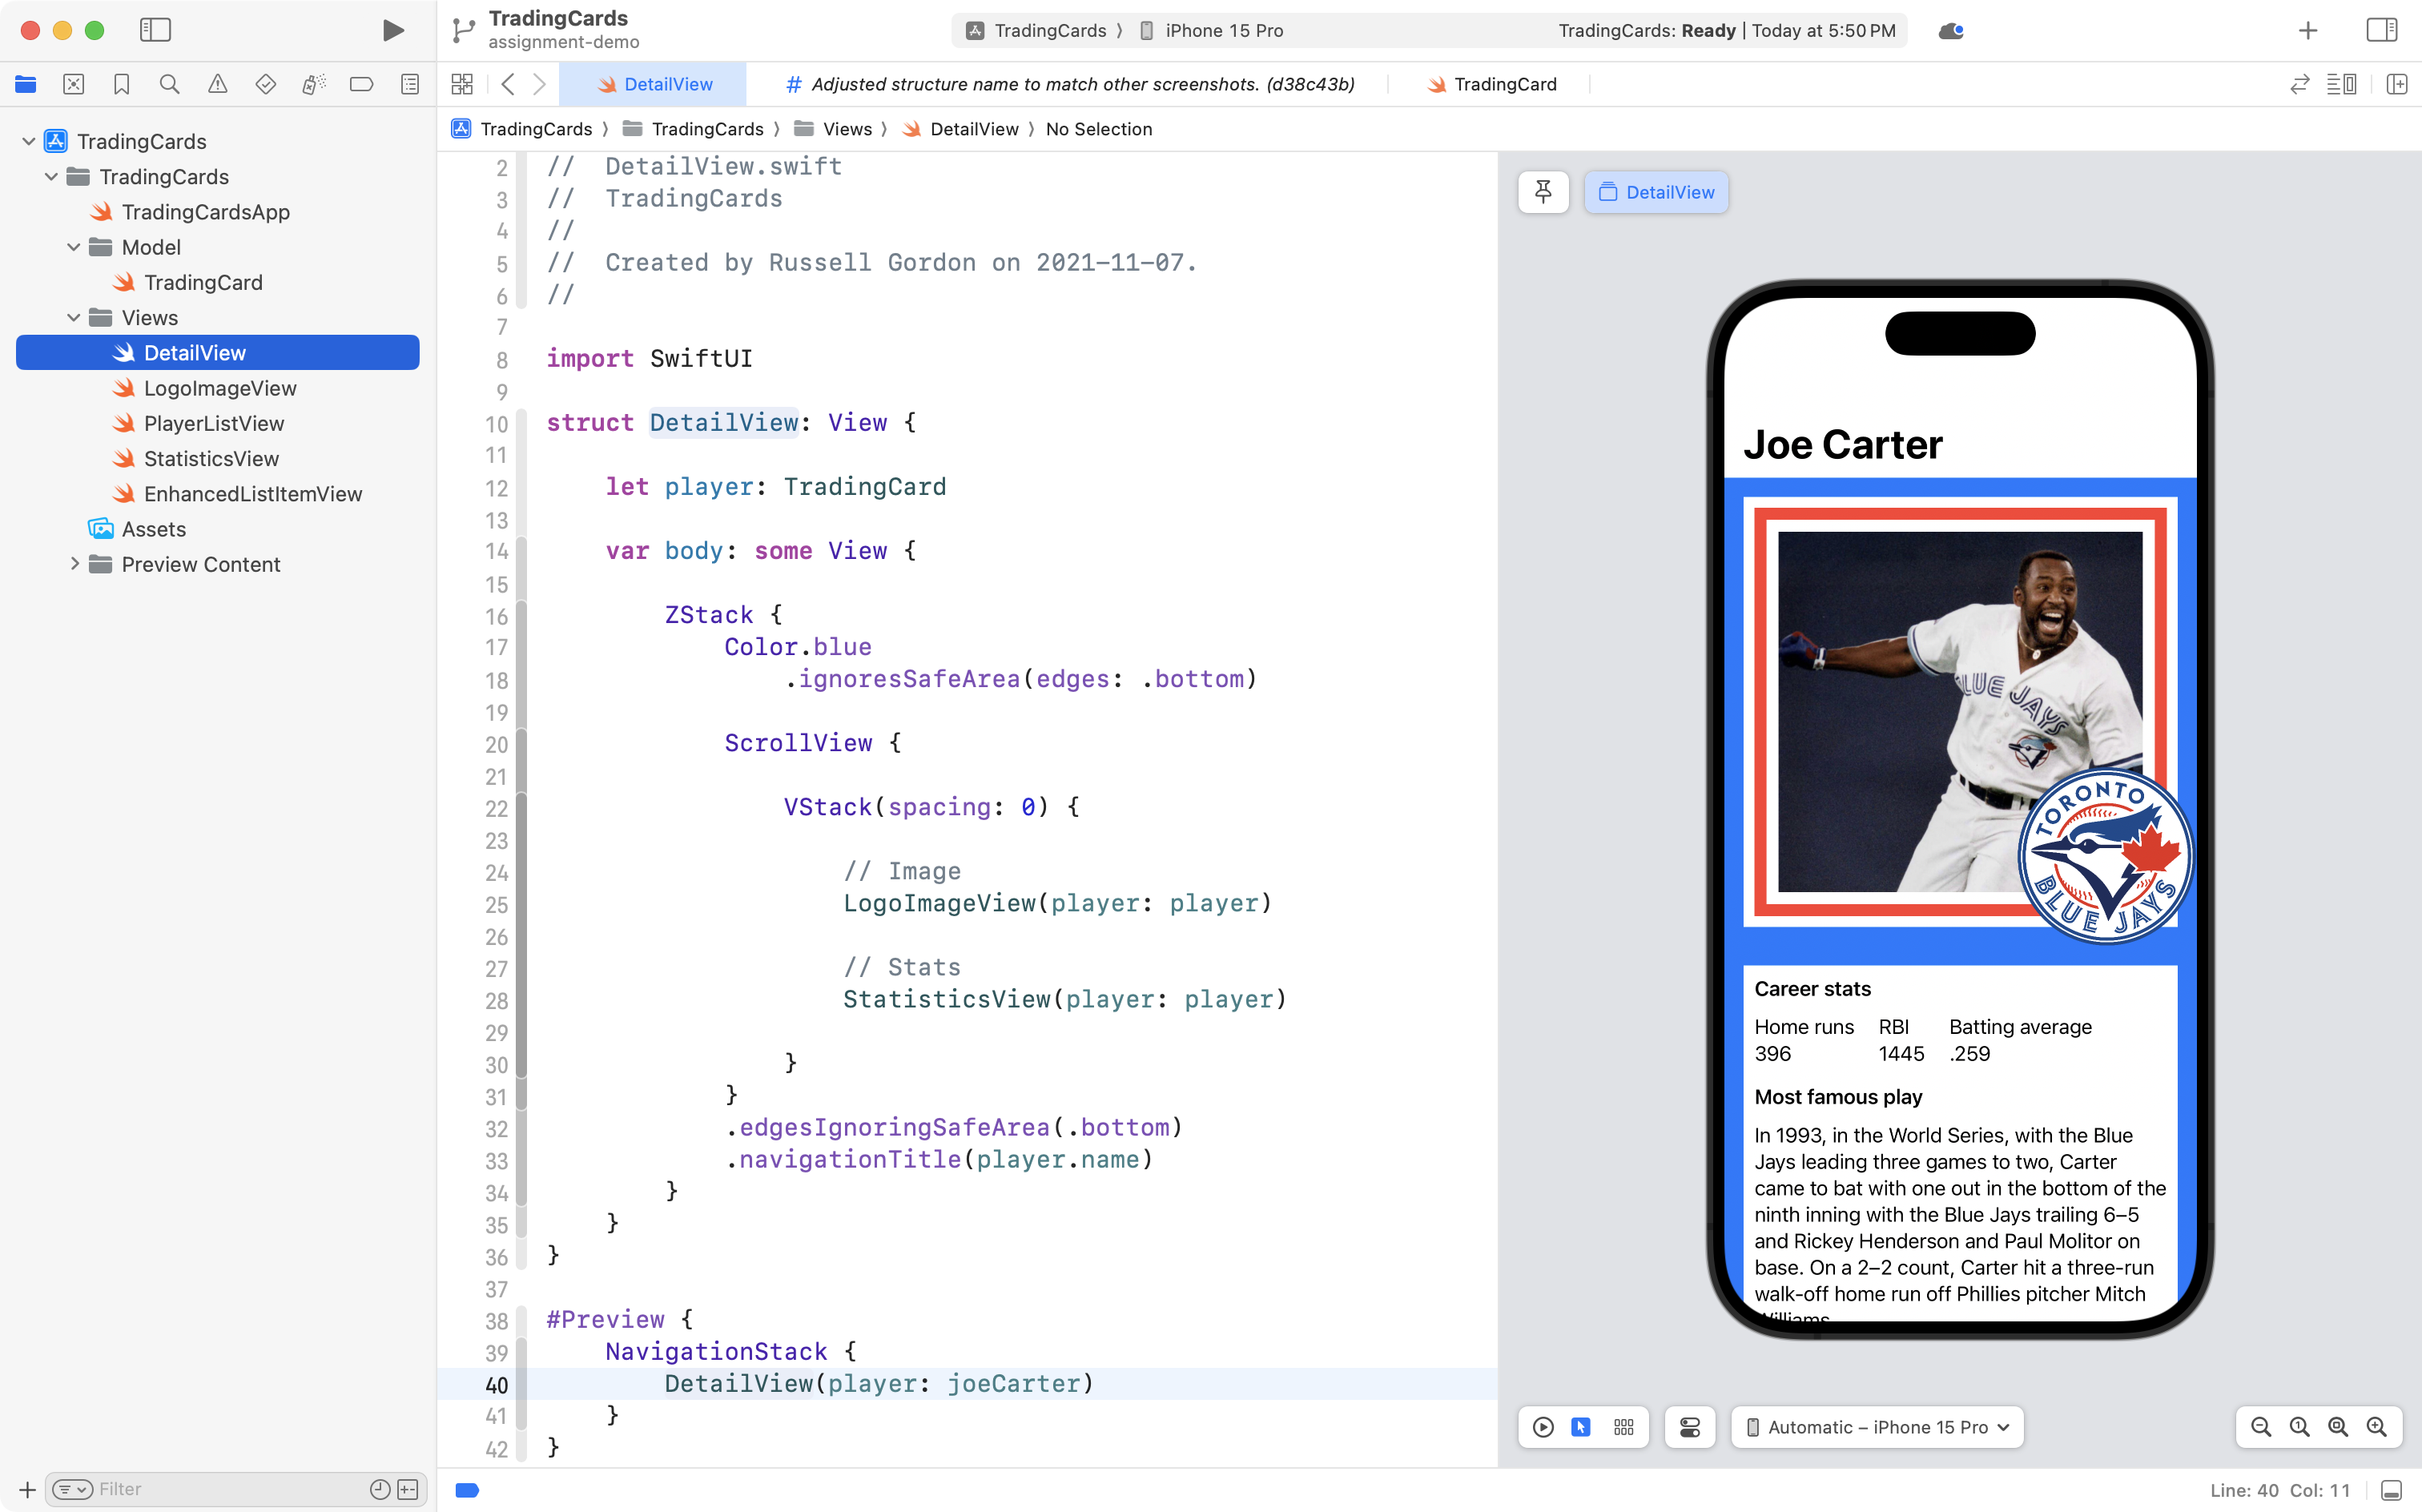
Created a static layout where the look and feel of a trading card is reproduced.
-
Created a structure named
TradingCard(or similar) using appropriate property names, capitalization, and selection of data types that will allow you to store the data shown on your card’s static layout.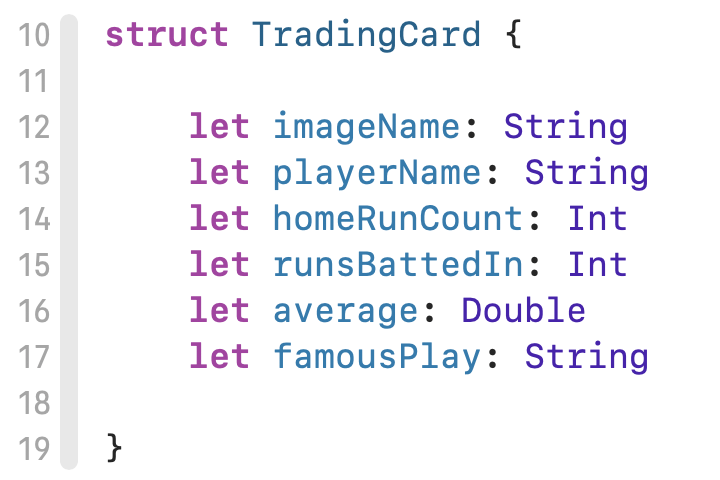
-
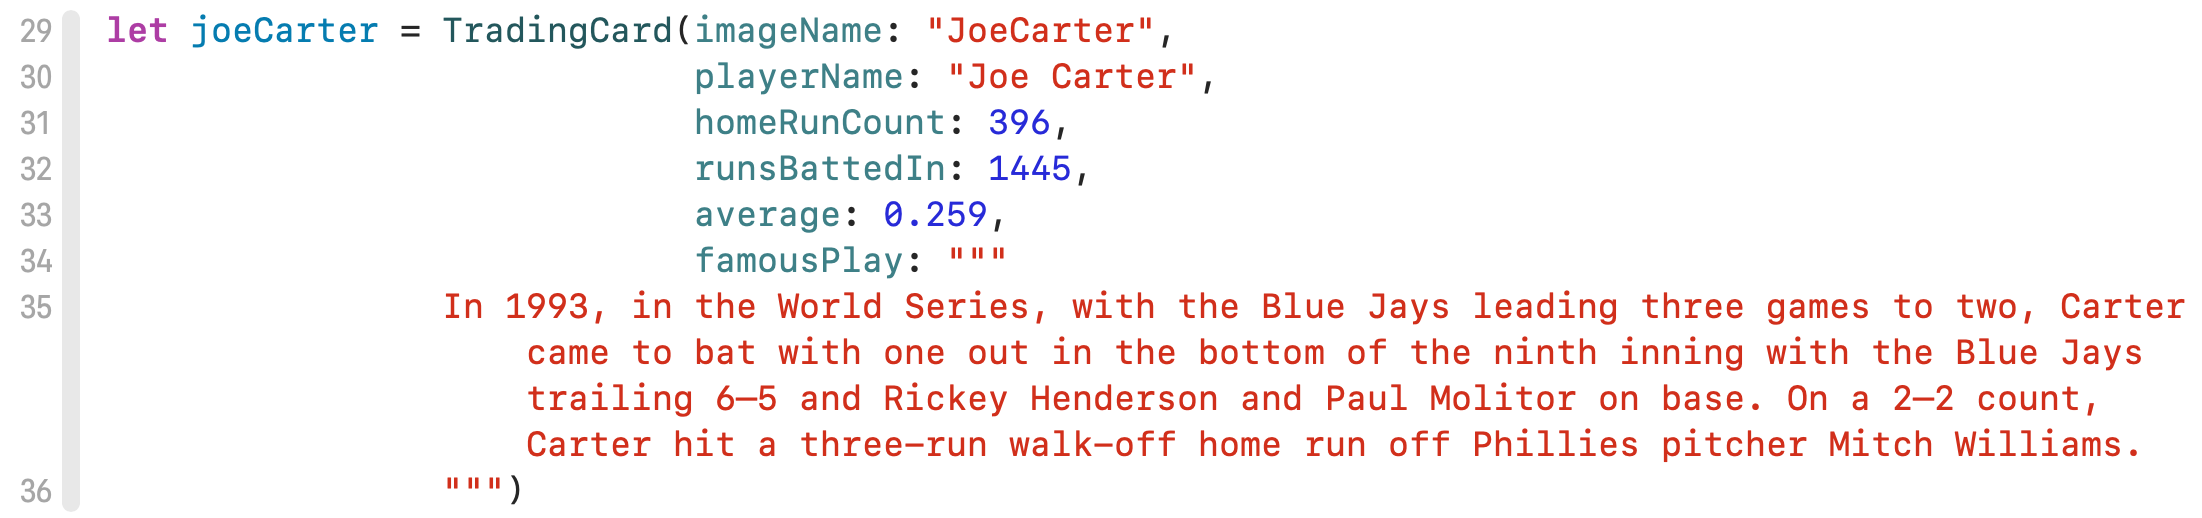
Created instances of your structure to hold information for cards.
Here is one example:
-
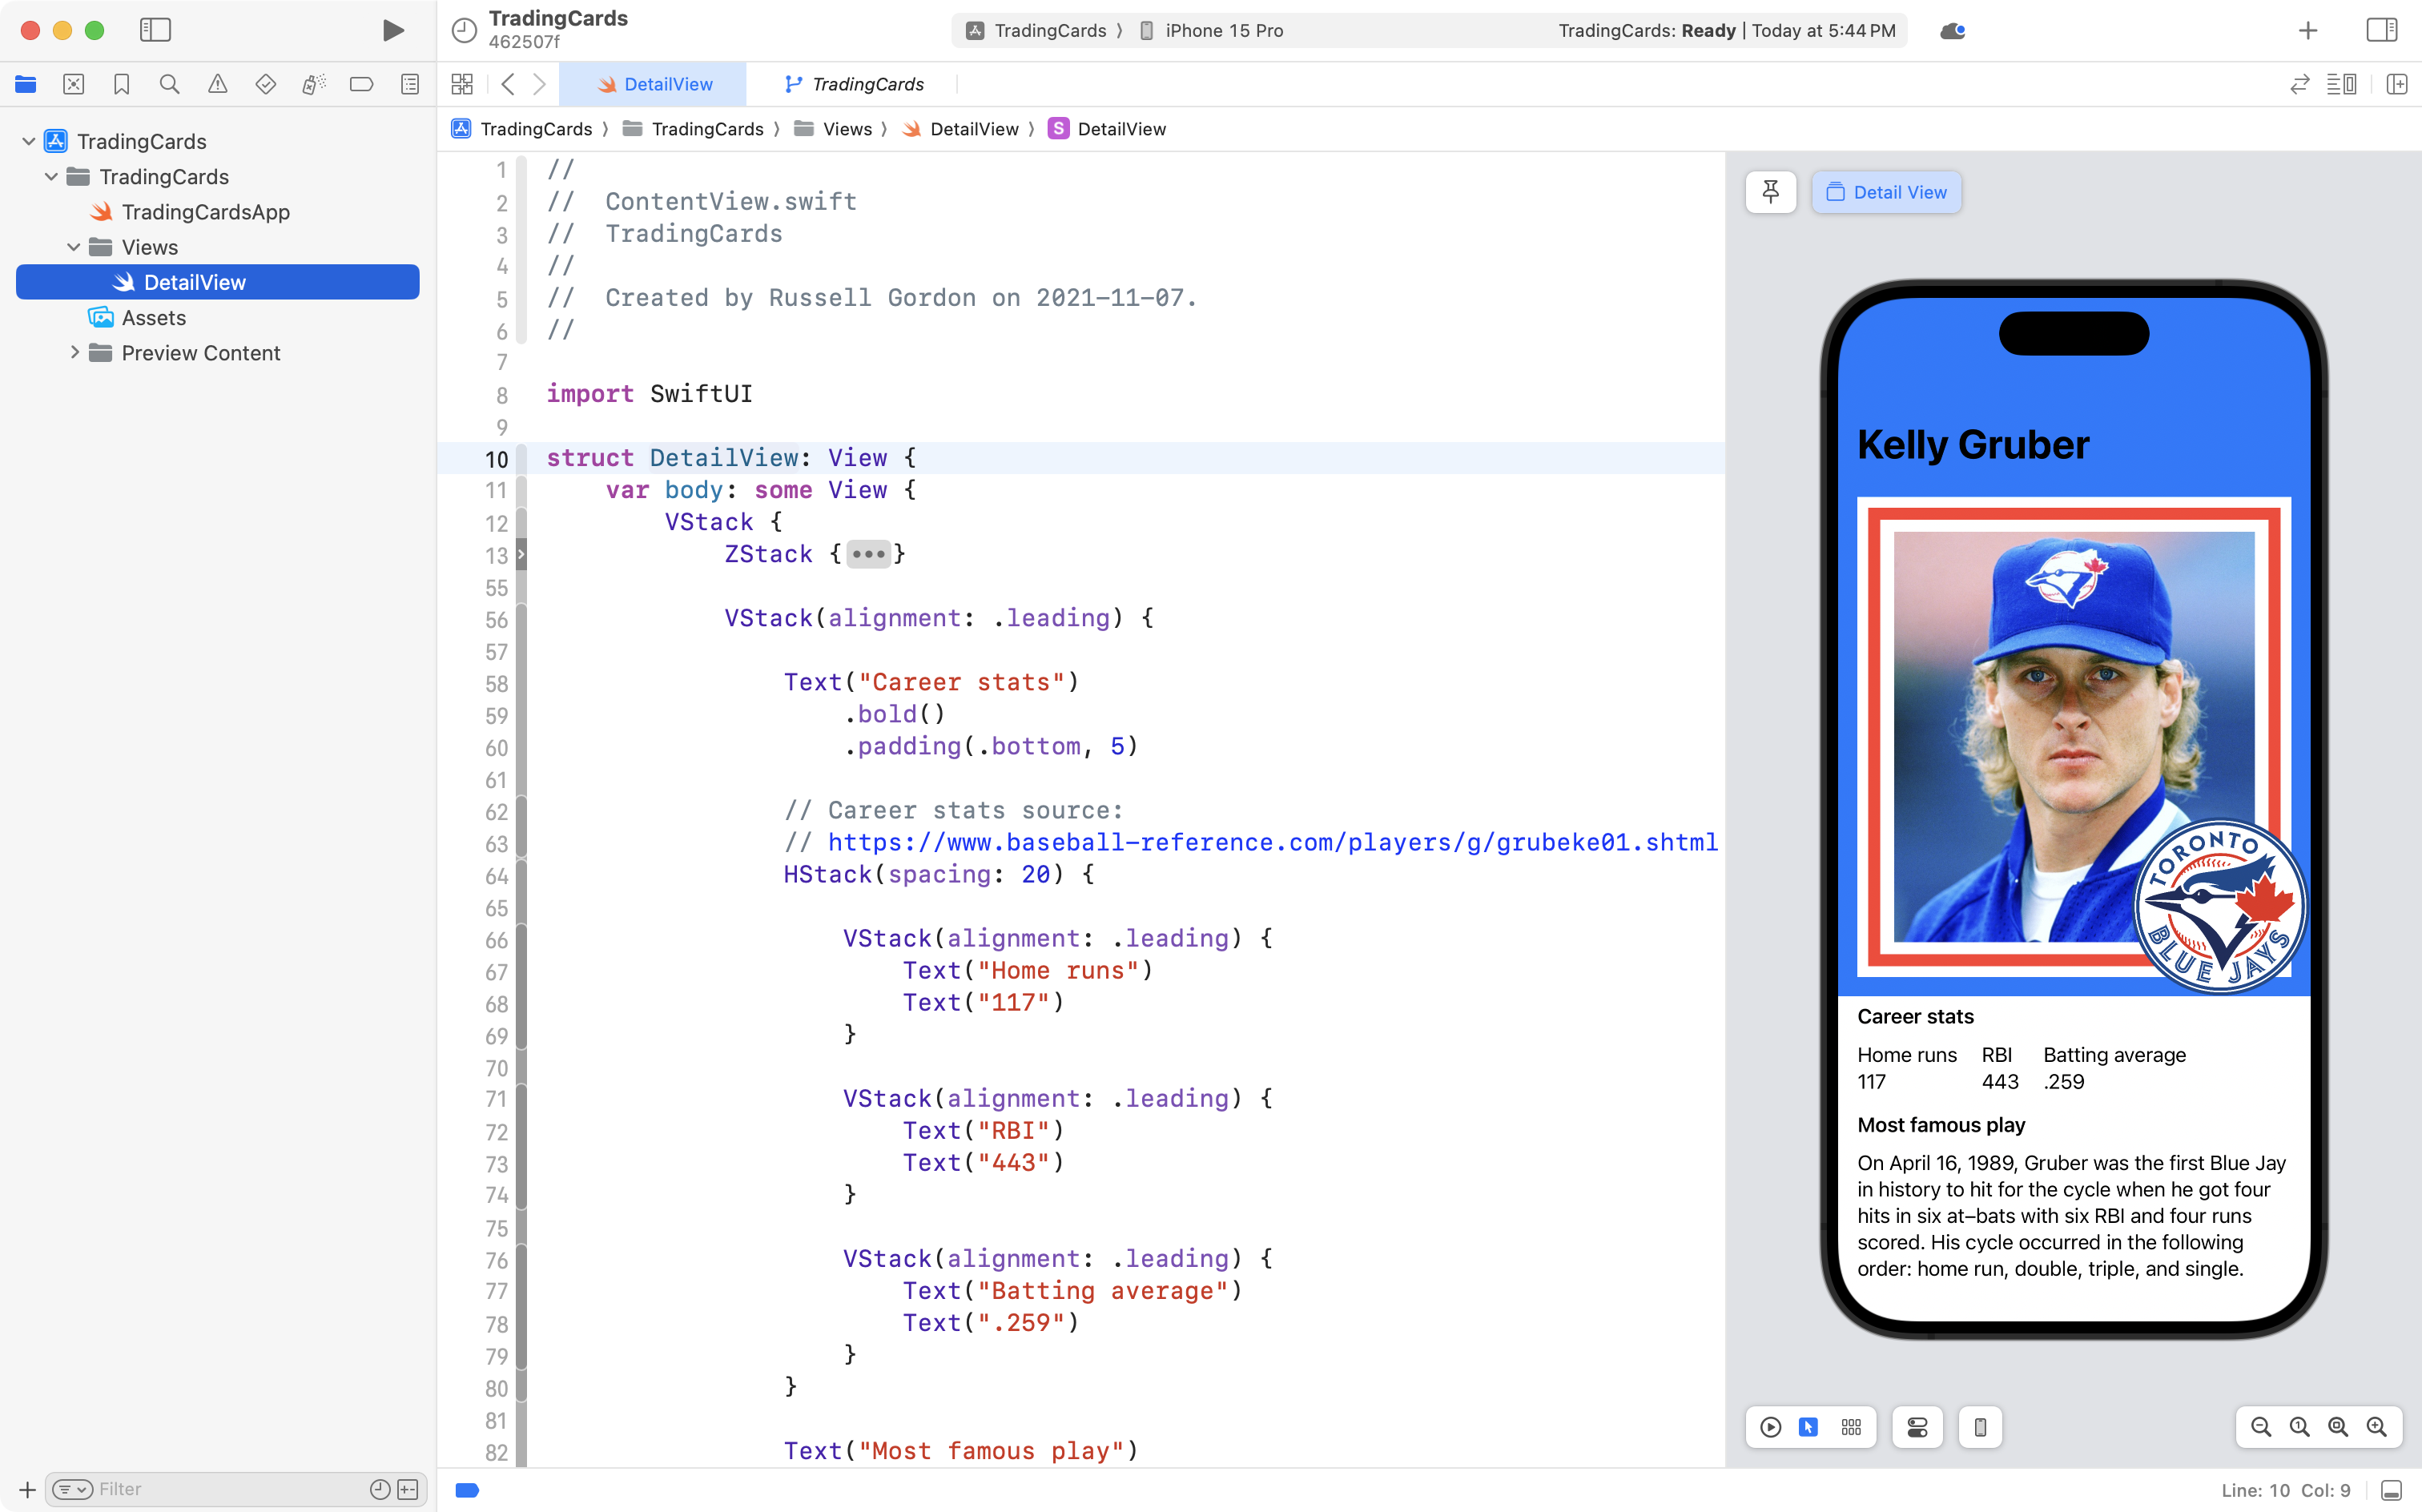
Applied abstraction by converting your static layout to use a property named
card(or similar) that accepts an instance of yourTradingCardstructure.To demonstrate even more mastery of abstraction, use helper views to make the layout more concise and easier to understand:
NOTE: You used helper views to draw the buttons on the Stopwatch app interface in thread 1.
-
Made use of a SwiftUI
Liststructure to allow for navigation down to several different cards: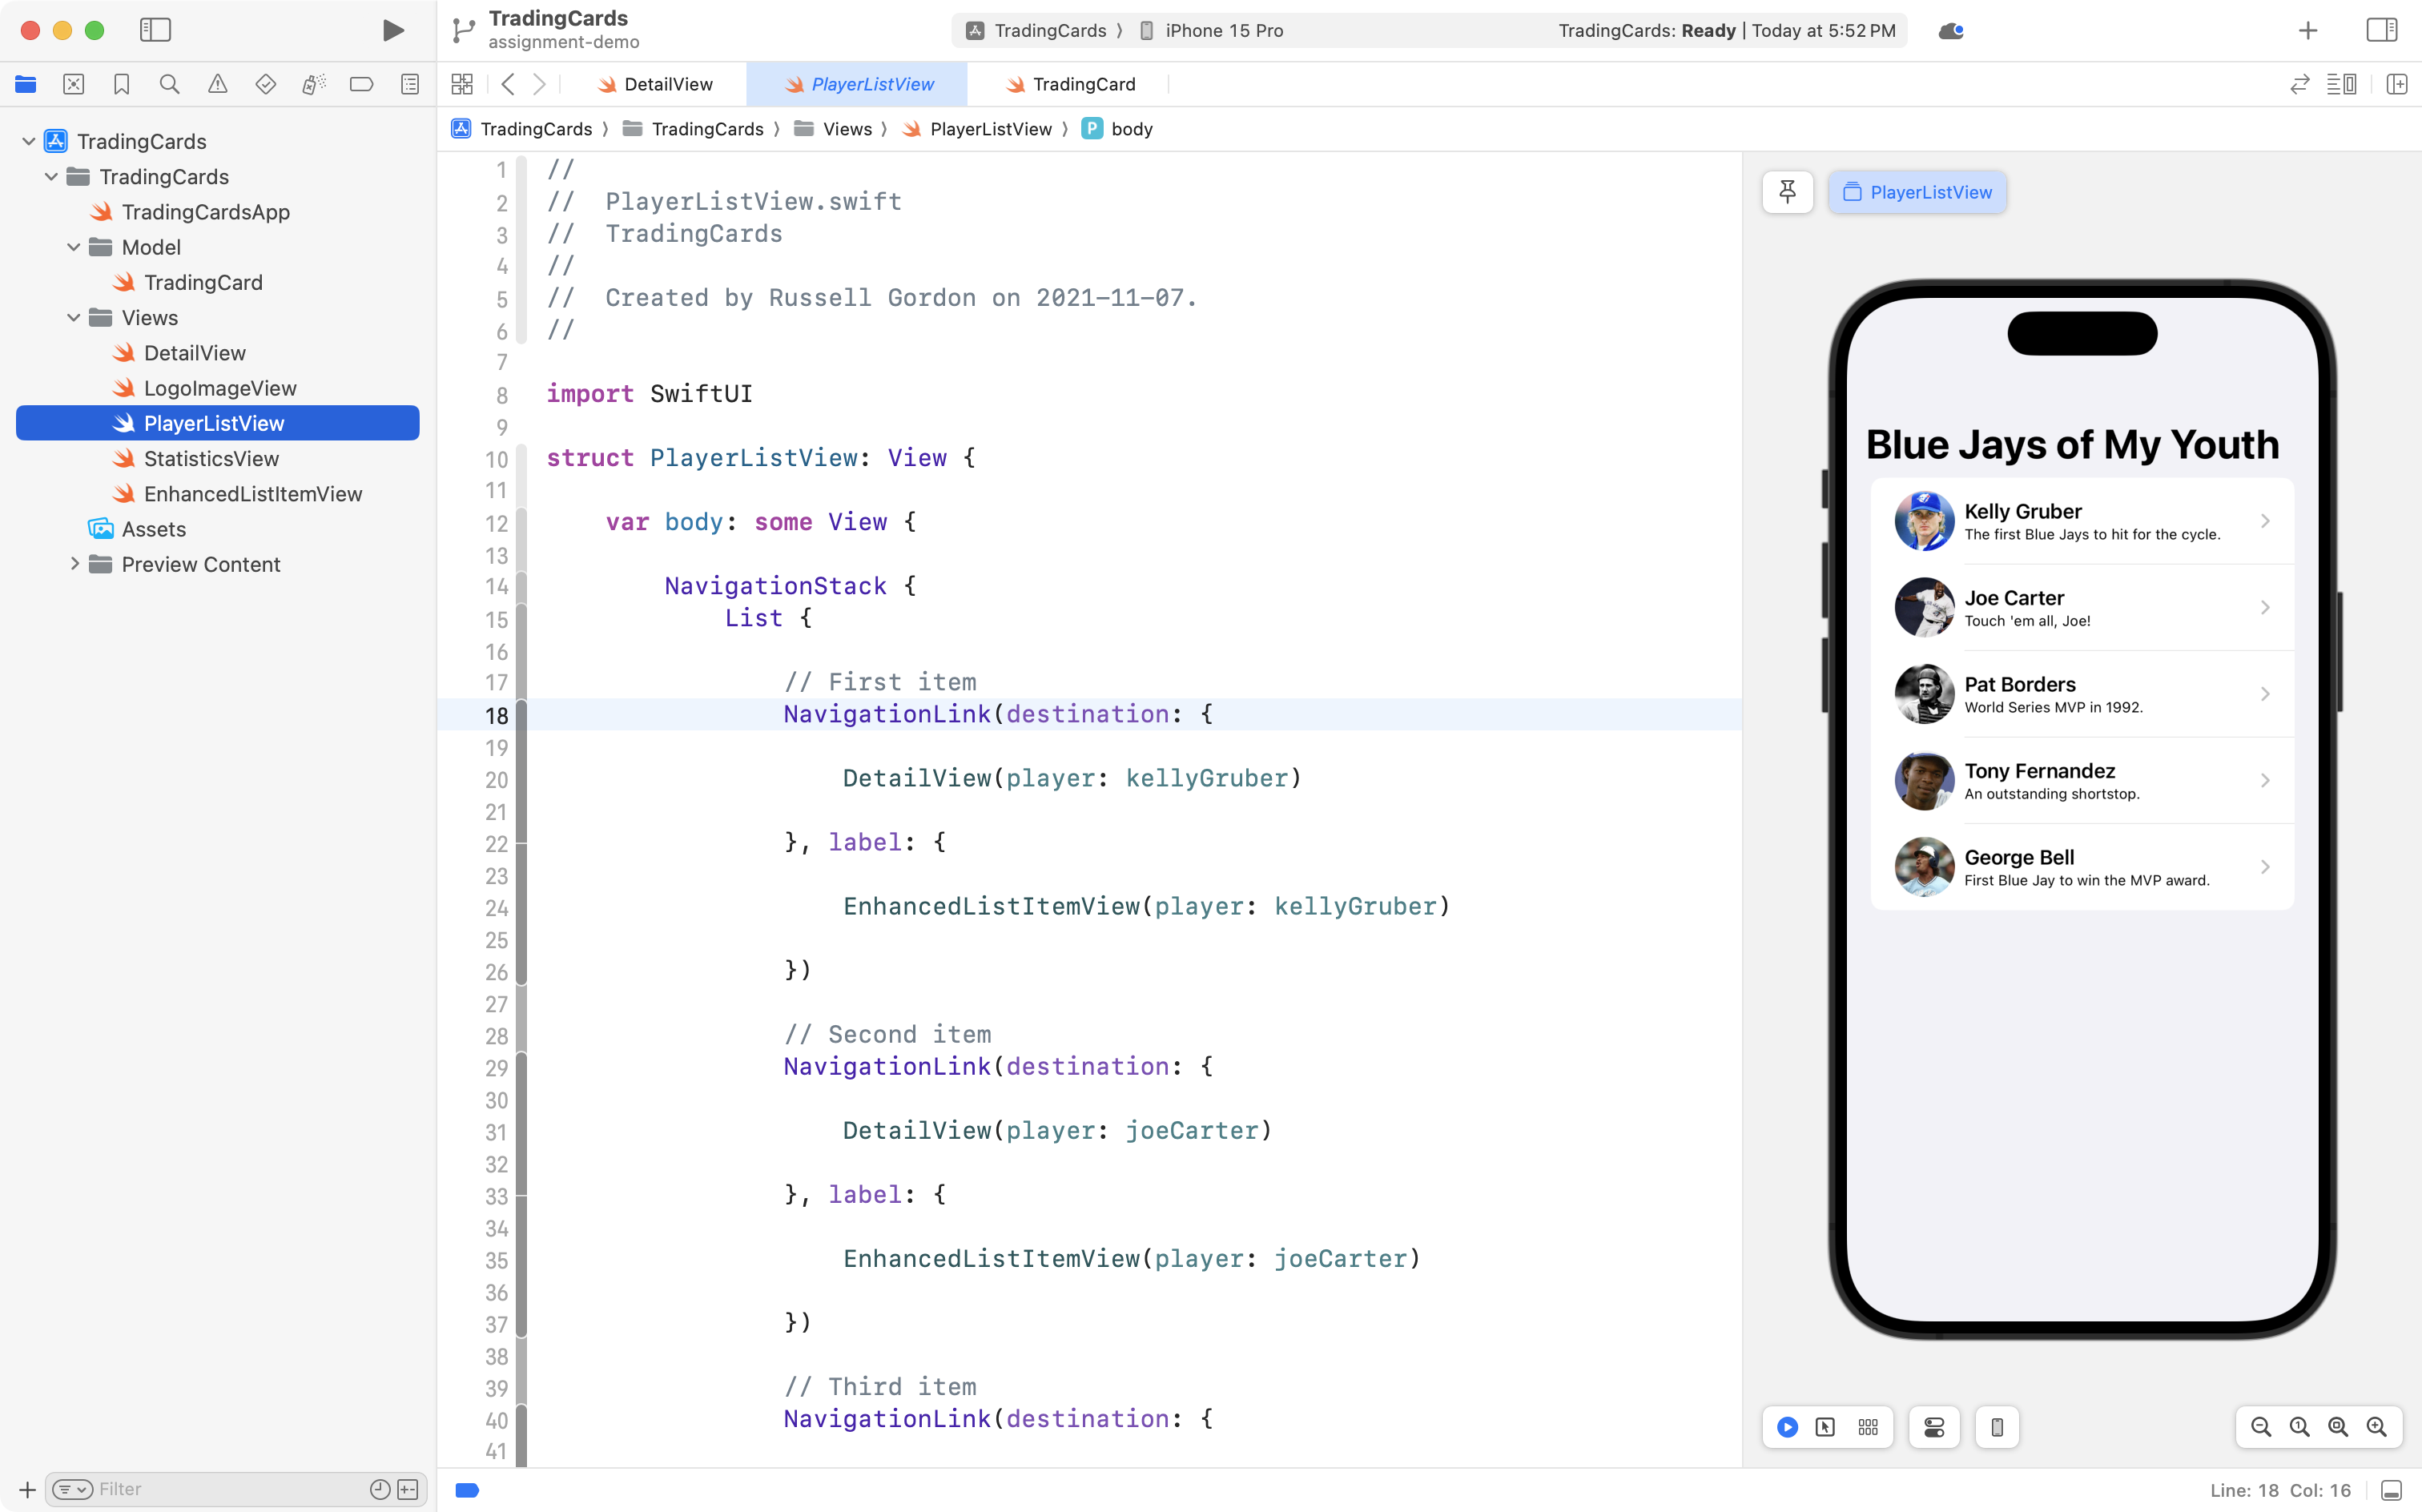
-
Written code that is well-formatted and easy to read.
-
You have used source control well by committing and pushing your work to a remote on GitHub at regular intervals.
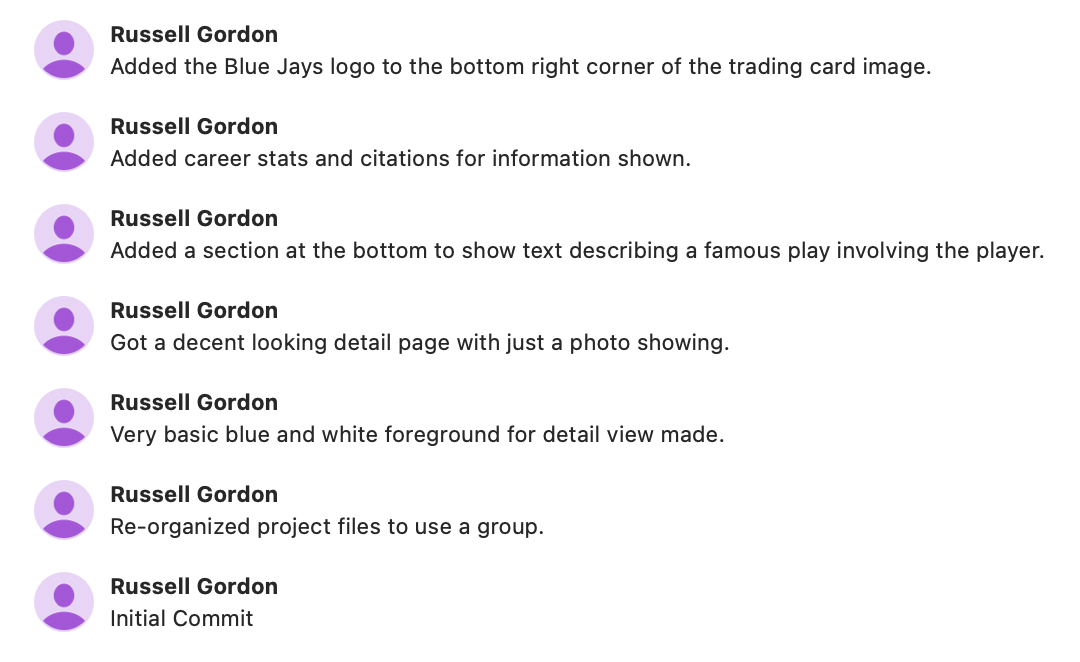
NOTE: This is not a complete list of commits; your actual list of commits would be much longer.
What you’ll need to begin
- Xcode
- the SF Symbols App installed on your computer, also for reference
- your copy of SwiftUI Views Mastery, downloaded to your computer, so you can look up examples as needed
Getting started
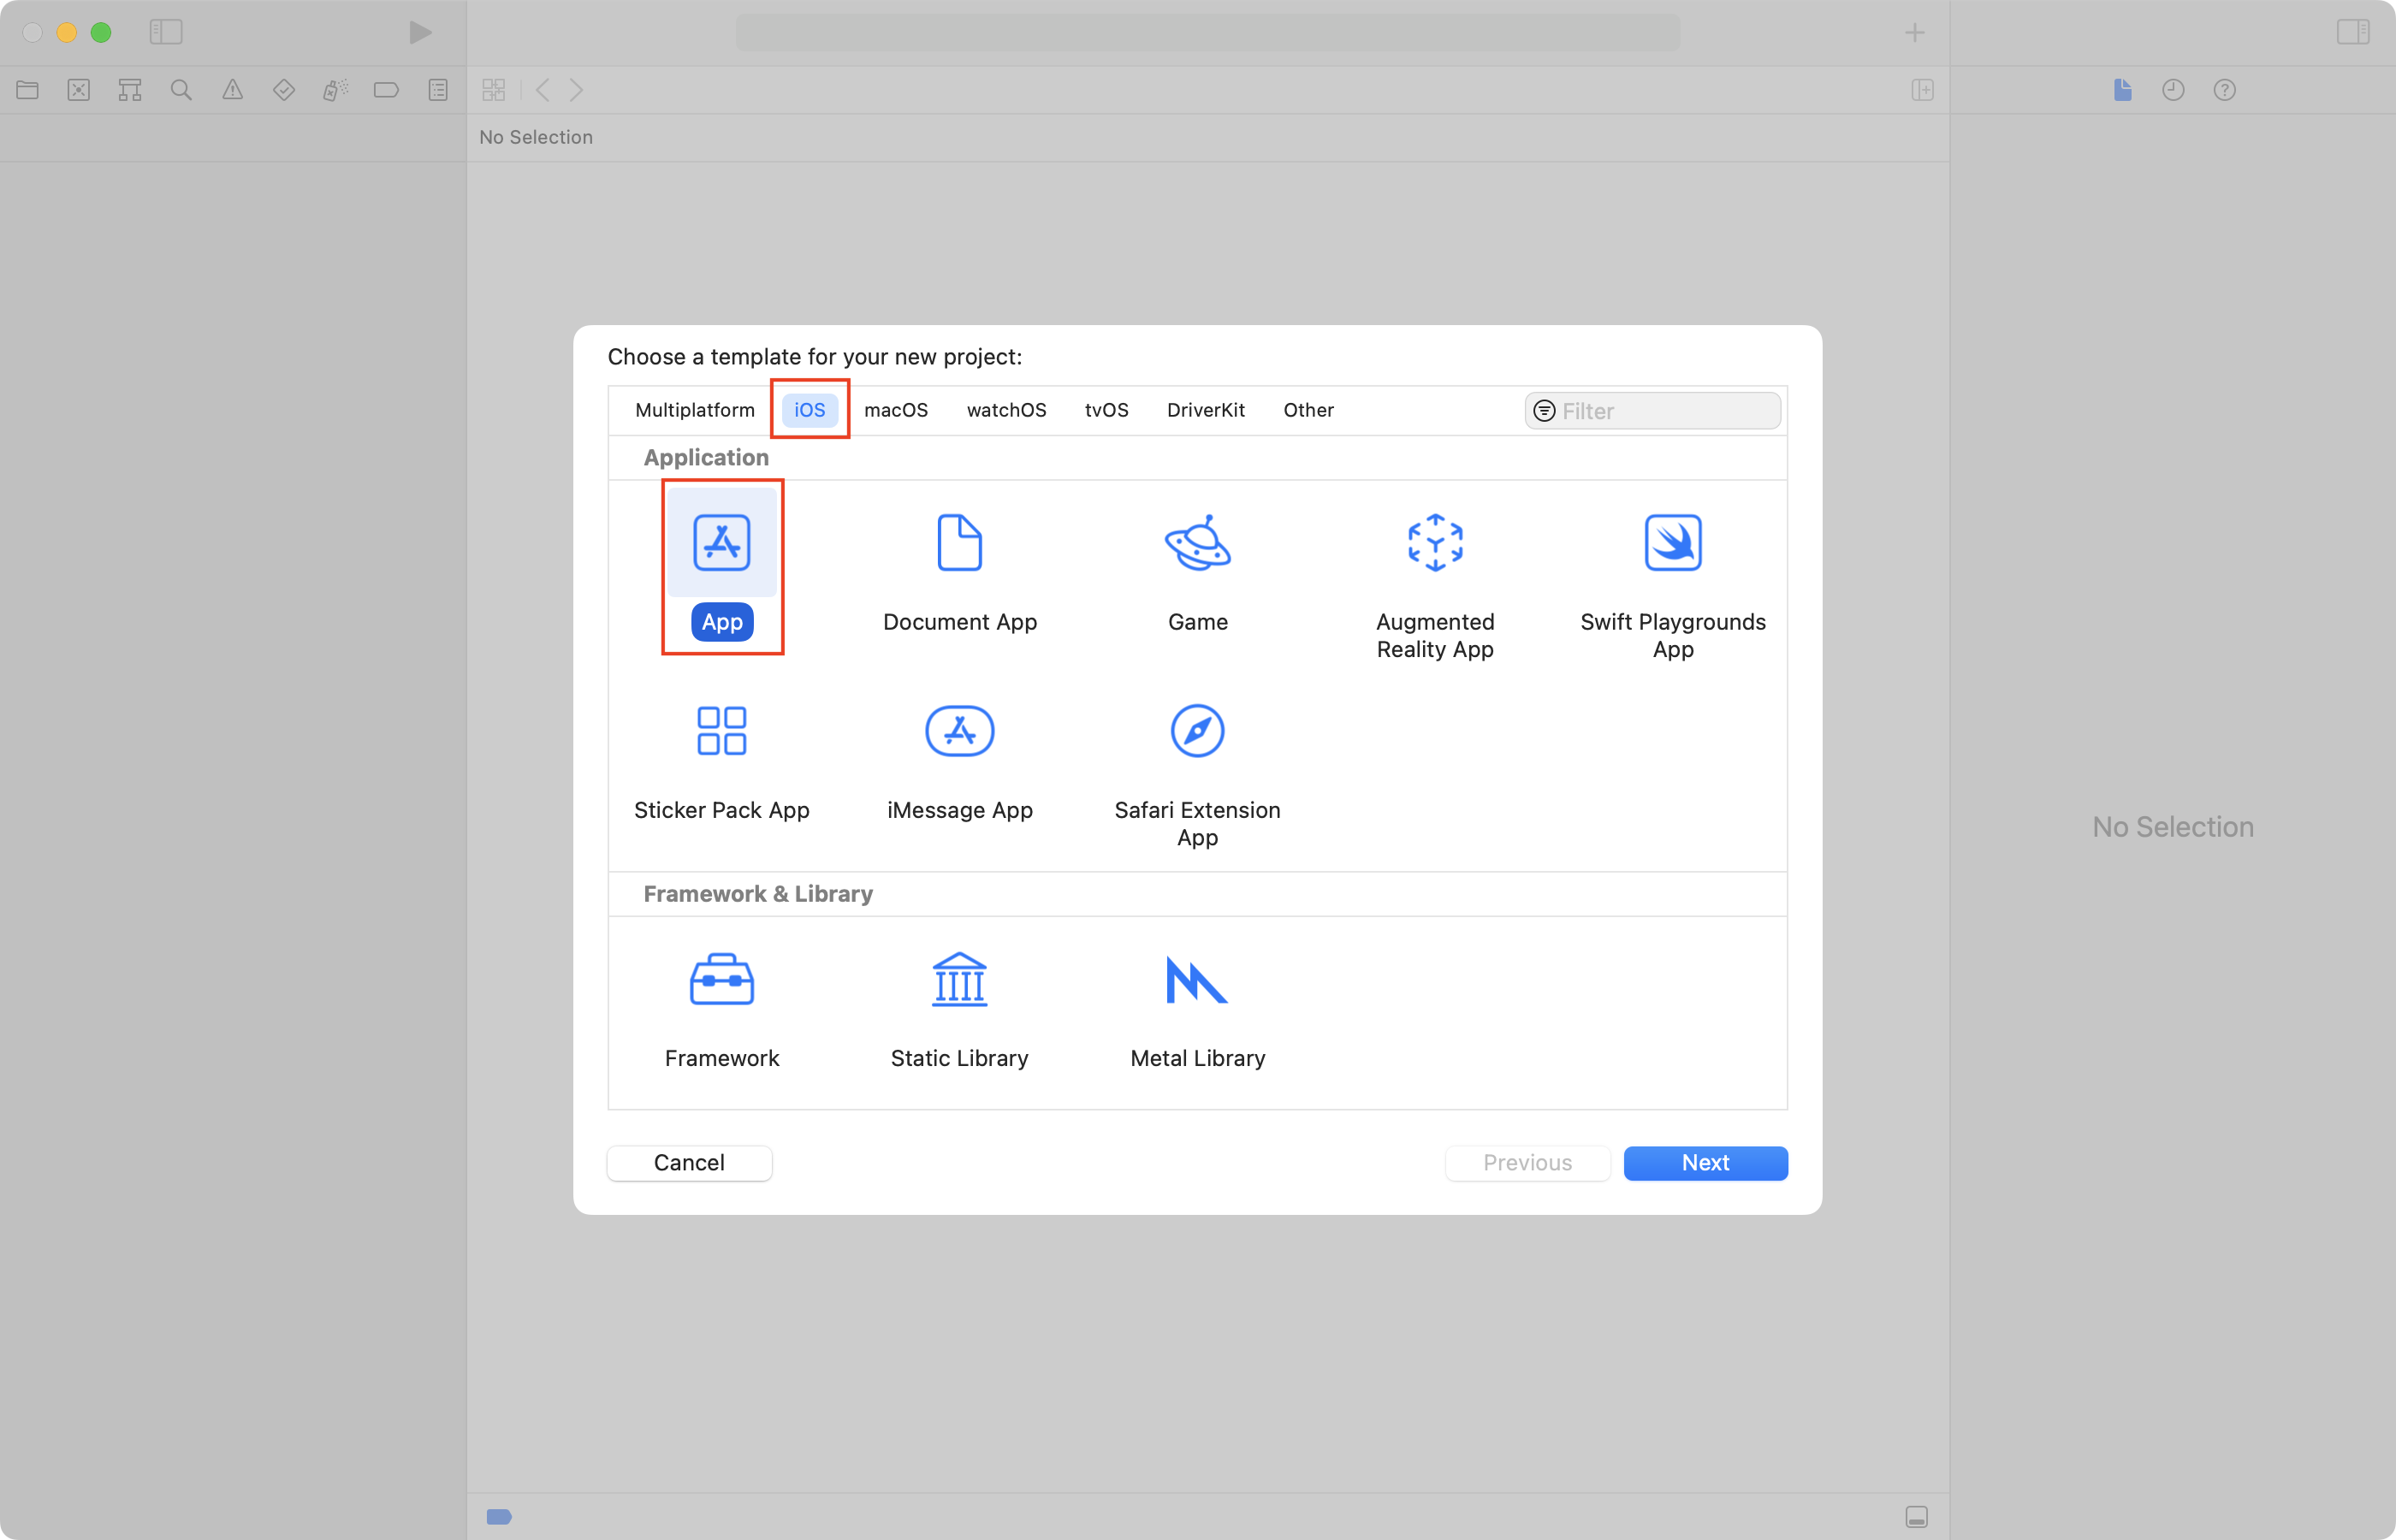
-
Create a new iOS app:
-
Name the app
TradingCards: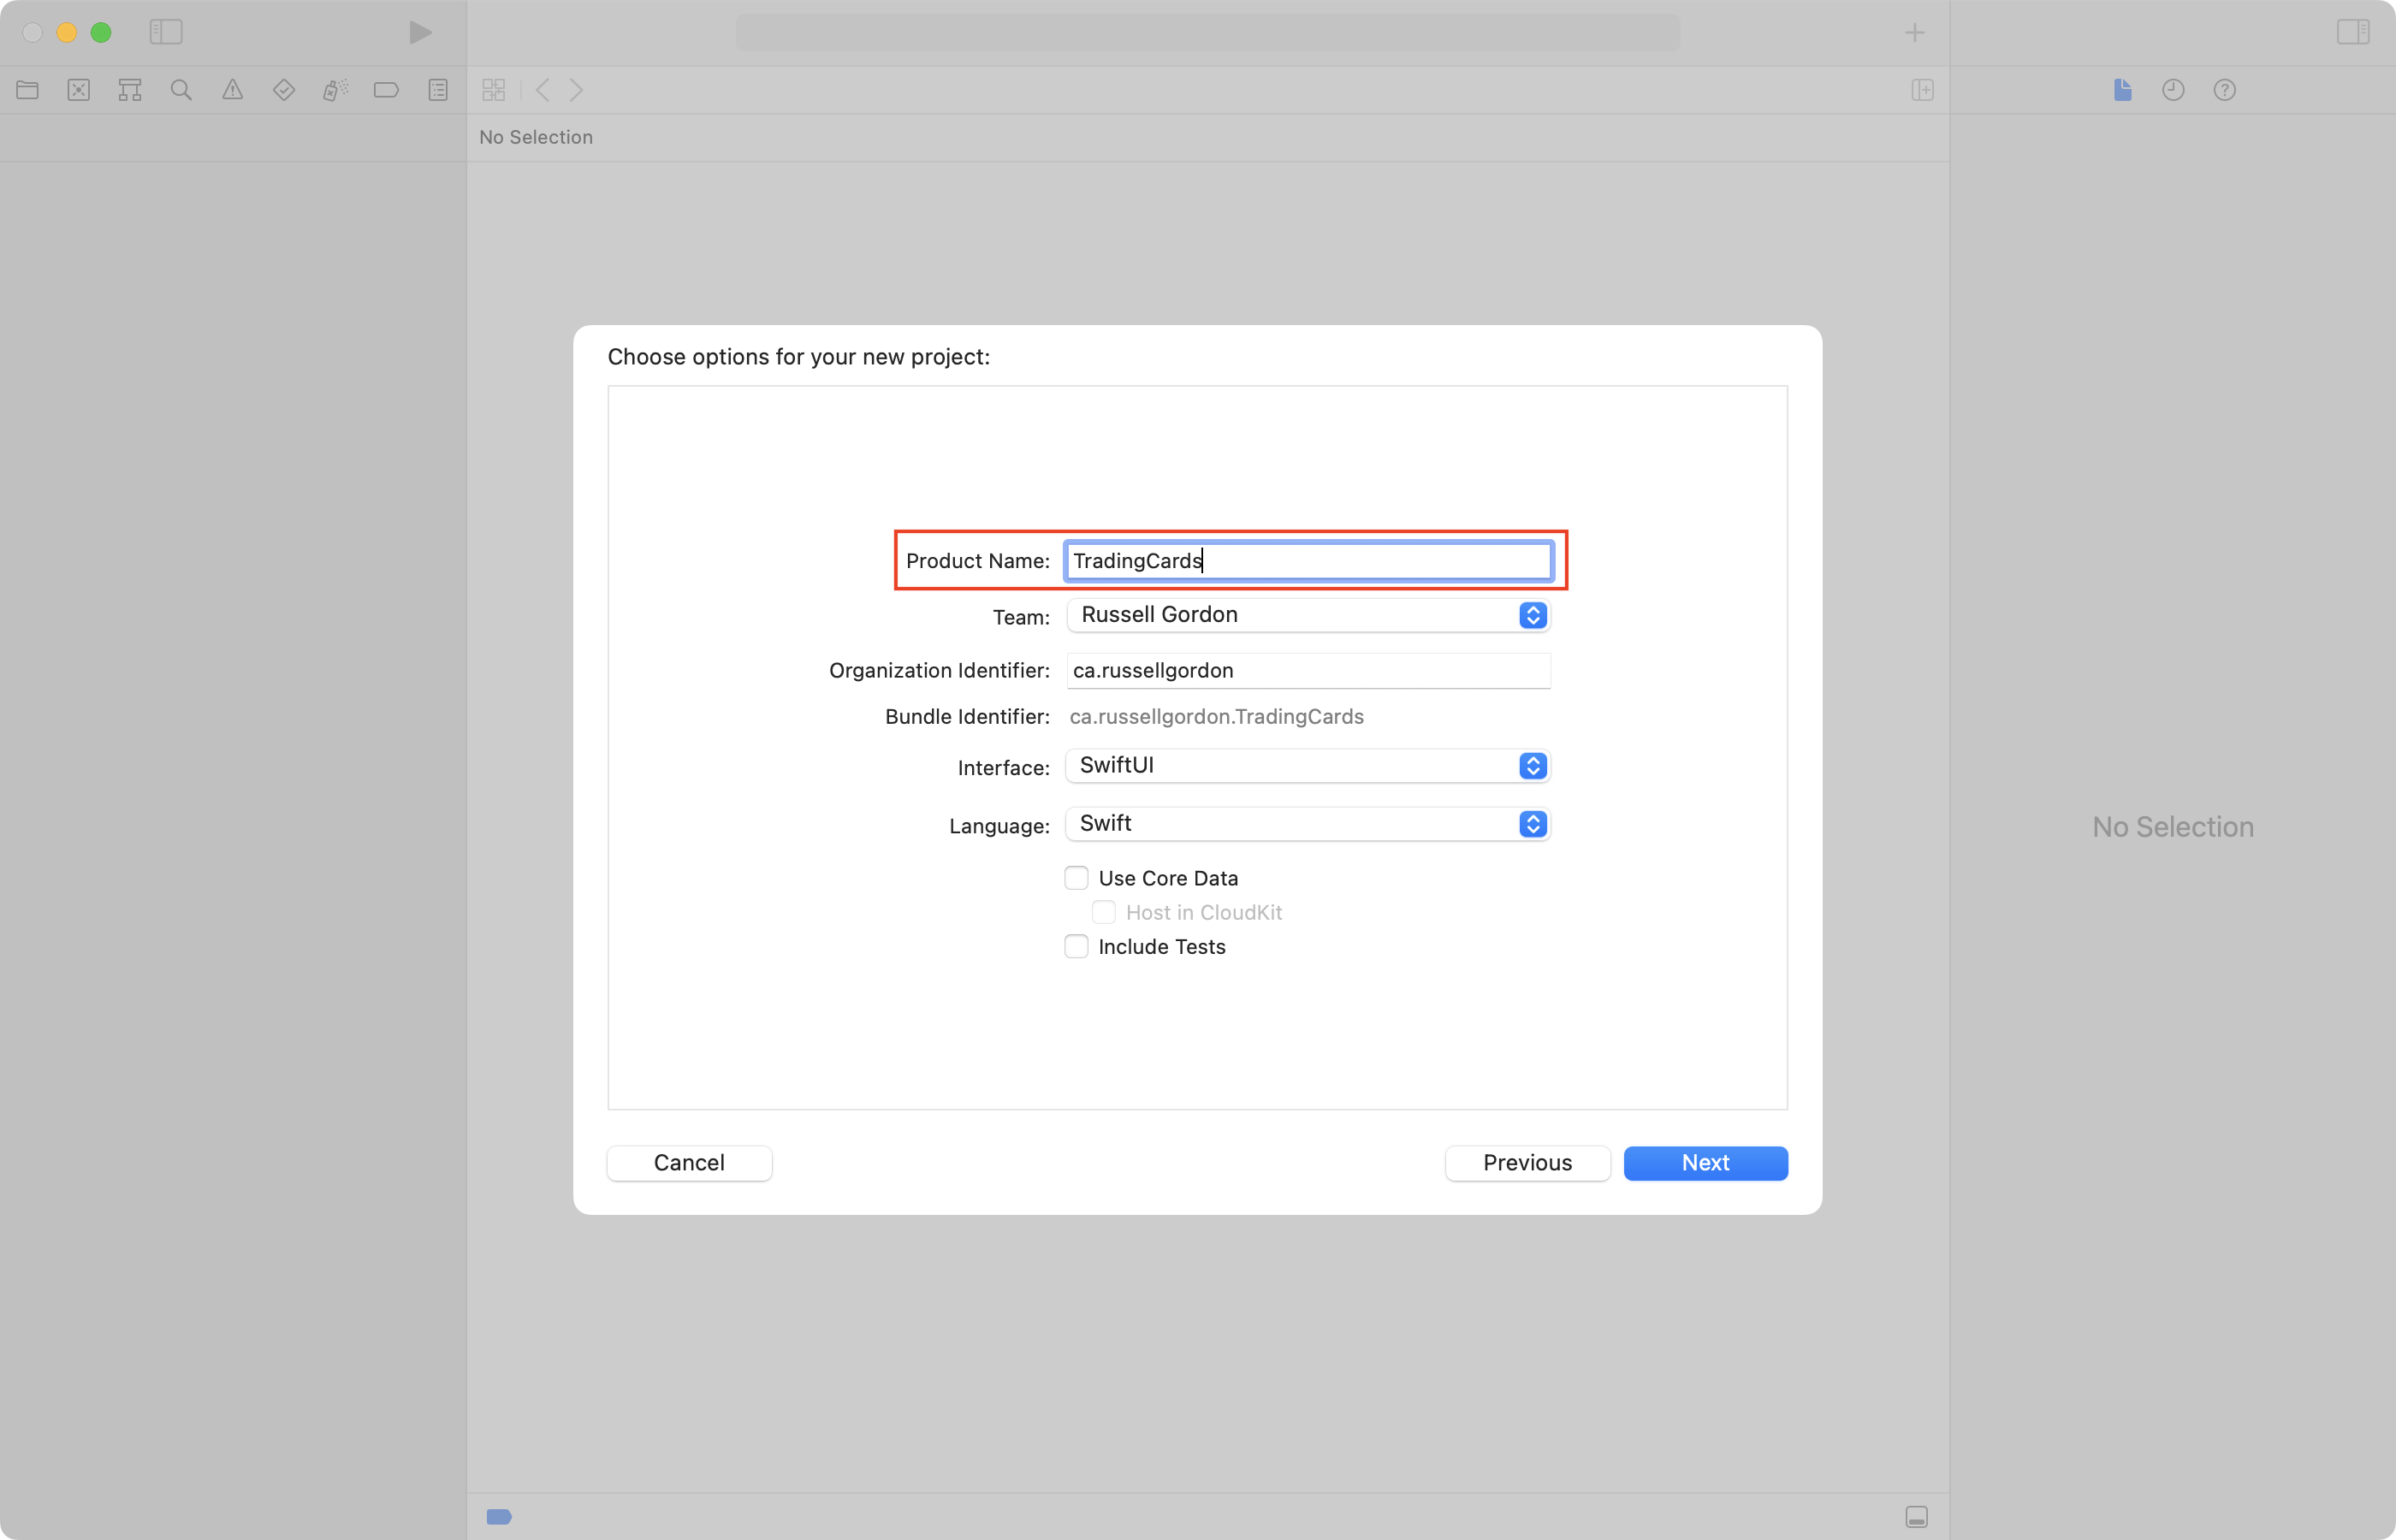
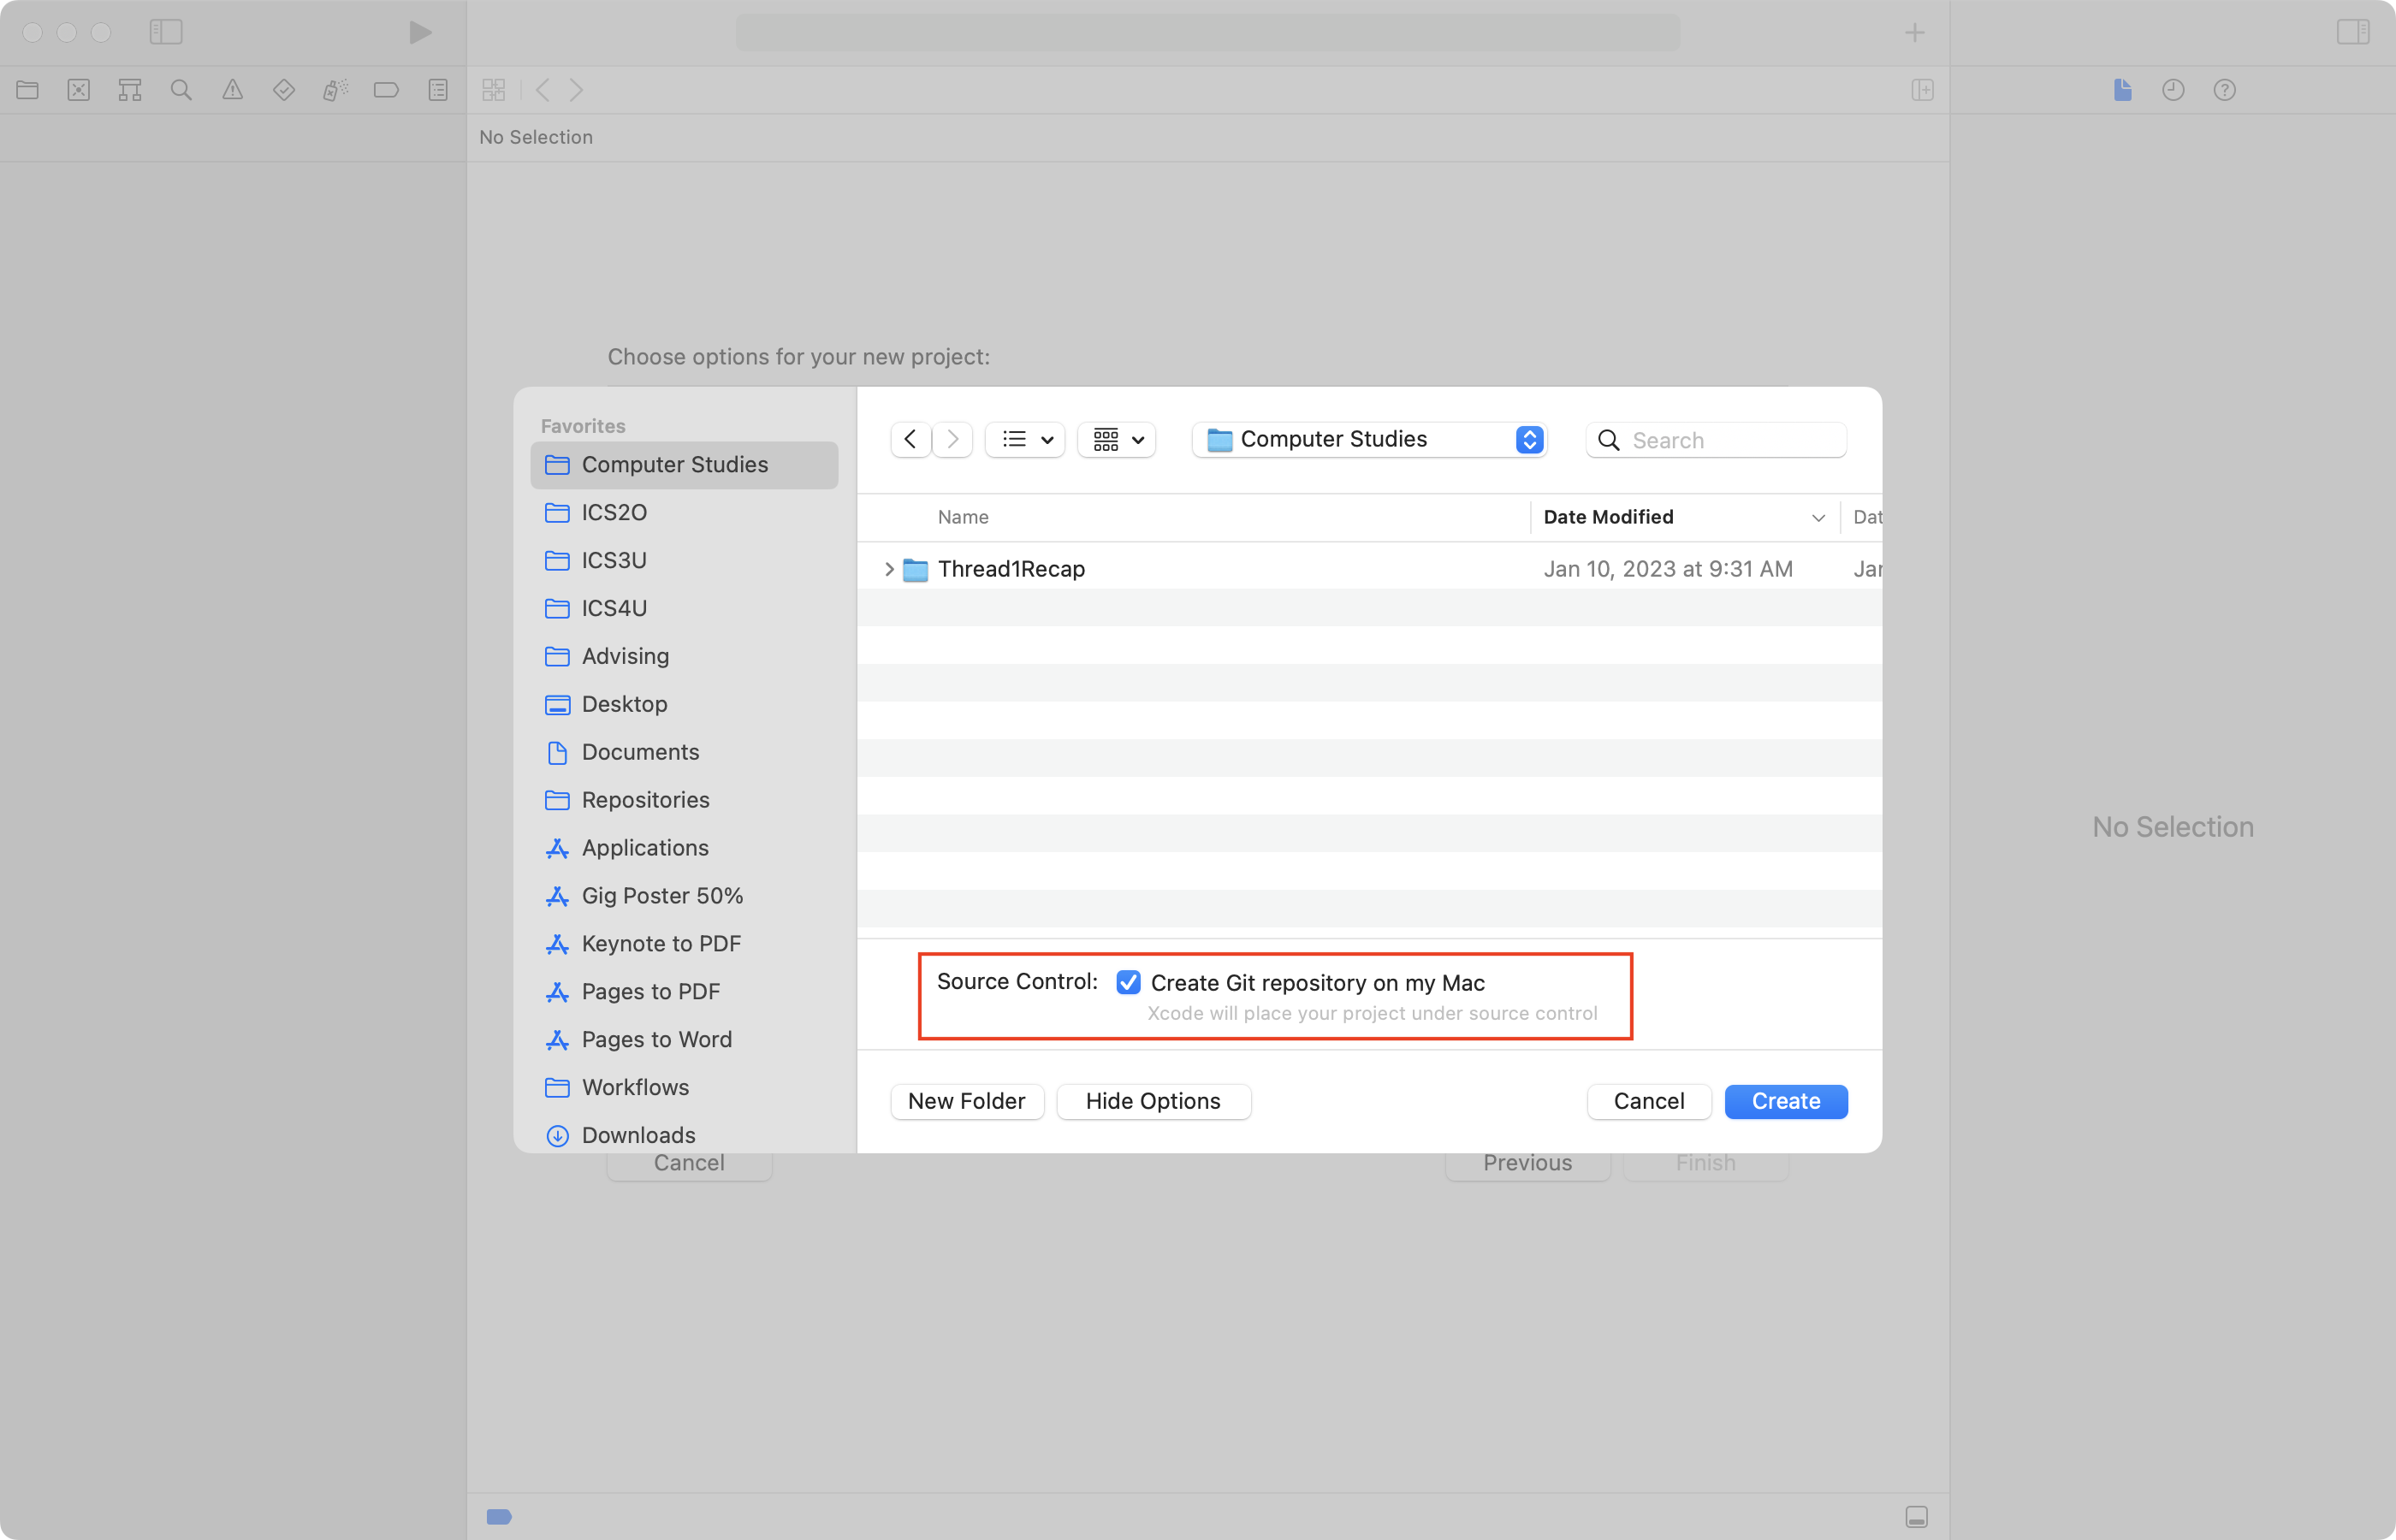
-
Save the app in your Computer Studies folder, ensuring that source control is enabled:
-
Then create a public remote on GitHub:
-
Now work to complete each item described above in the success criteria.
Please remember to commit and push your work regularly.
Progress and due date
The task is due by 11 PM this Wednesday, January 24, 2023.
Prior to the final deadline, on Notion:
- Share progress regularly
- Be sure to post screenshots
- Be sure to post the address of your GitHub remote at some point
NOTE
Your work is not considered as handed in until the GitHub remote has been shared and you have committed and pushed all your work.
TIP
Yes, you have multiple working periods, but…
… don’t fall for it. Get a solid plan in place during the first working period. Get your project created and get started. Make significant progress over the weekend. Then… put the finishing touches on your assignment on Monday. Tuesday’s class can be for challenging yourself to make an even more impressive trading card.

Further examples
Here are some examples of possible layouts that you could aim to reproduce, or use as inspiration for a similar layout:
.png)
.png)
.png)
.png)
.png)
.png)
.png)
.png)
.png)
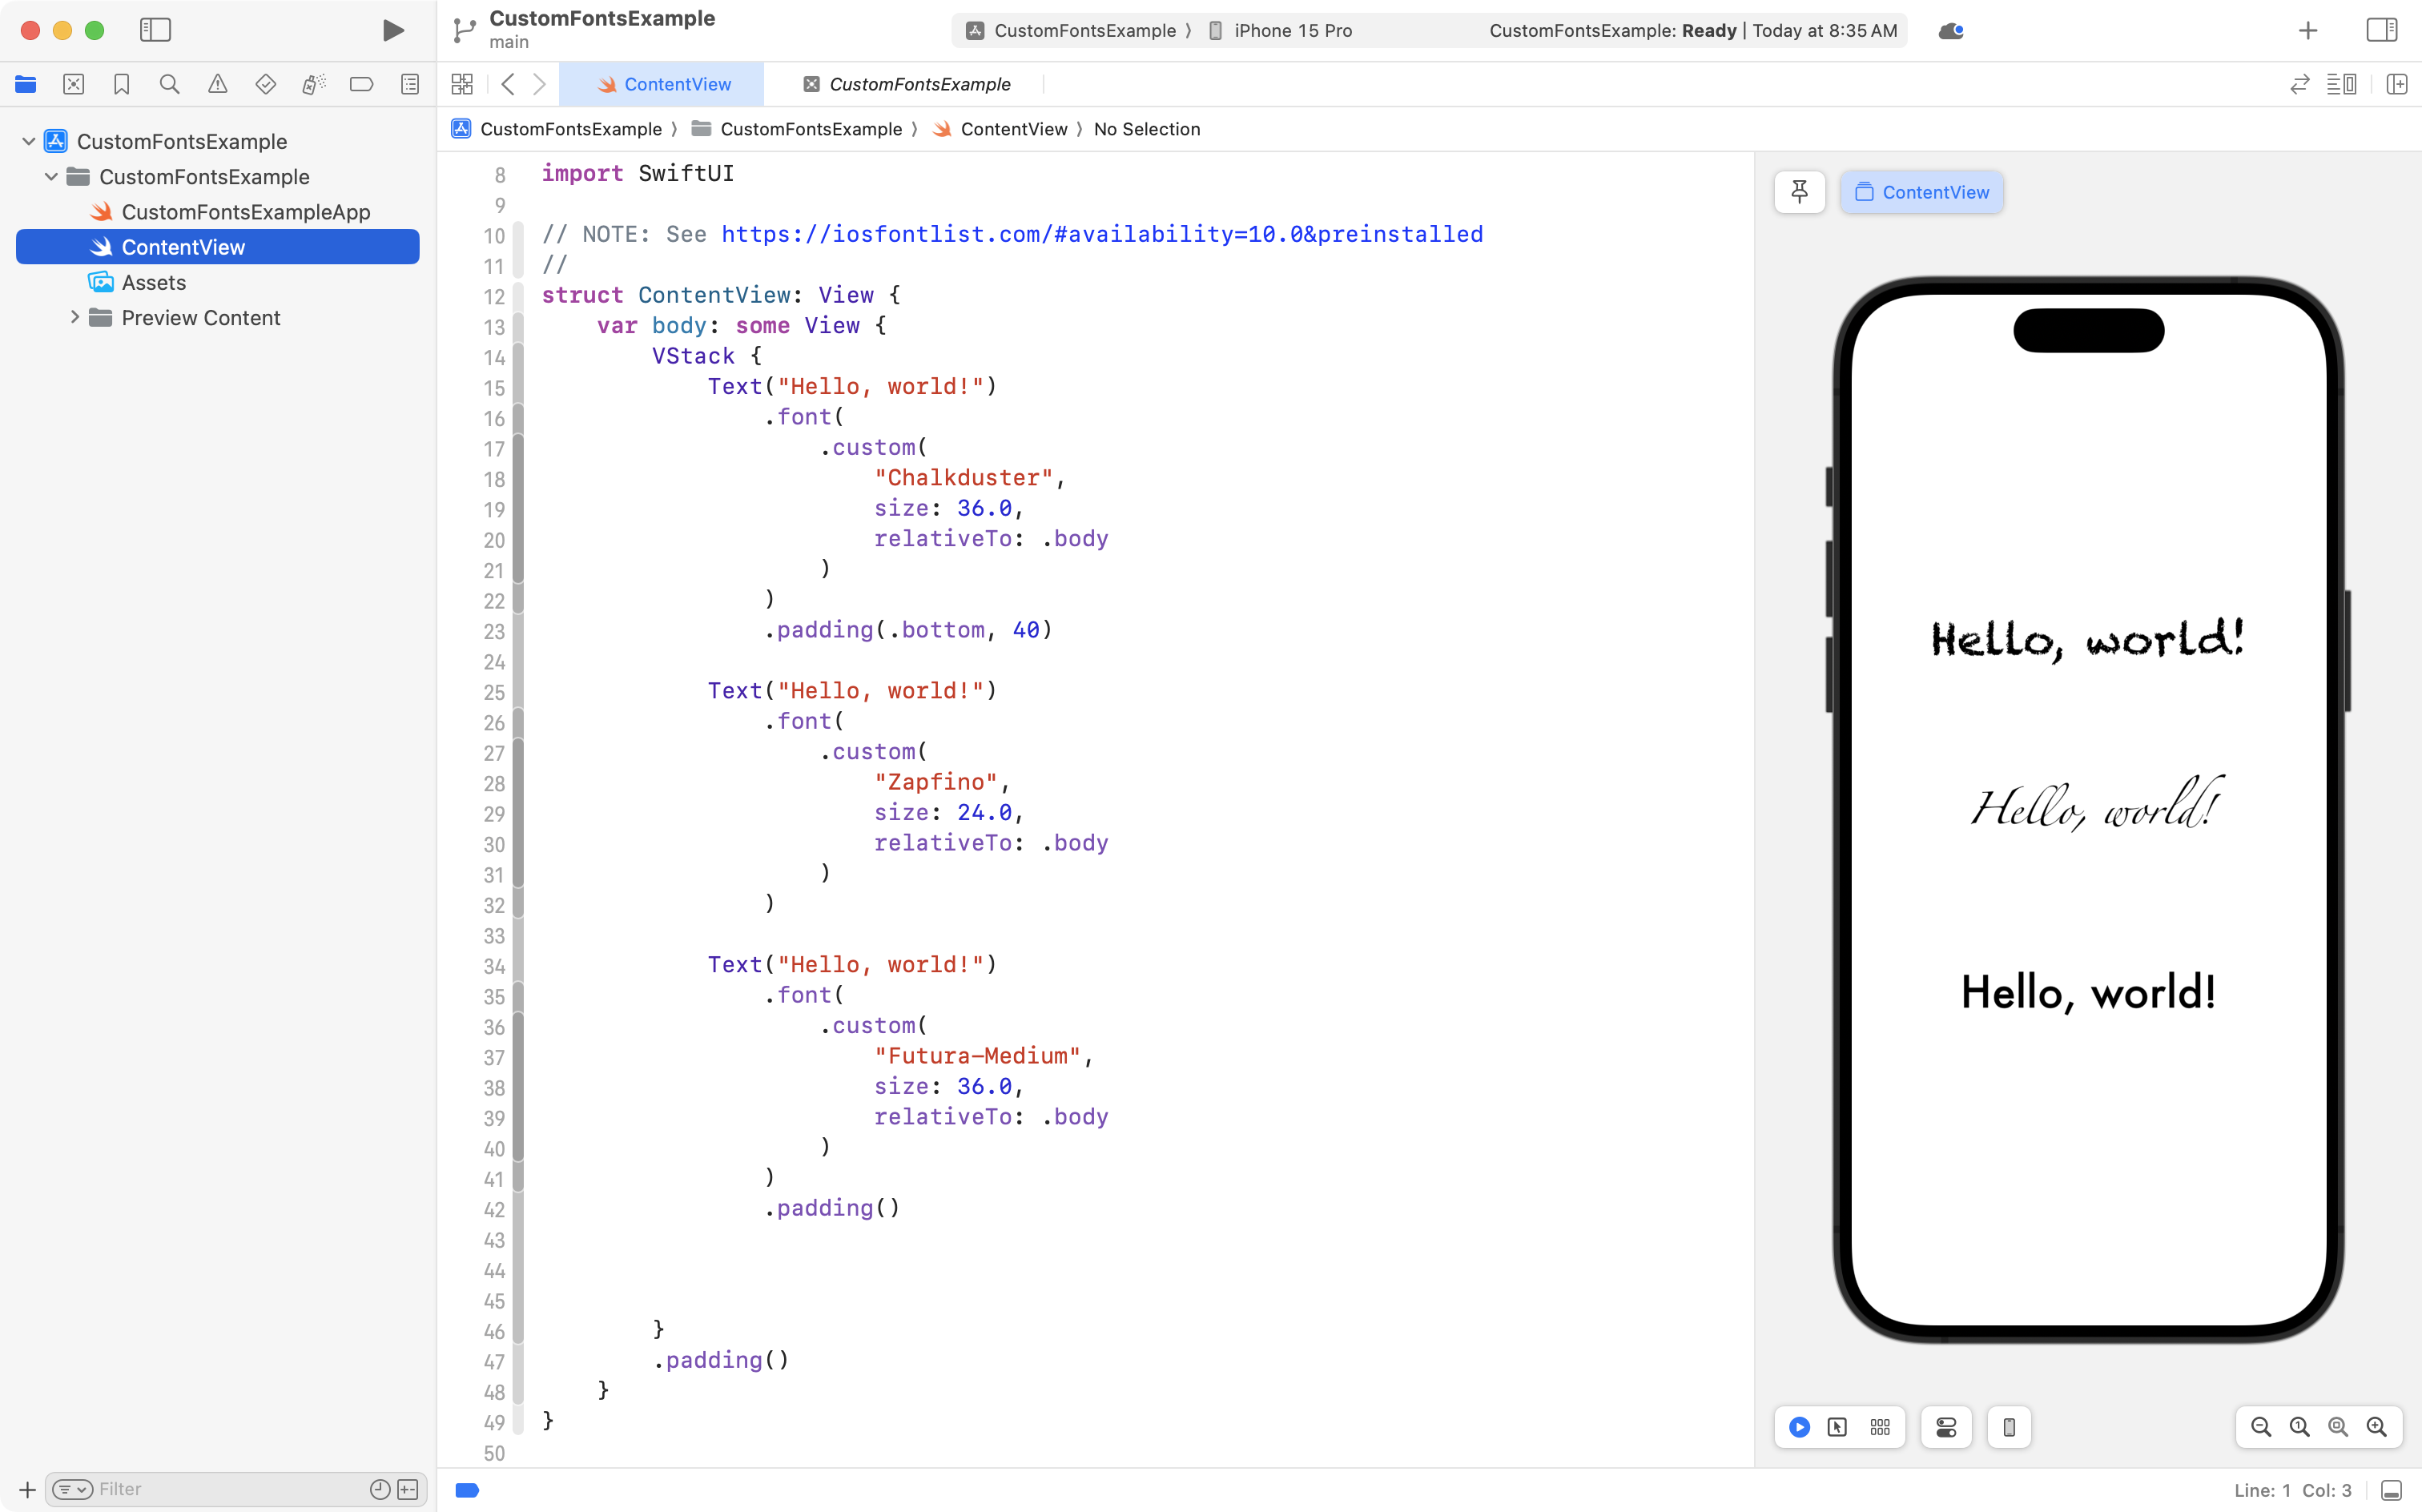
Typefaces
You can use other typefaces in iOS applications.
Consult iOS Font List for a quick reference.
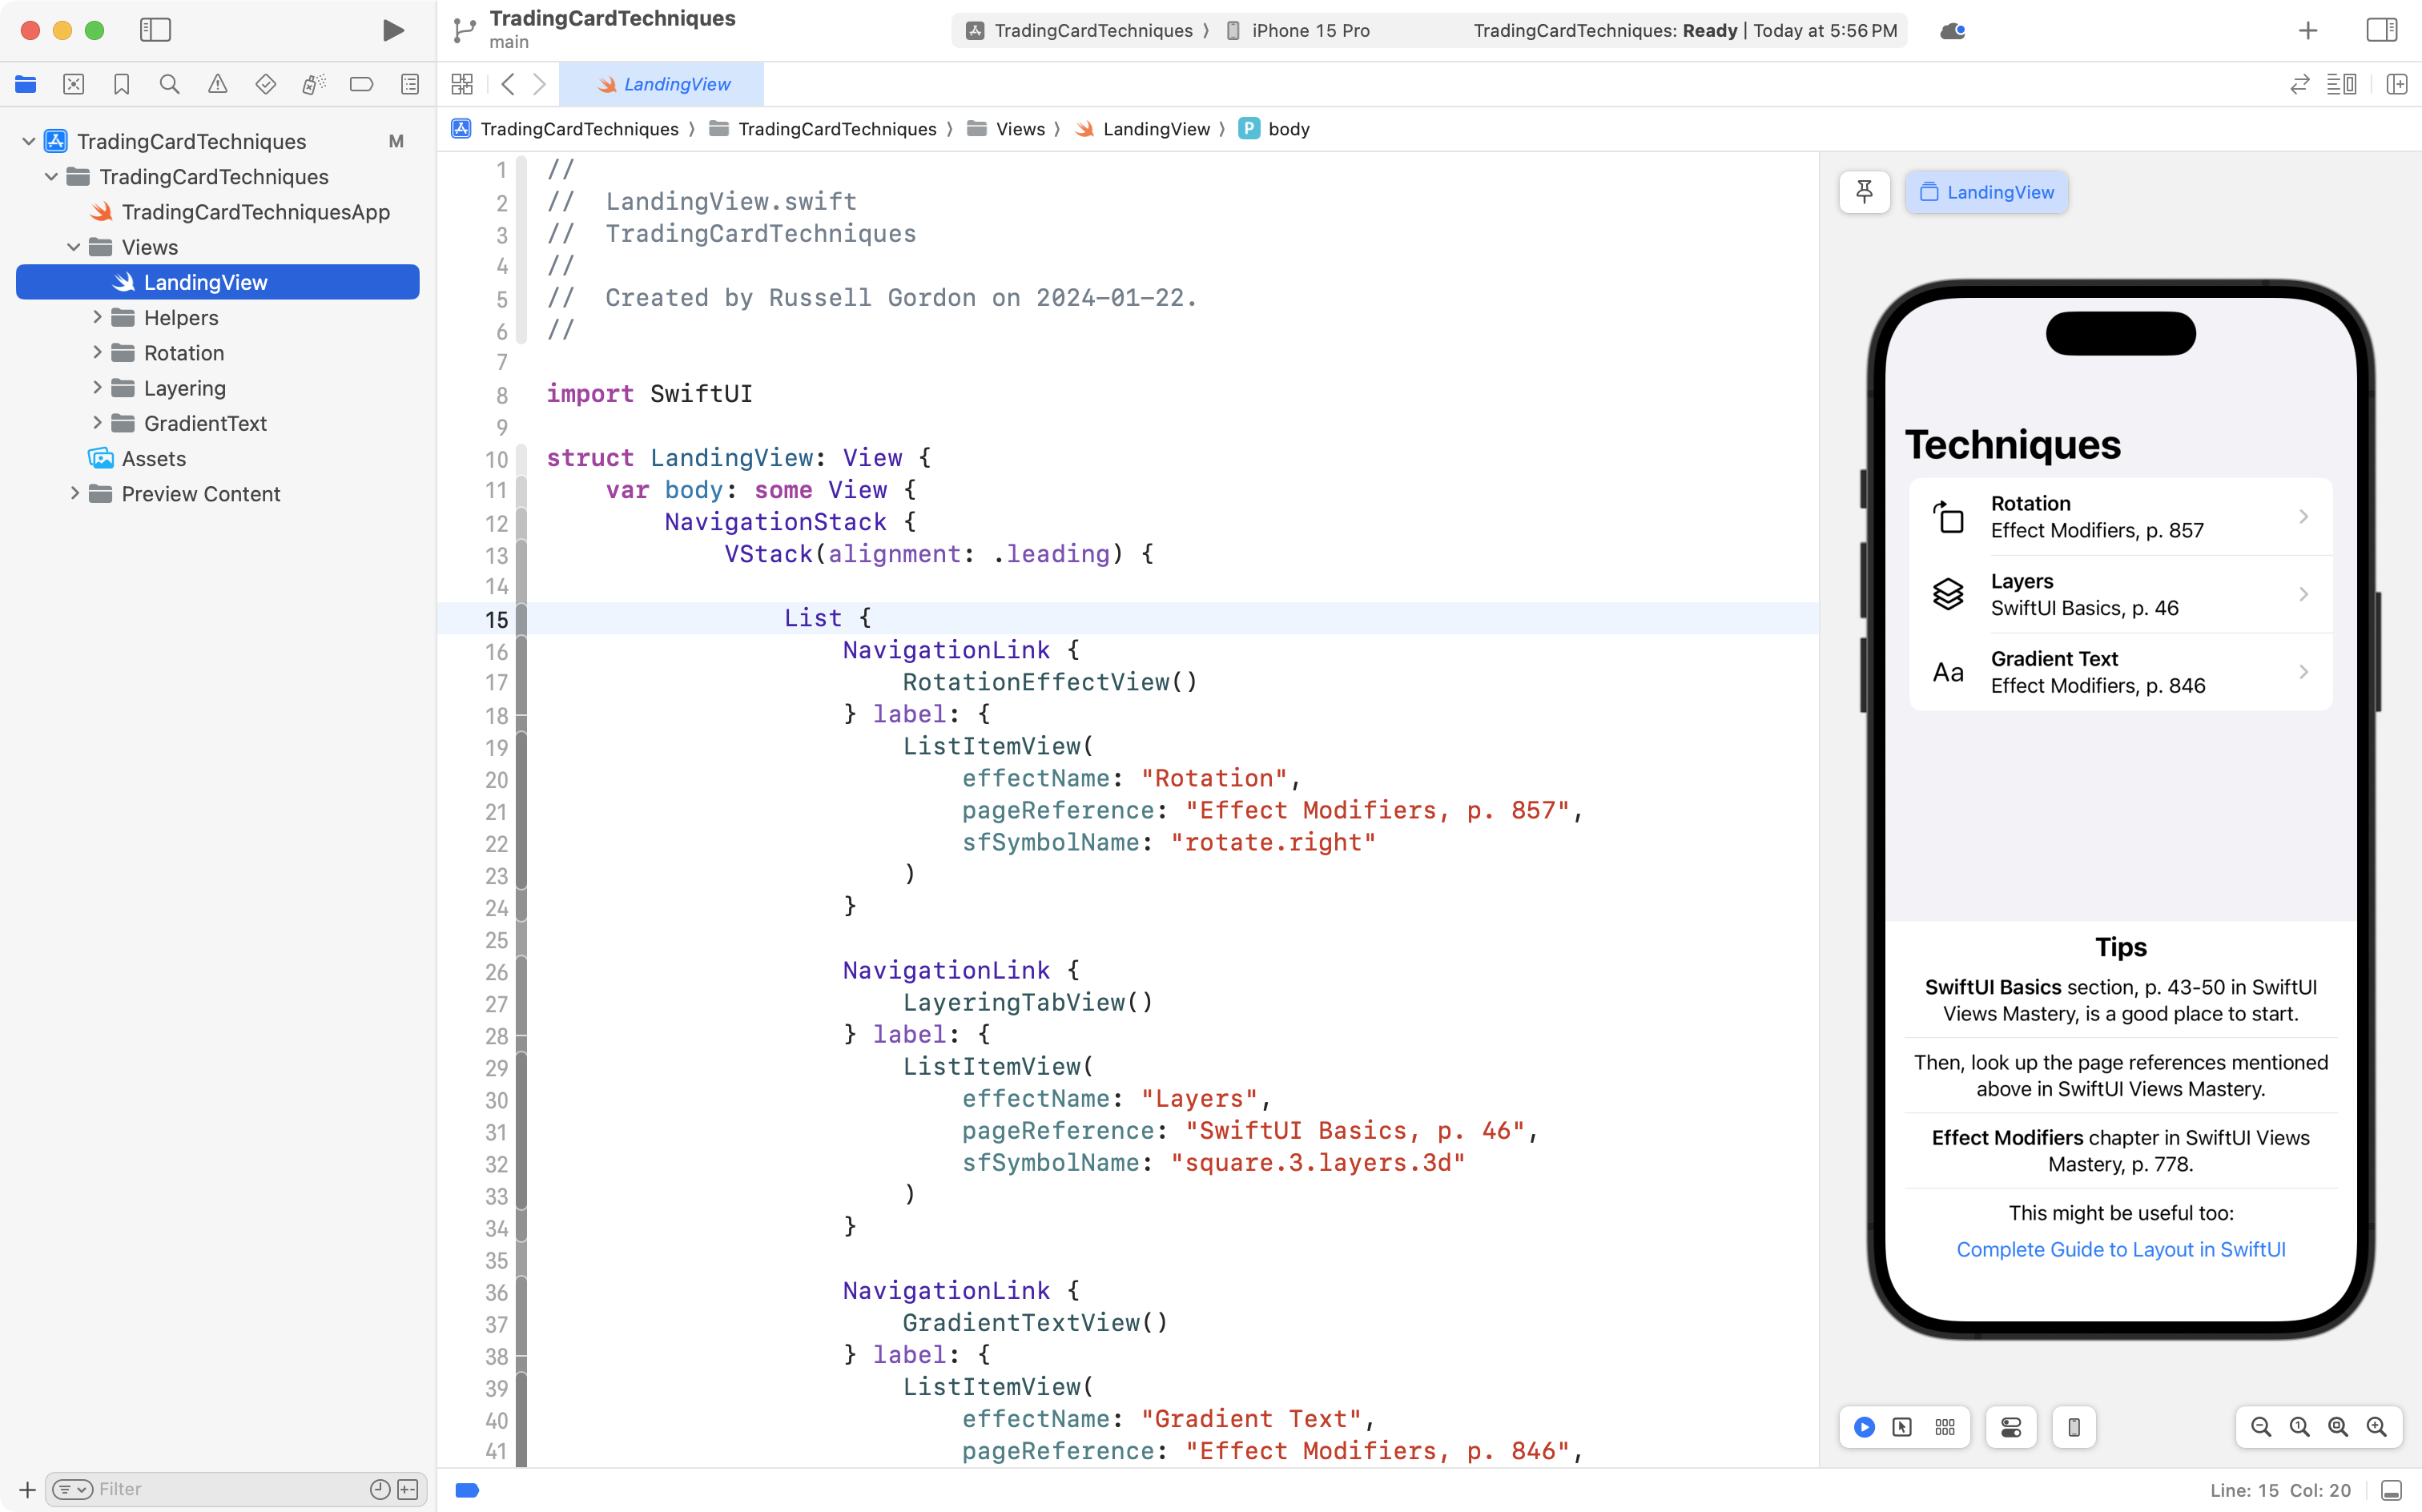
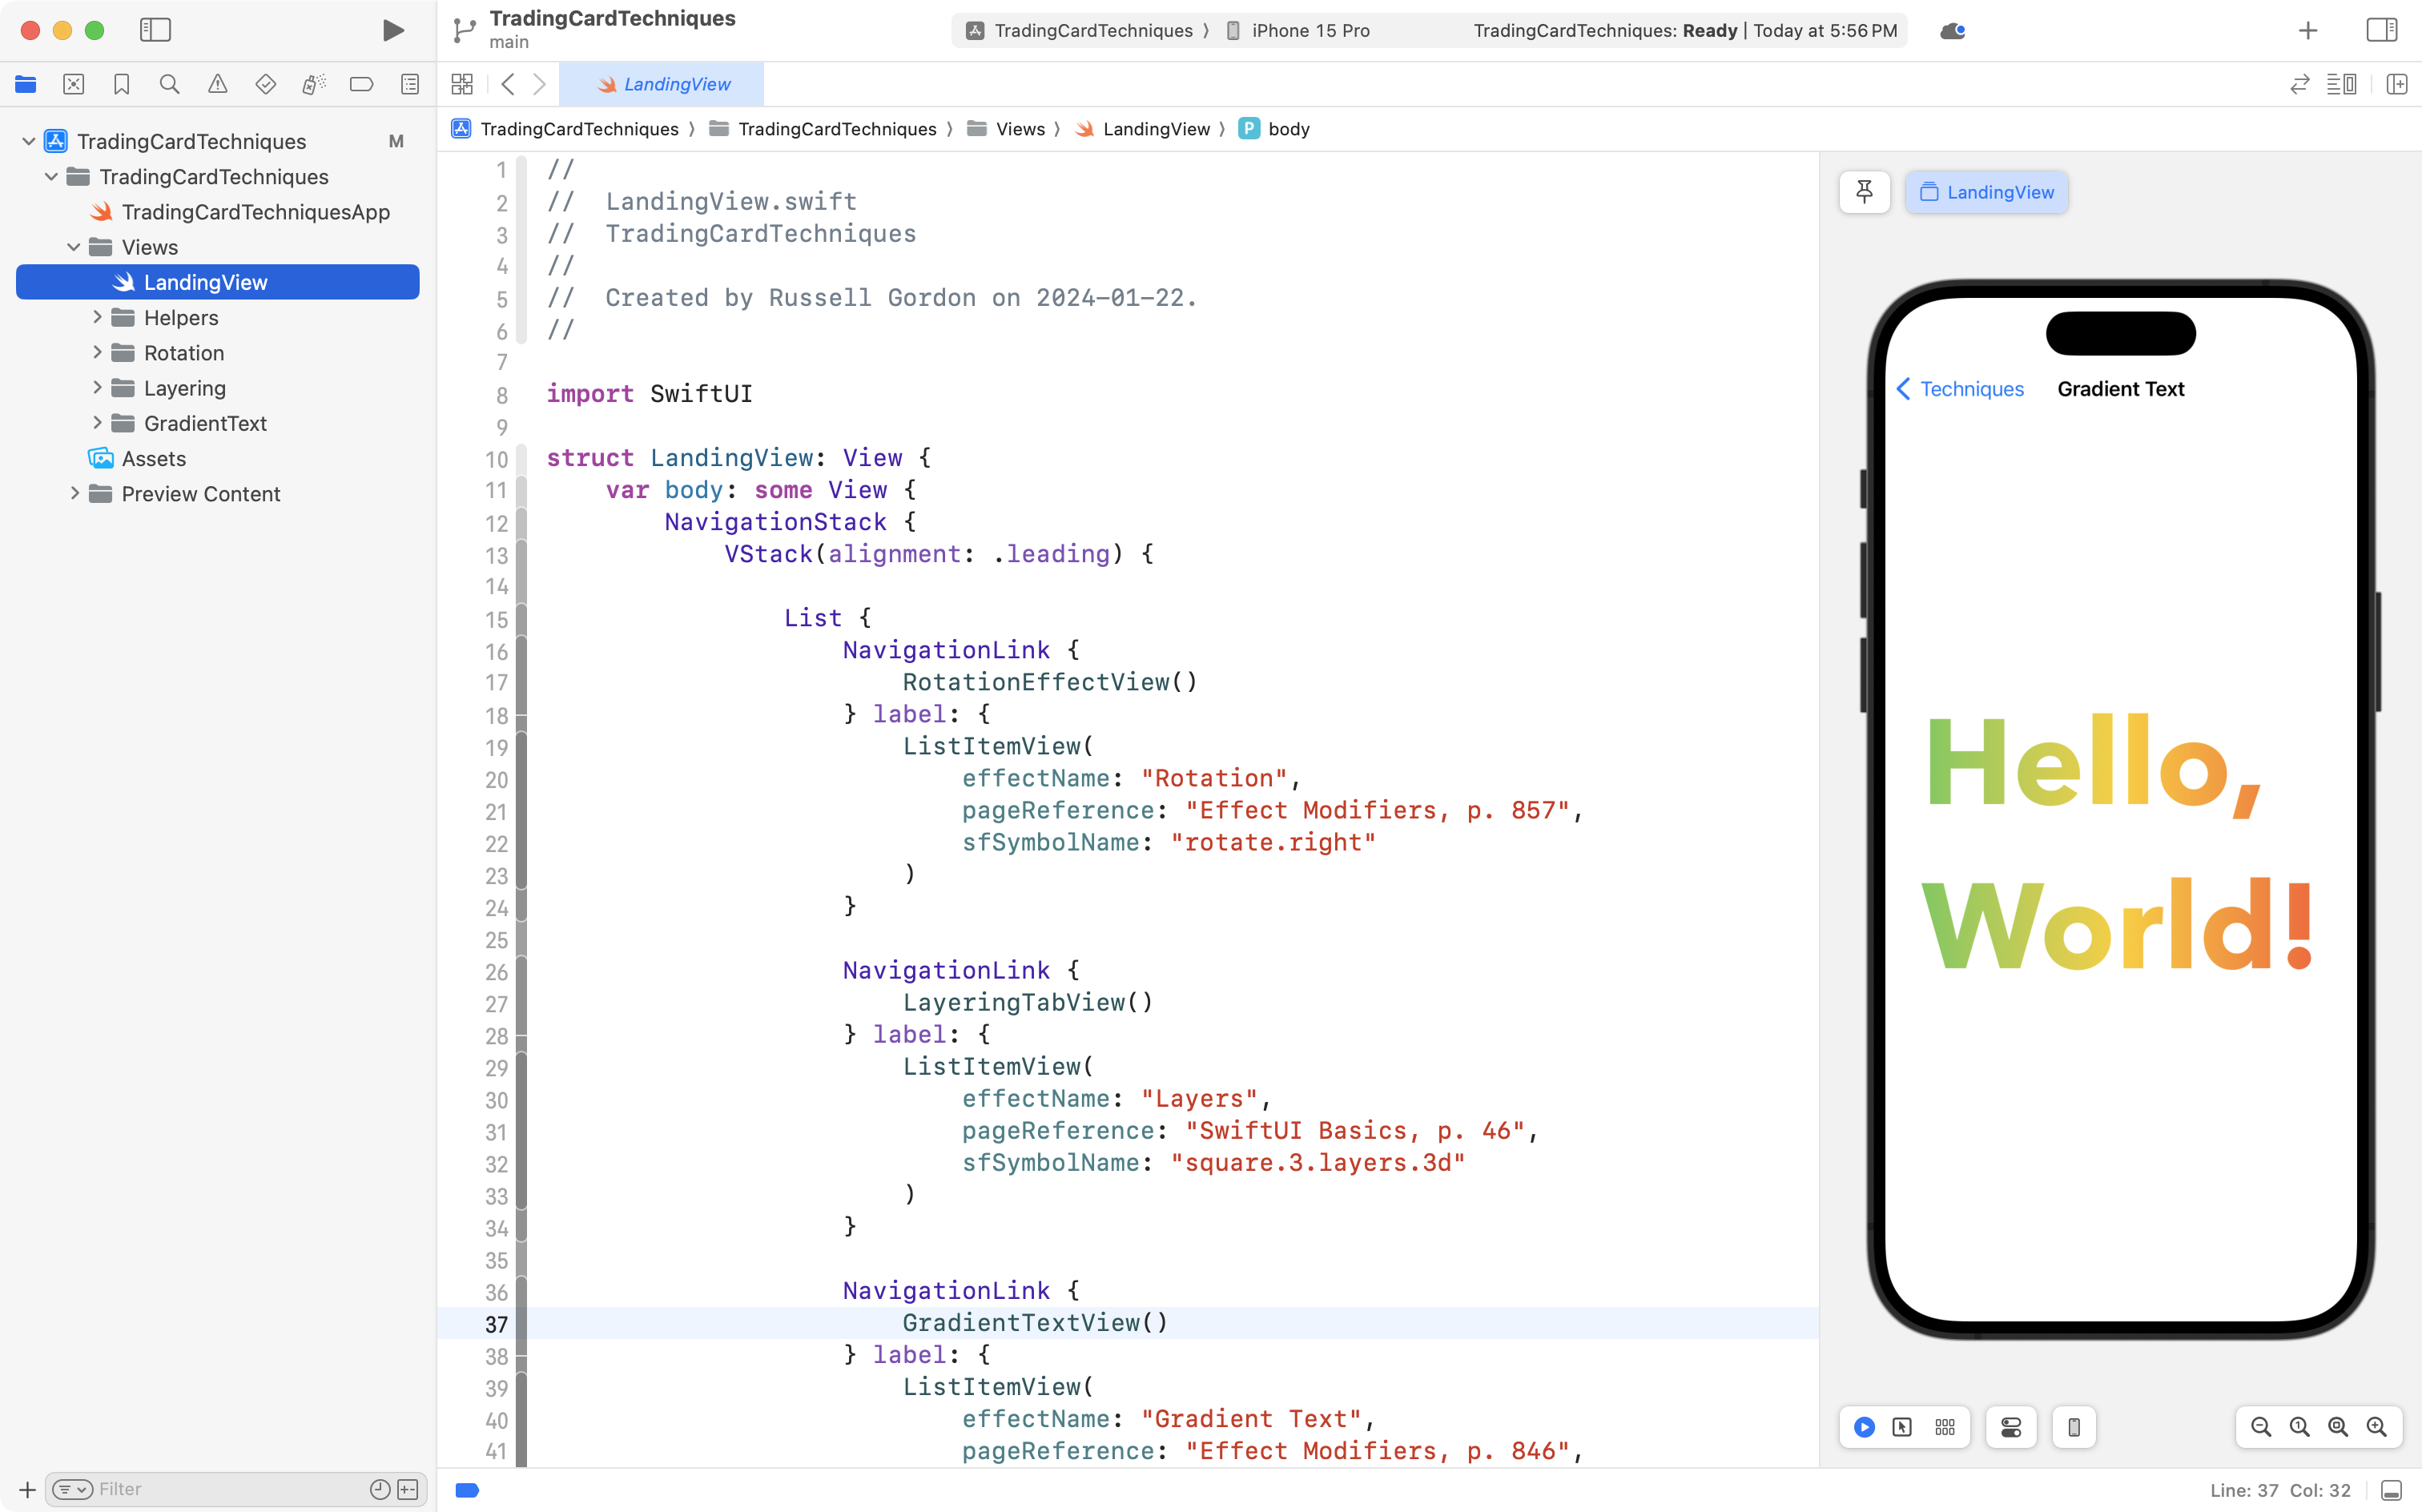
Techniques
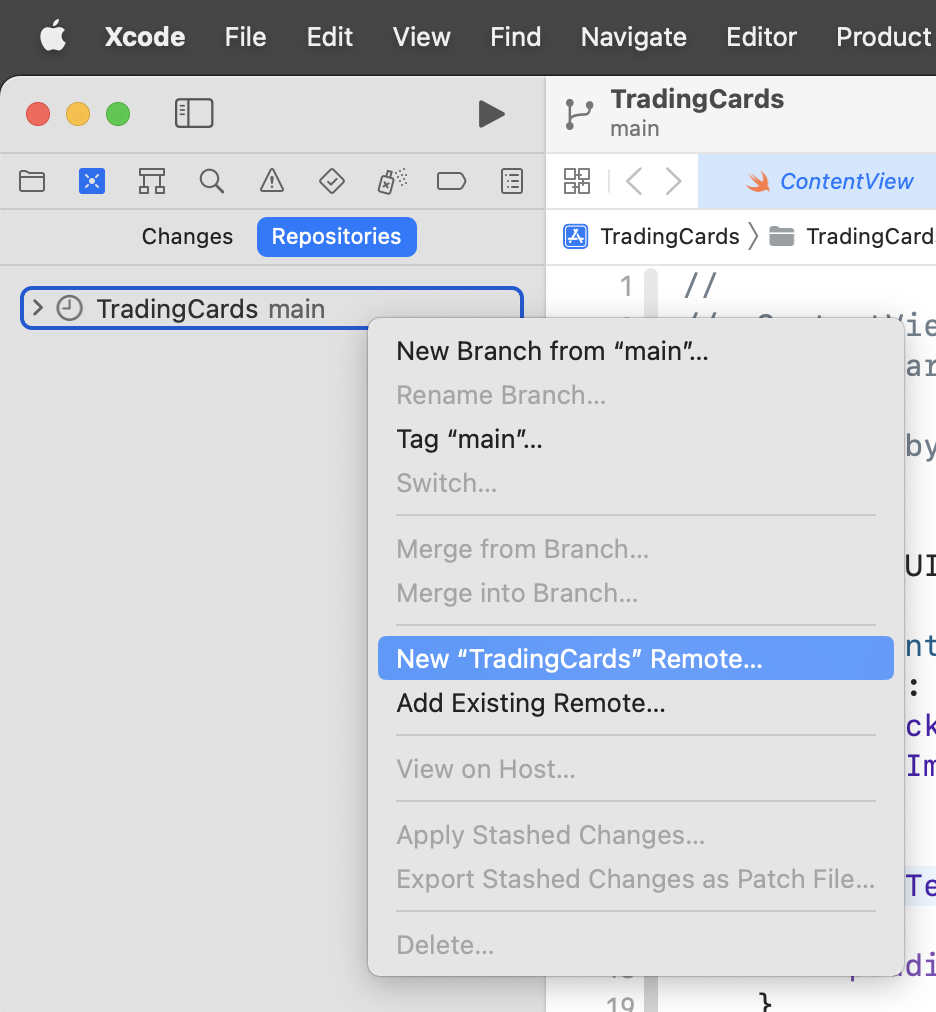
You can clone this repository to see some useful examples and tips.
Choose Integrate > Clone… in Xcode, paste in the repository address, then choose a location to store the project on your computer.
Final advice
IMPORTANT
Do not use frames for positioning. Your layout should work well on multiple screen sizes.
Put another way, use frames only to size the width or height of an image, but not both.