In part three of this task, you improved the to-do list app so that it persisted data even when the app was quit.
However, you lost the ability to use the Xcode Previews window for each individual view within your app.
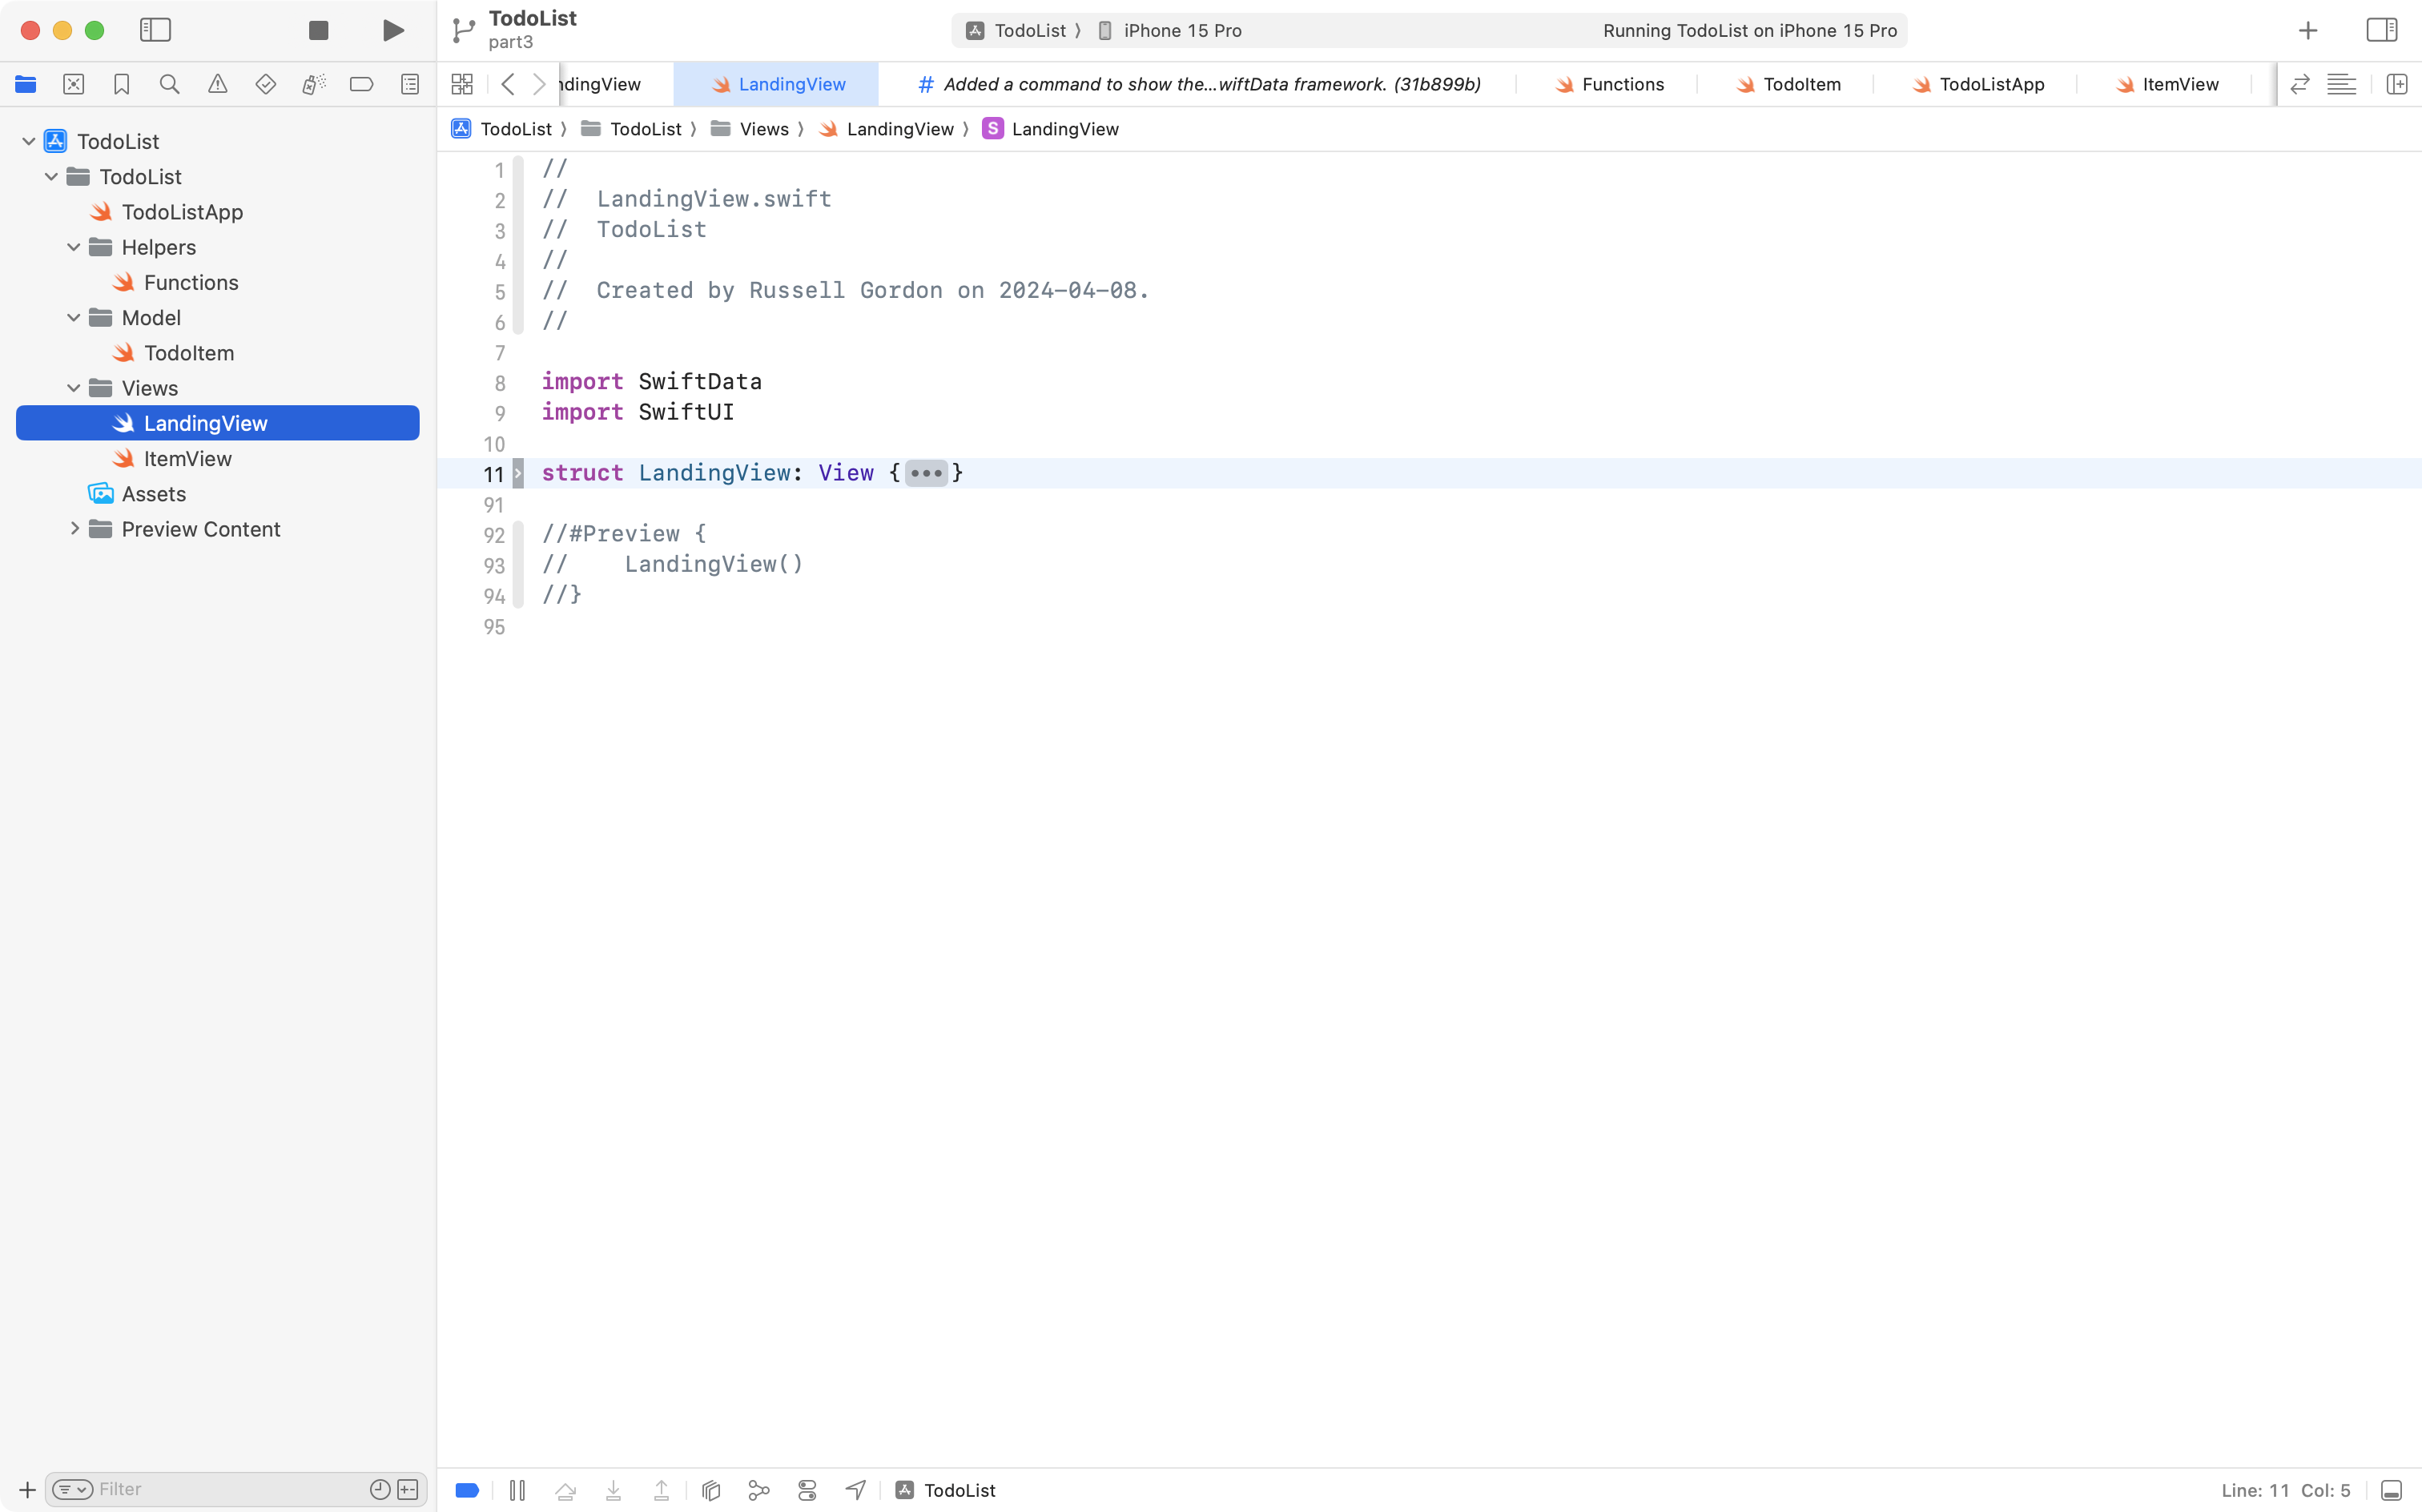
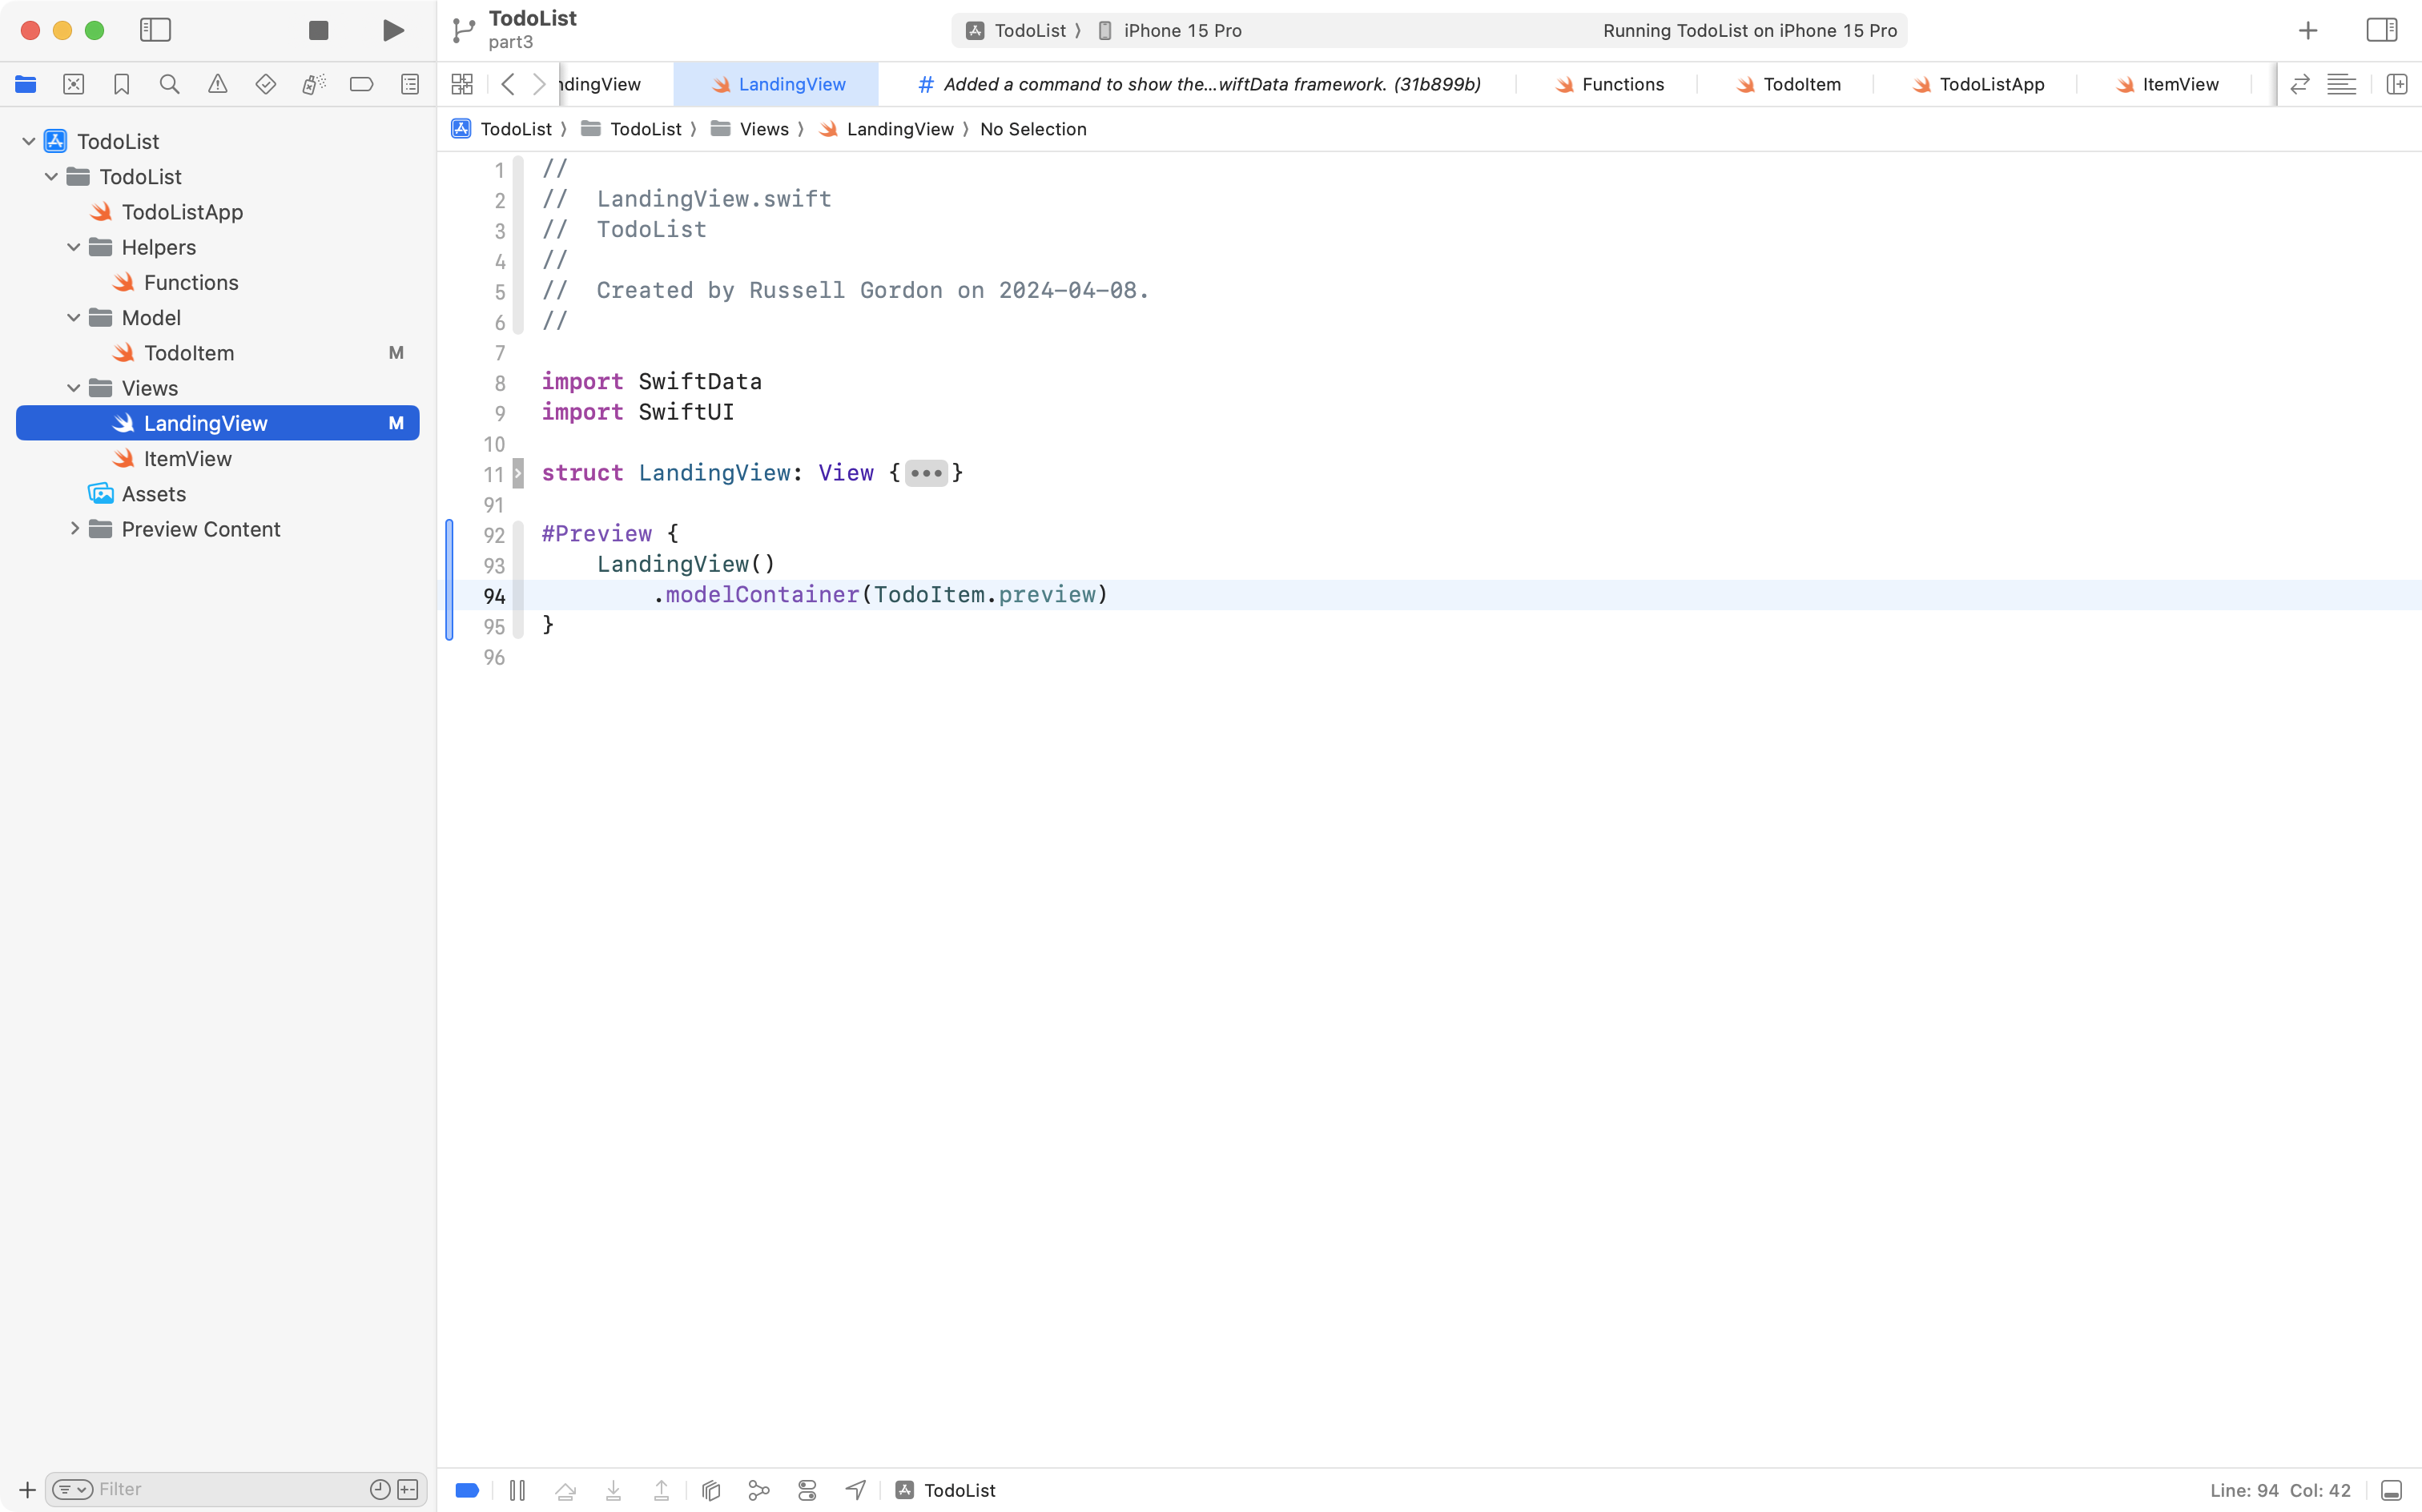
This is what LandingView should look like, at present, in your project, if the LandingView structure is folded up:
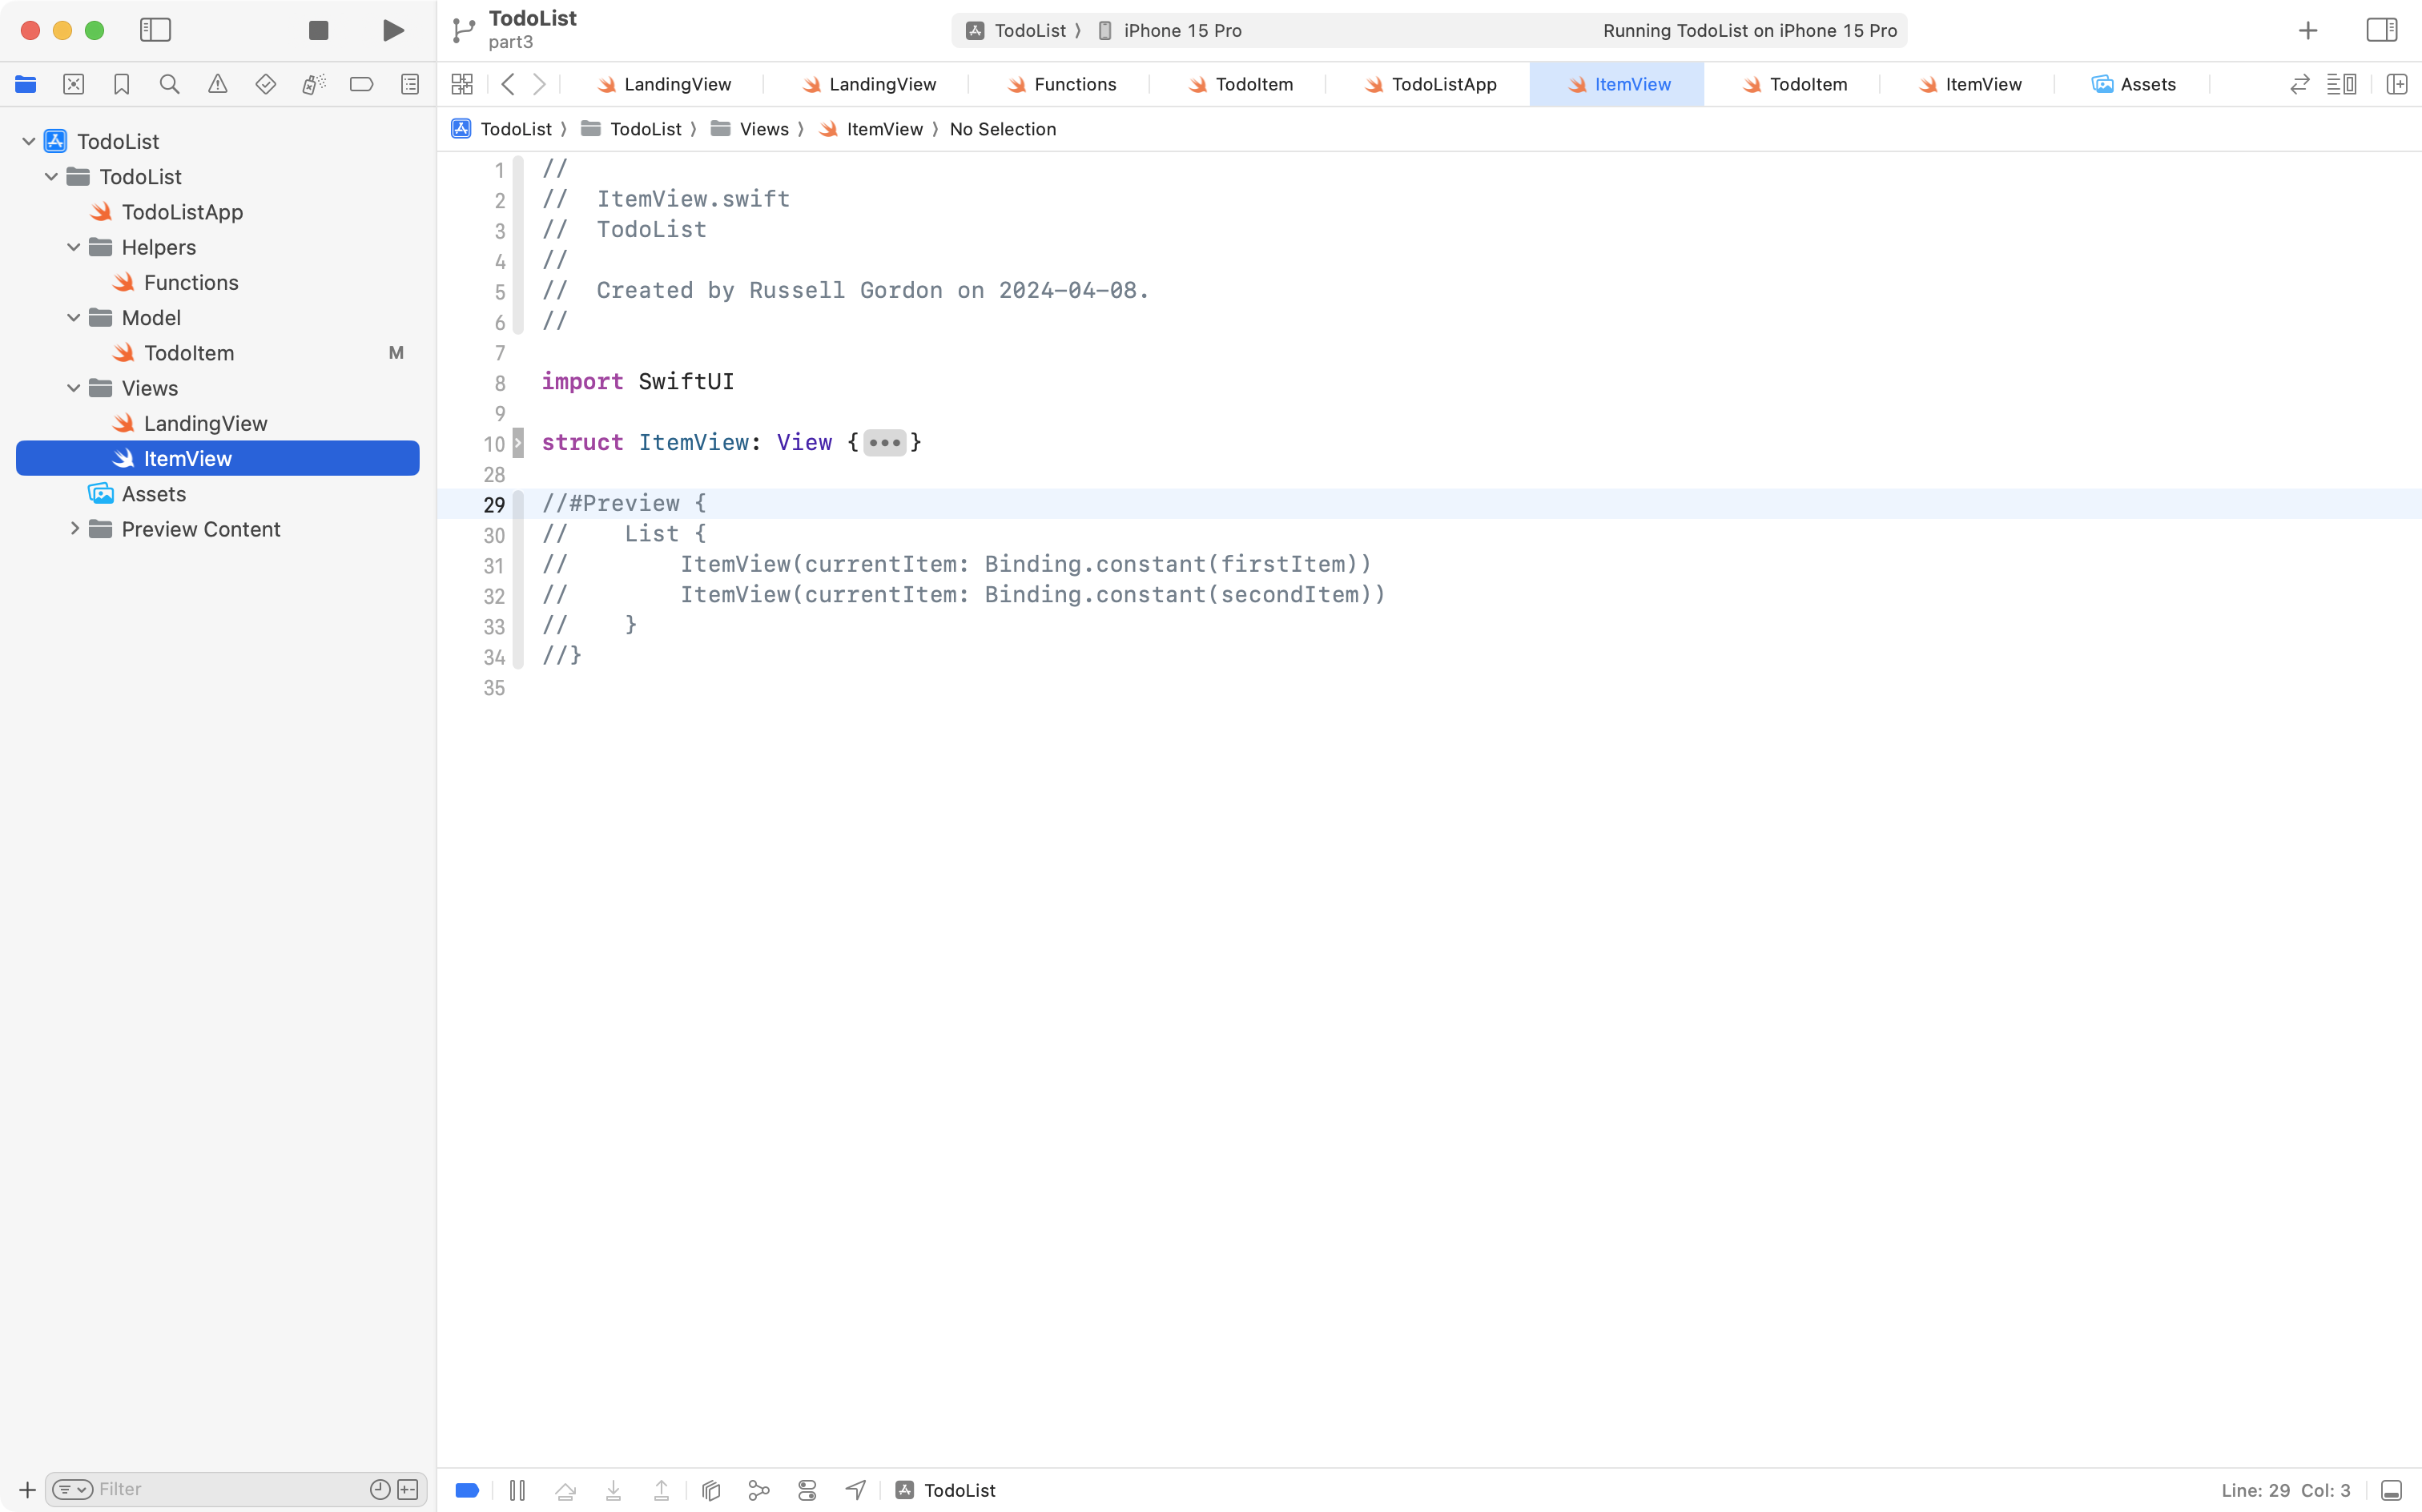
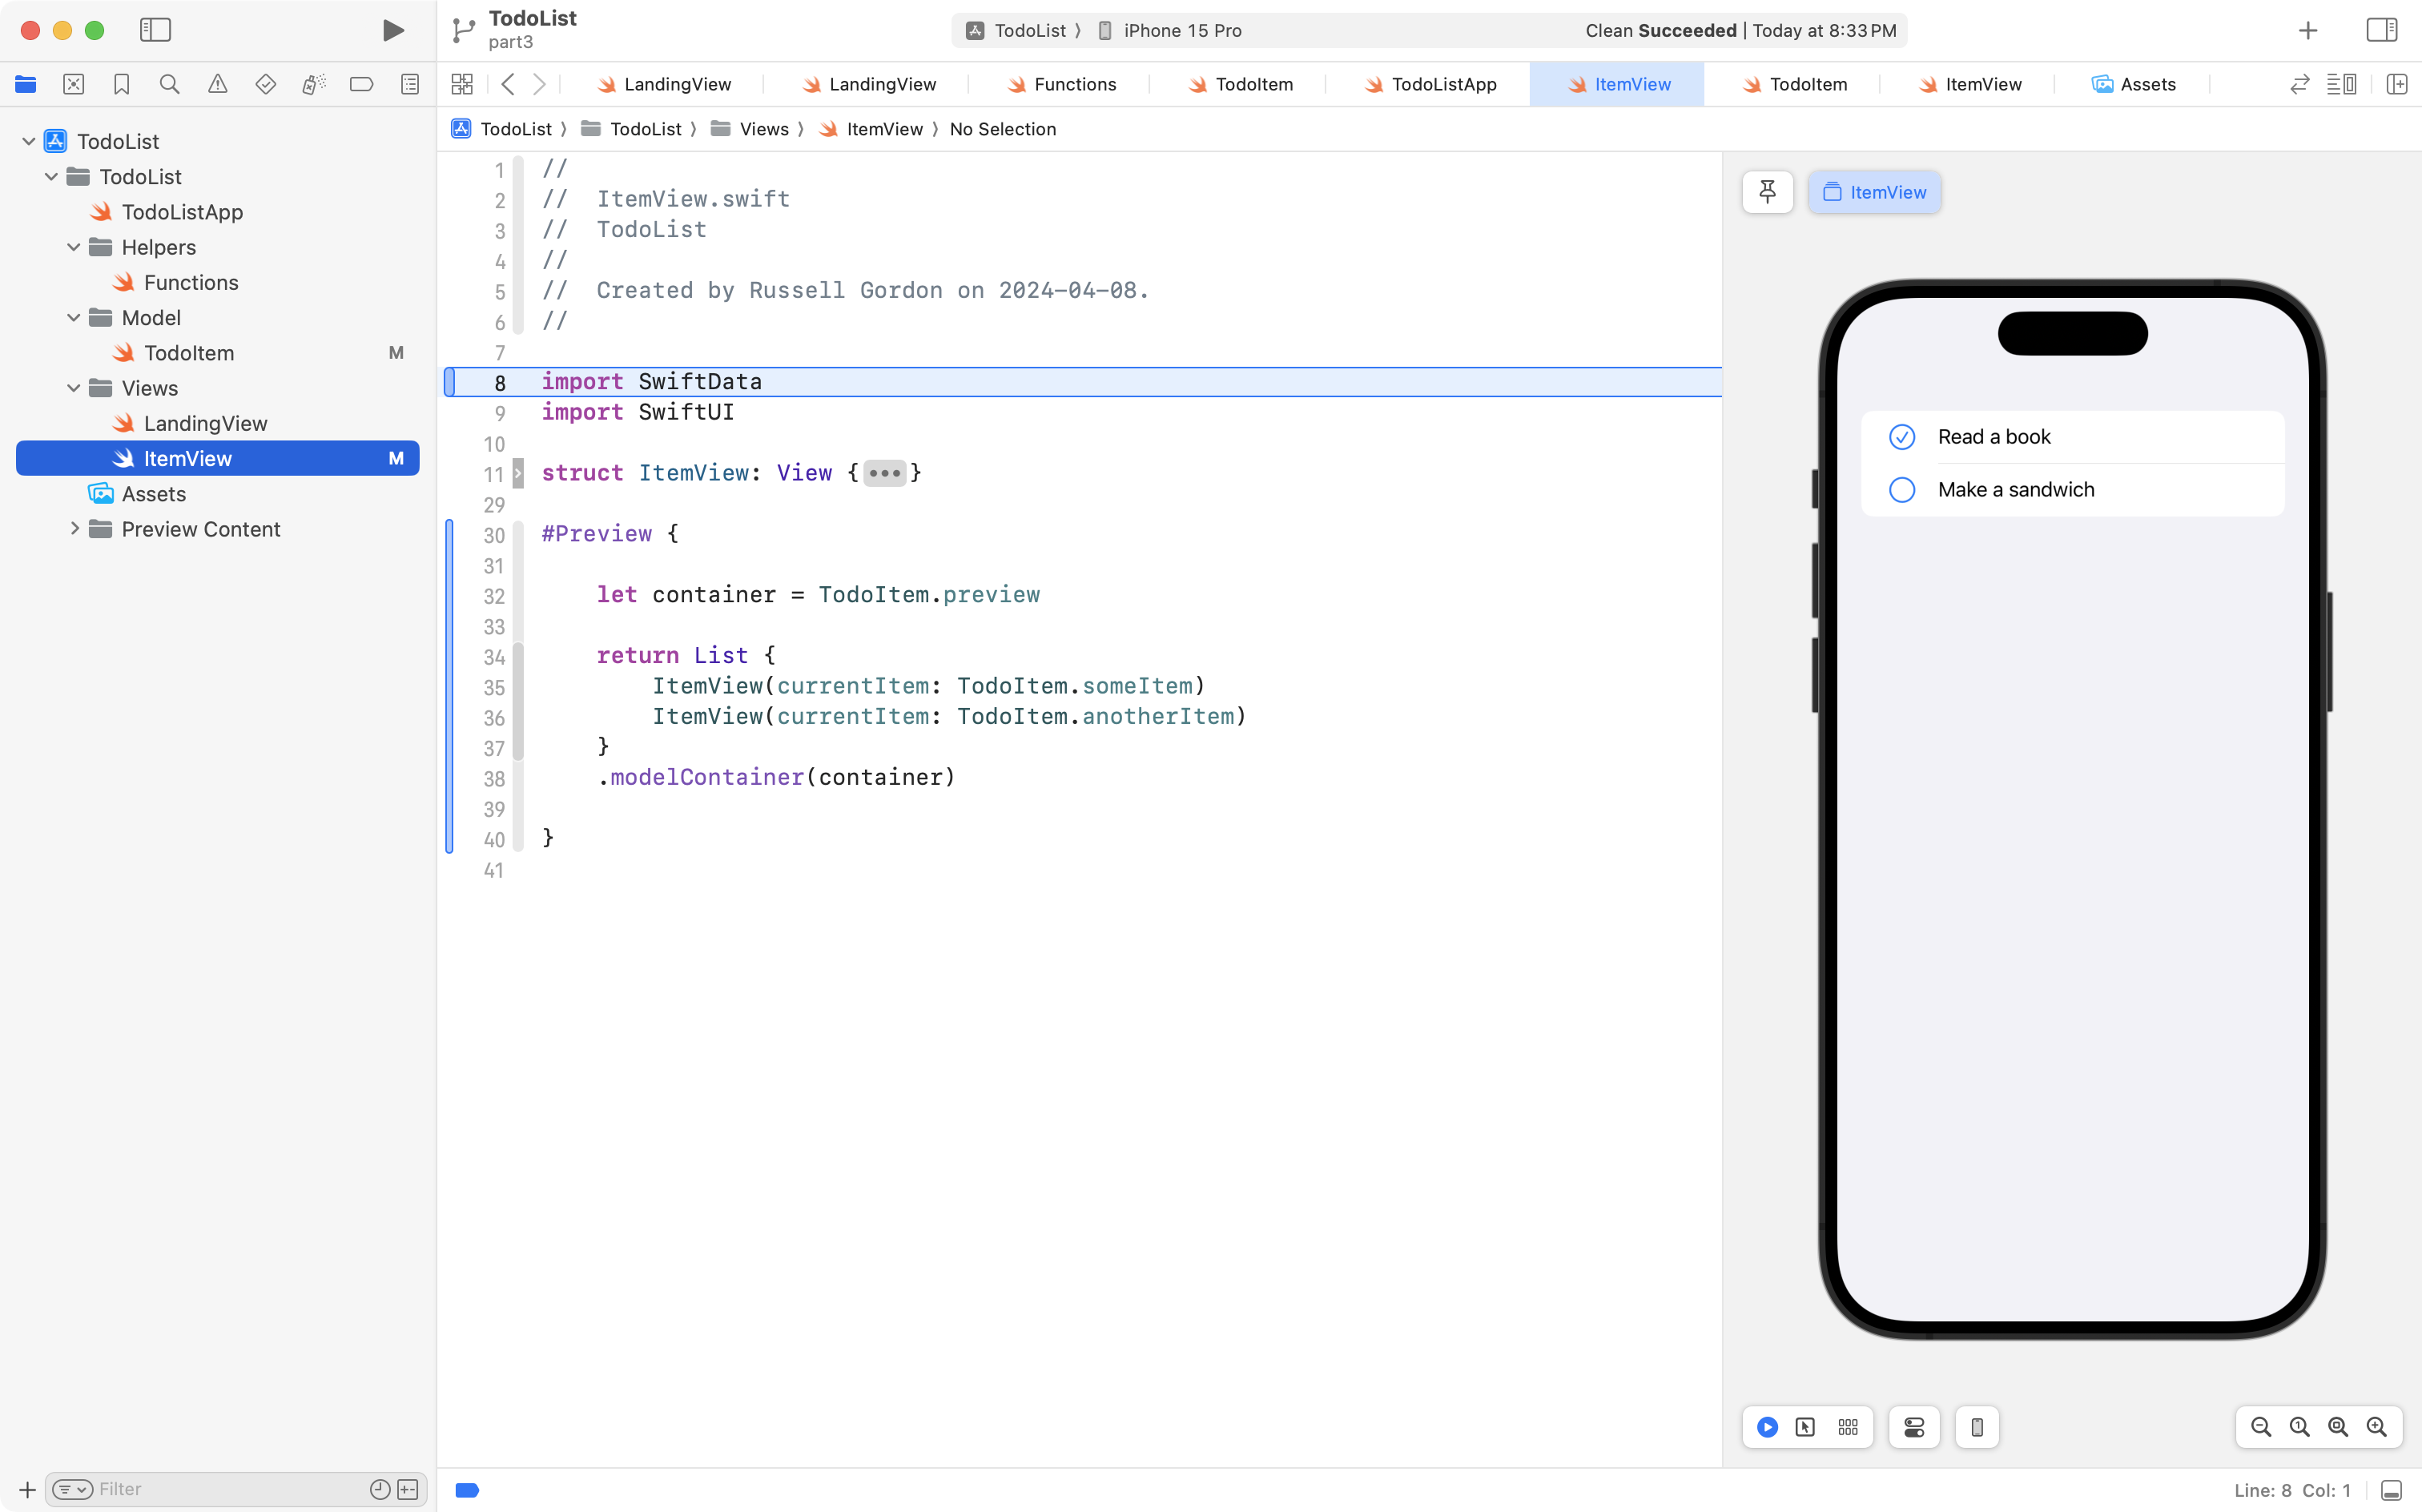
This is what the ItemView structure should look like:
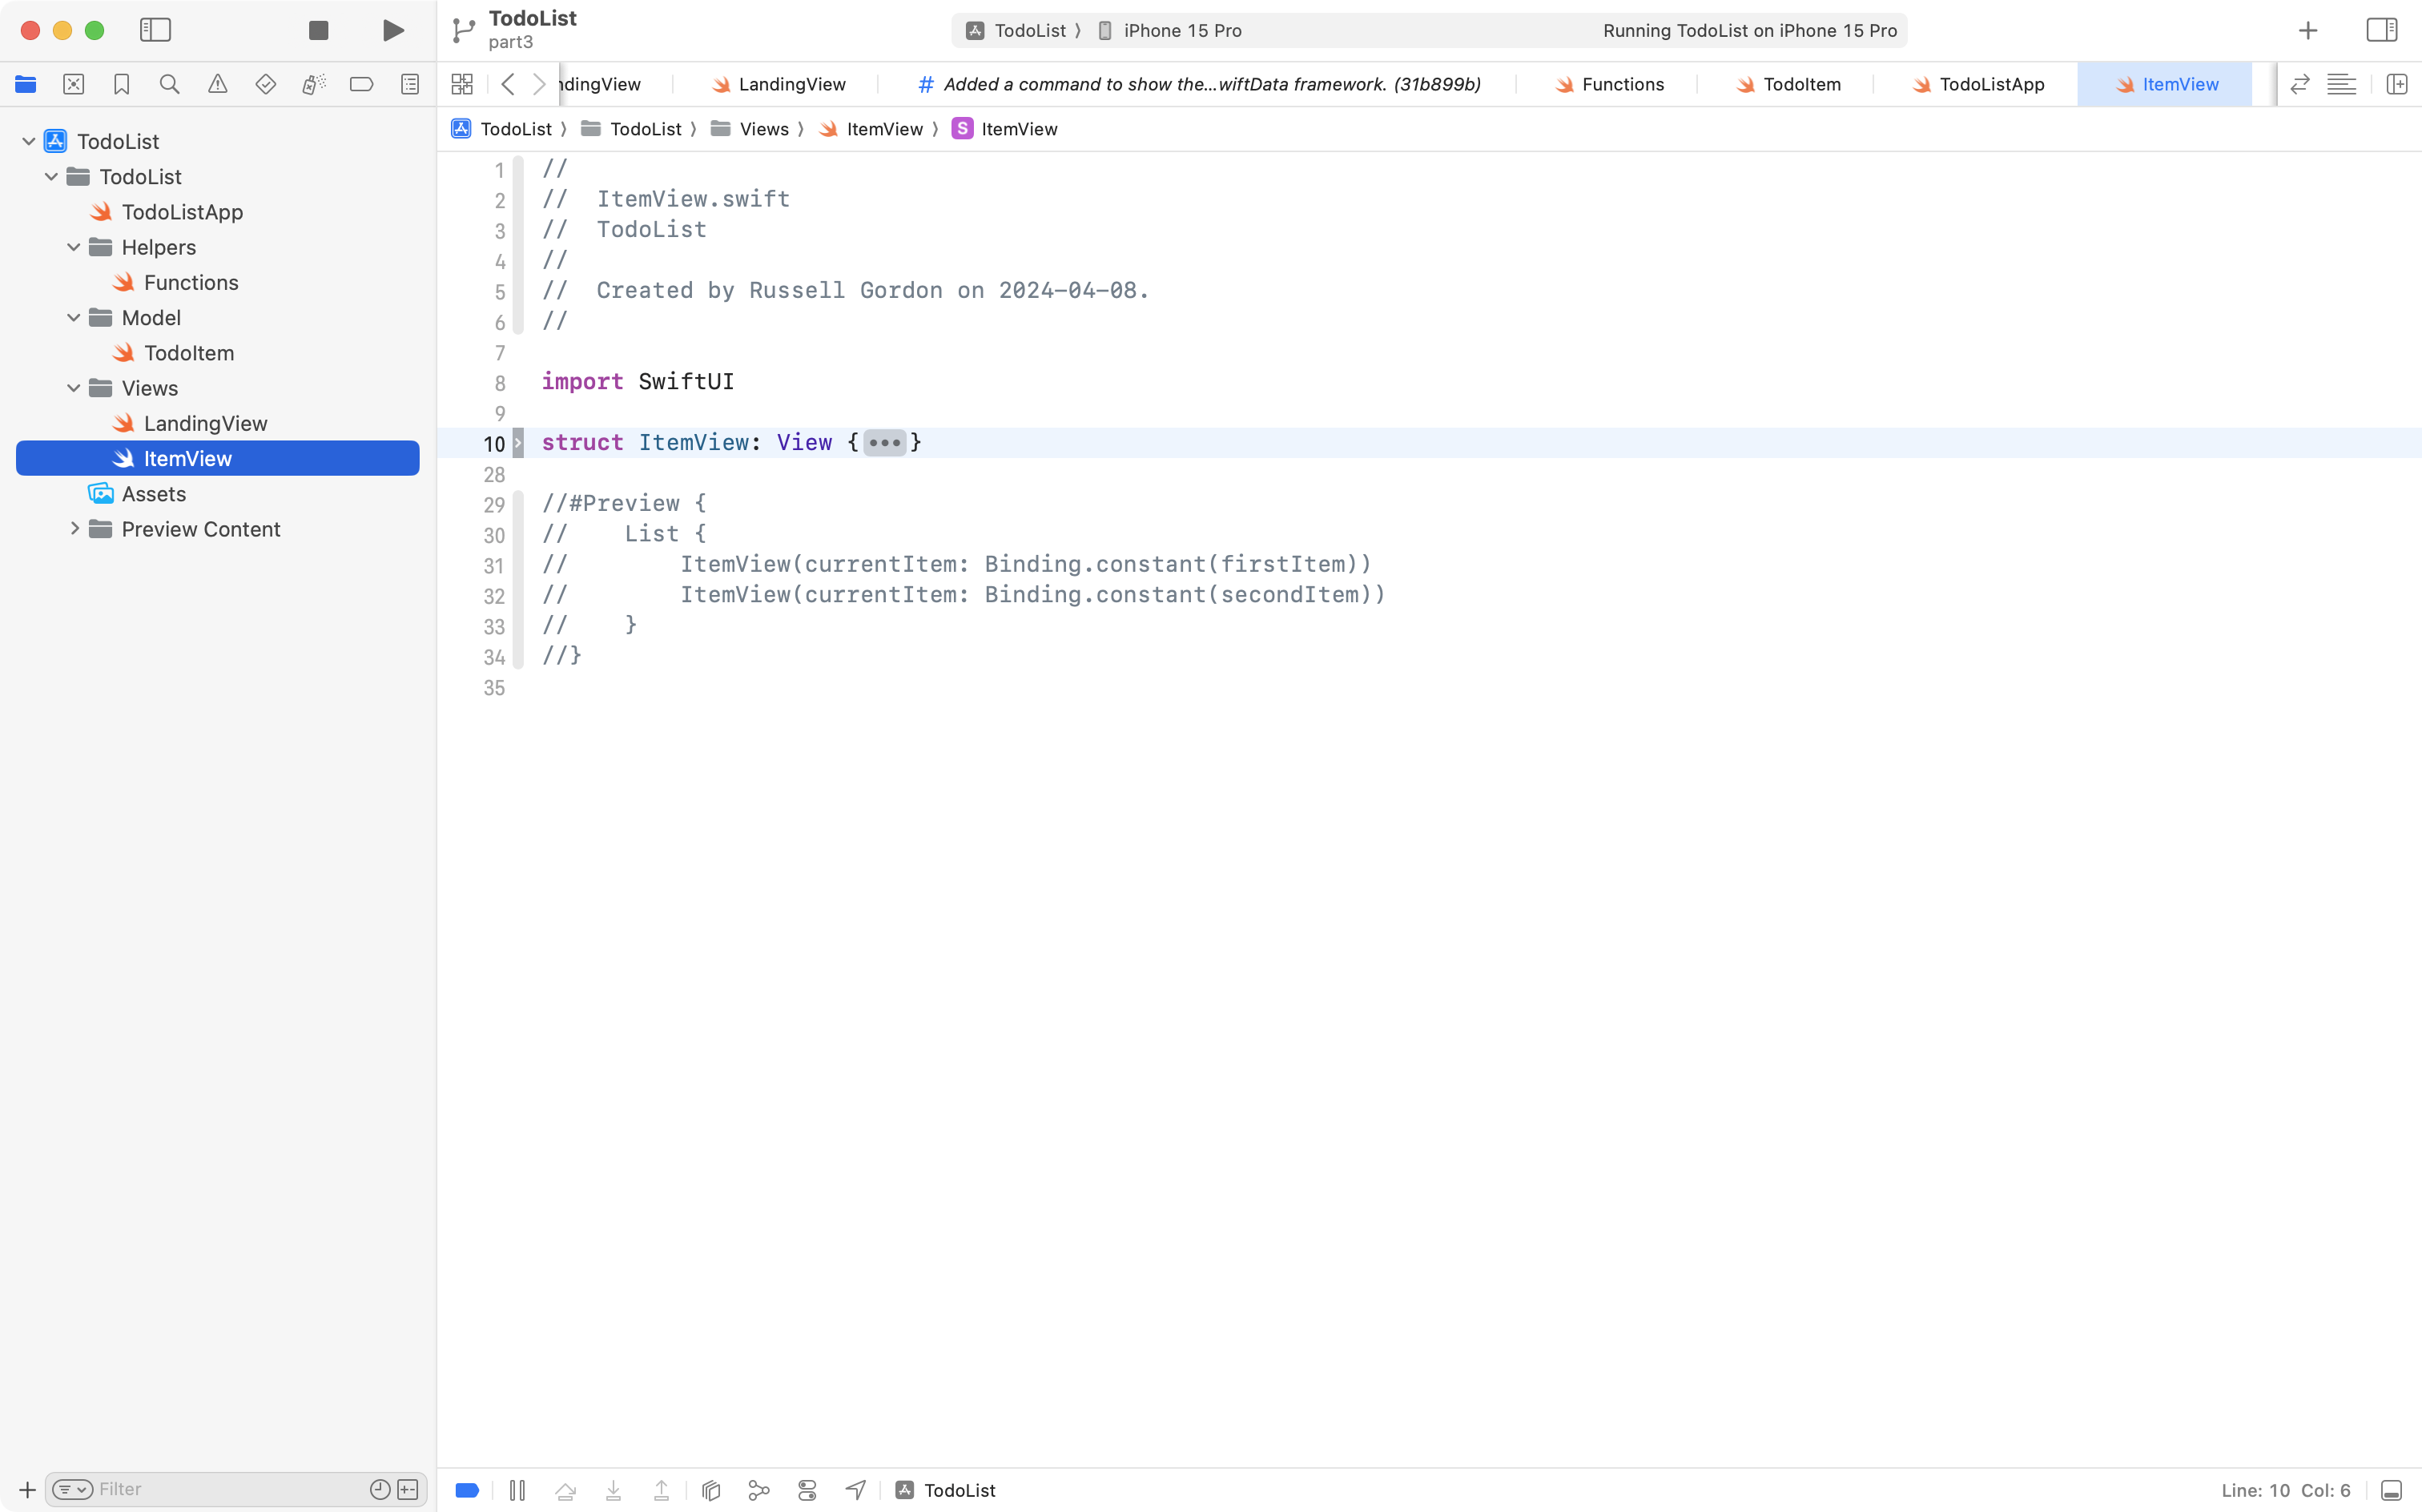
Since the preview structure is commented out in each case, we cannot see the Xcode Previews window in the Canvas area.
You will now learn how to correct this situation.
Using Xcode Previews with SwiftData
Generally speaking, Xcode Previews windows should not be used to test an entire app.
They are meant for trying out just part of our app, typically using a small amount of mock (pretend) data that we don’t want to keep around long-term.
In situations like this, we can still use SwiftData, but we can keep the container in-memory, rather than asking SwiftData to persist the data on permanent storage.
Adjust mock data in the model
To get started, navigate to the TodoItem model, and highlight the existing code that created example data for us:
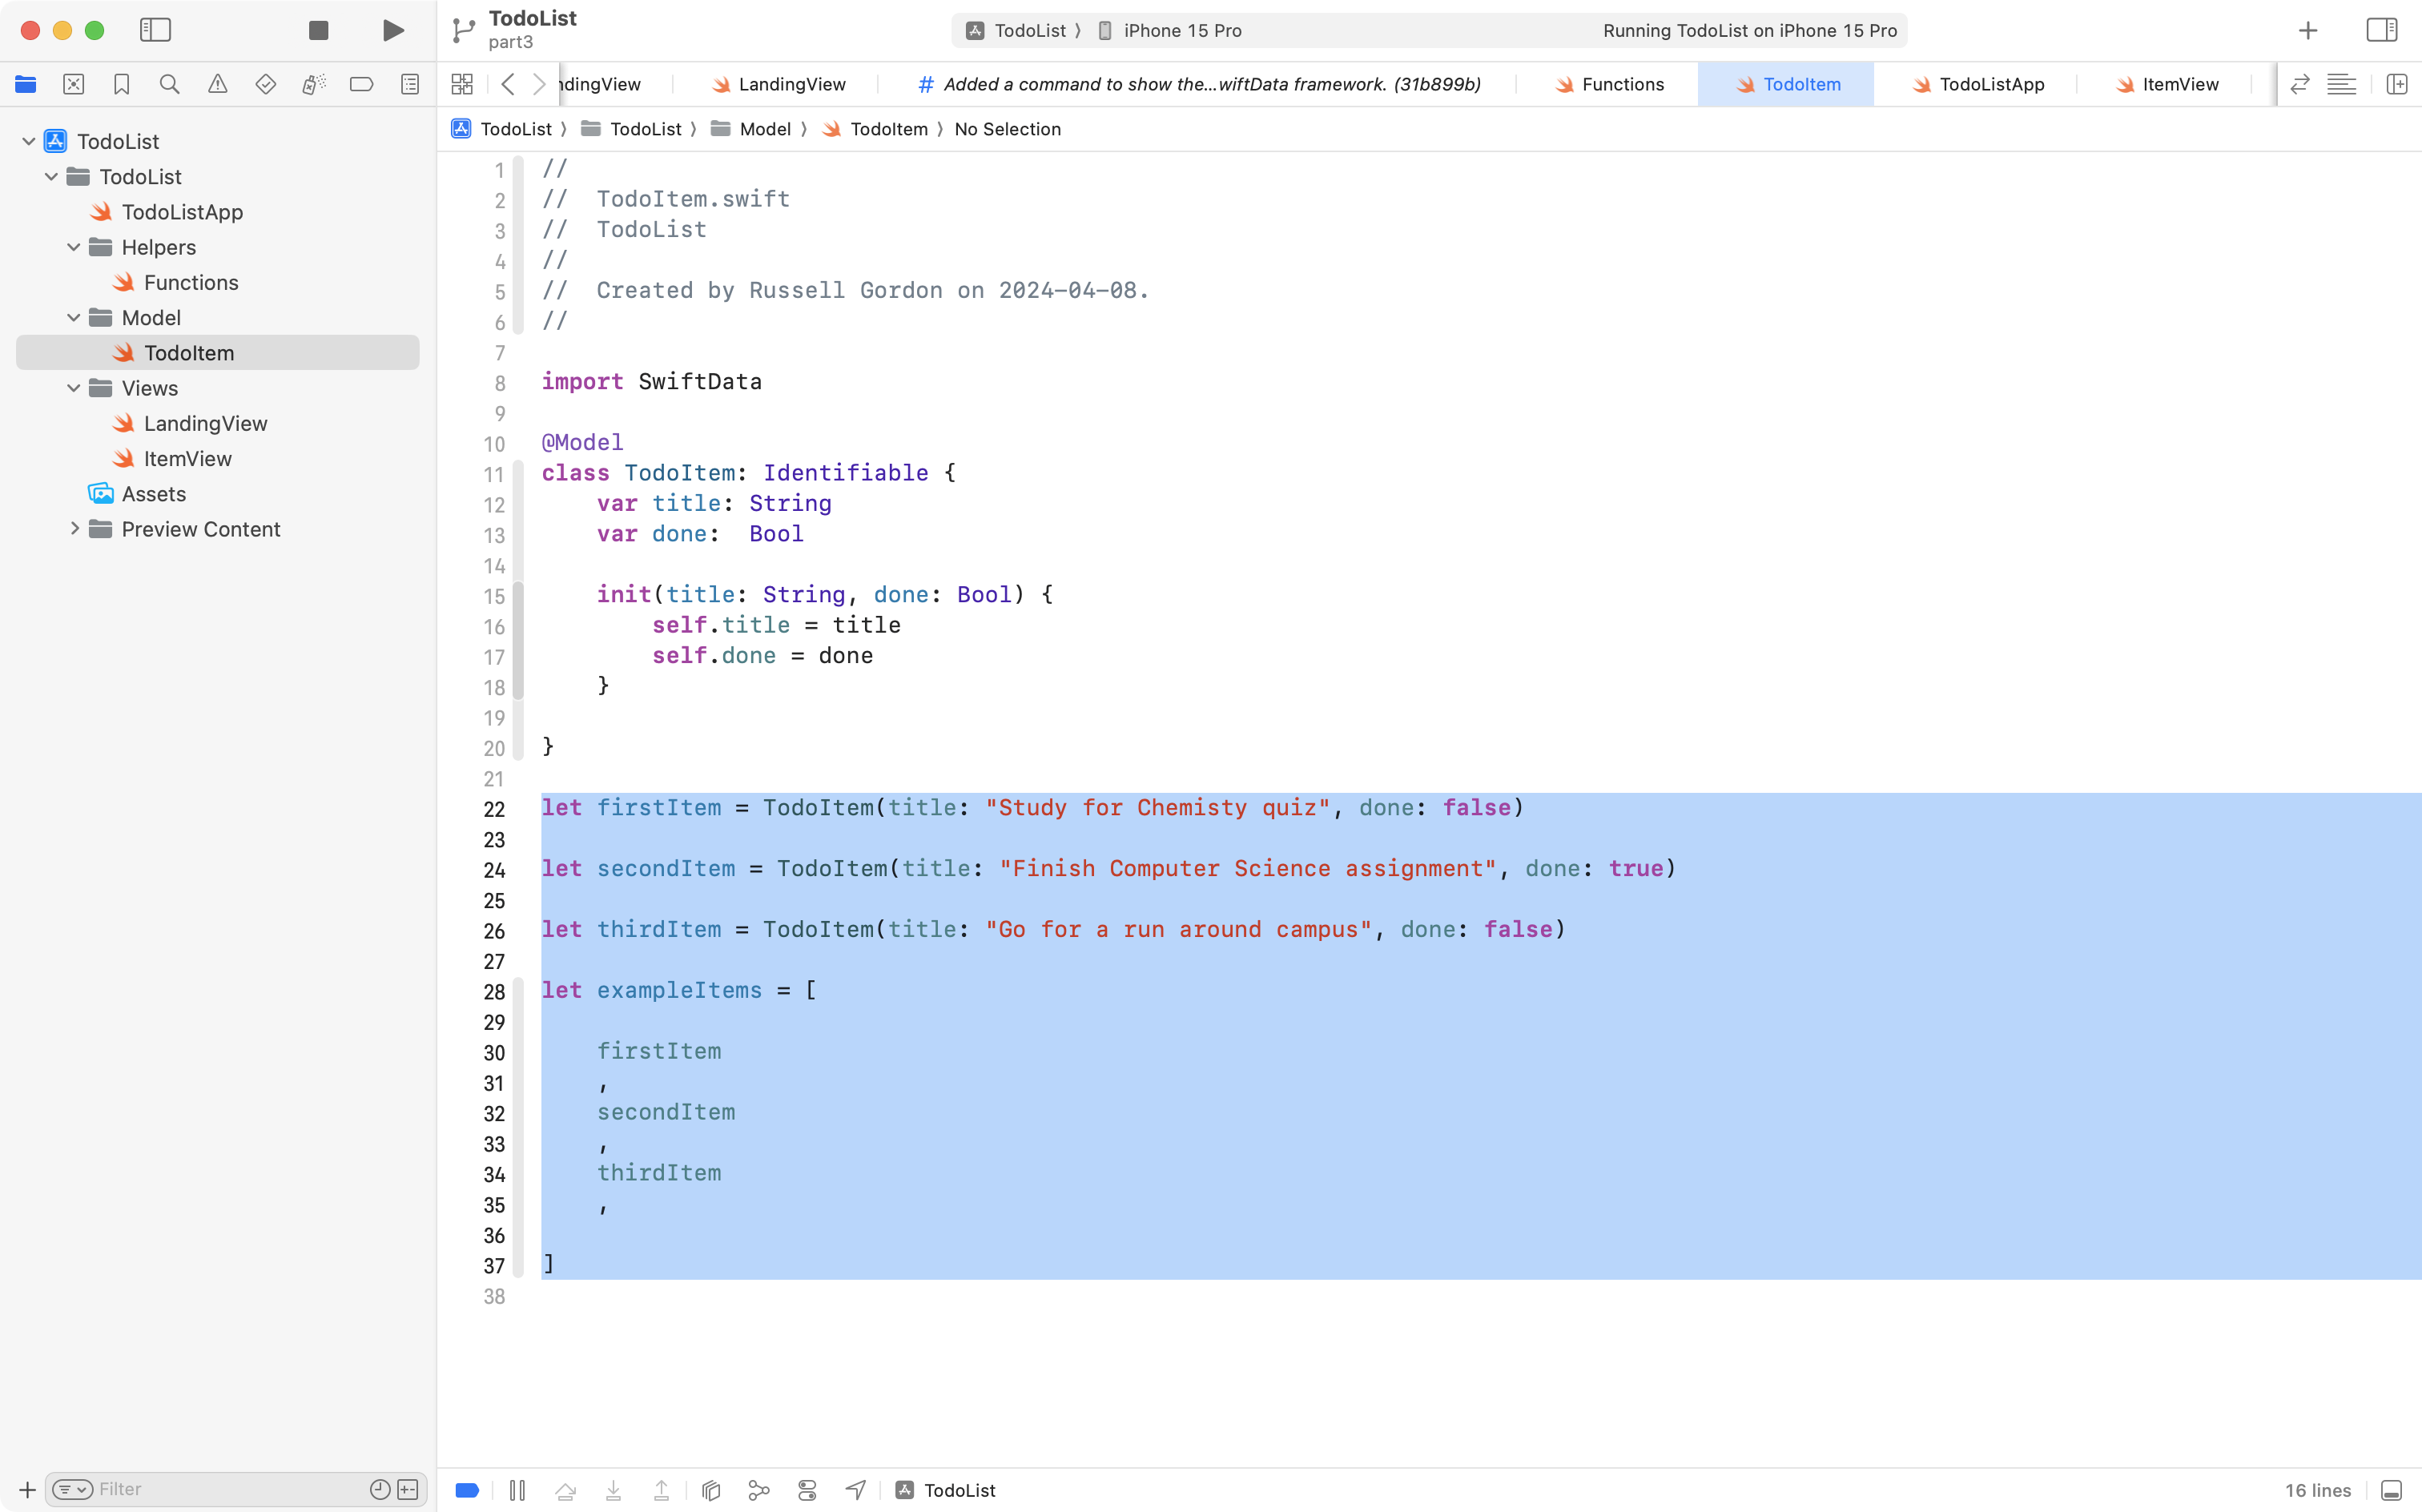
Delete that code, and add this code instead:
extension TodoItem {

    @MainActor
    static var preview: ModelContainer {

        let container = try! ModelContainer(
            for: TodoItem.self,
            configurations: ModelConfiguration(isStoredInMemoryOnly: true)
        )

        // Add mock data
        container.mainContext.insert(
            TodoItem(title: "Go for a walk", done: false)
        )
        container.mainContext.insert(
            TodoItem(title: "Have a nap", done: true)
        )
        container.mainContext.insert(
            TodoItem(title: "Call mom", done: false)
        )

        return container
    }
}
… like this:
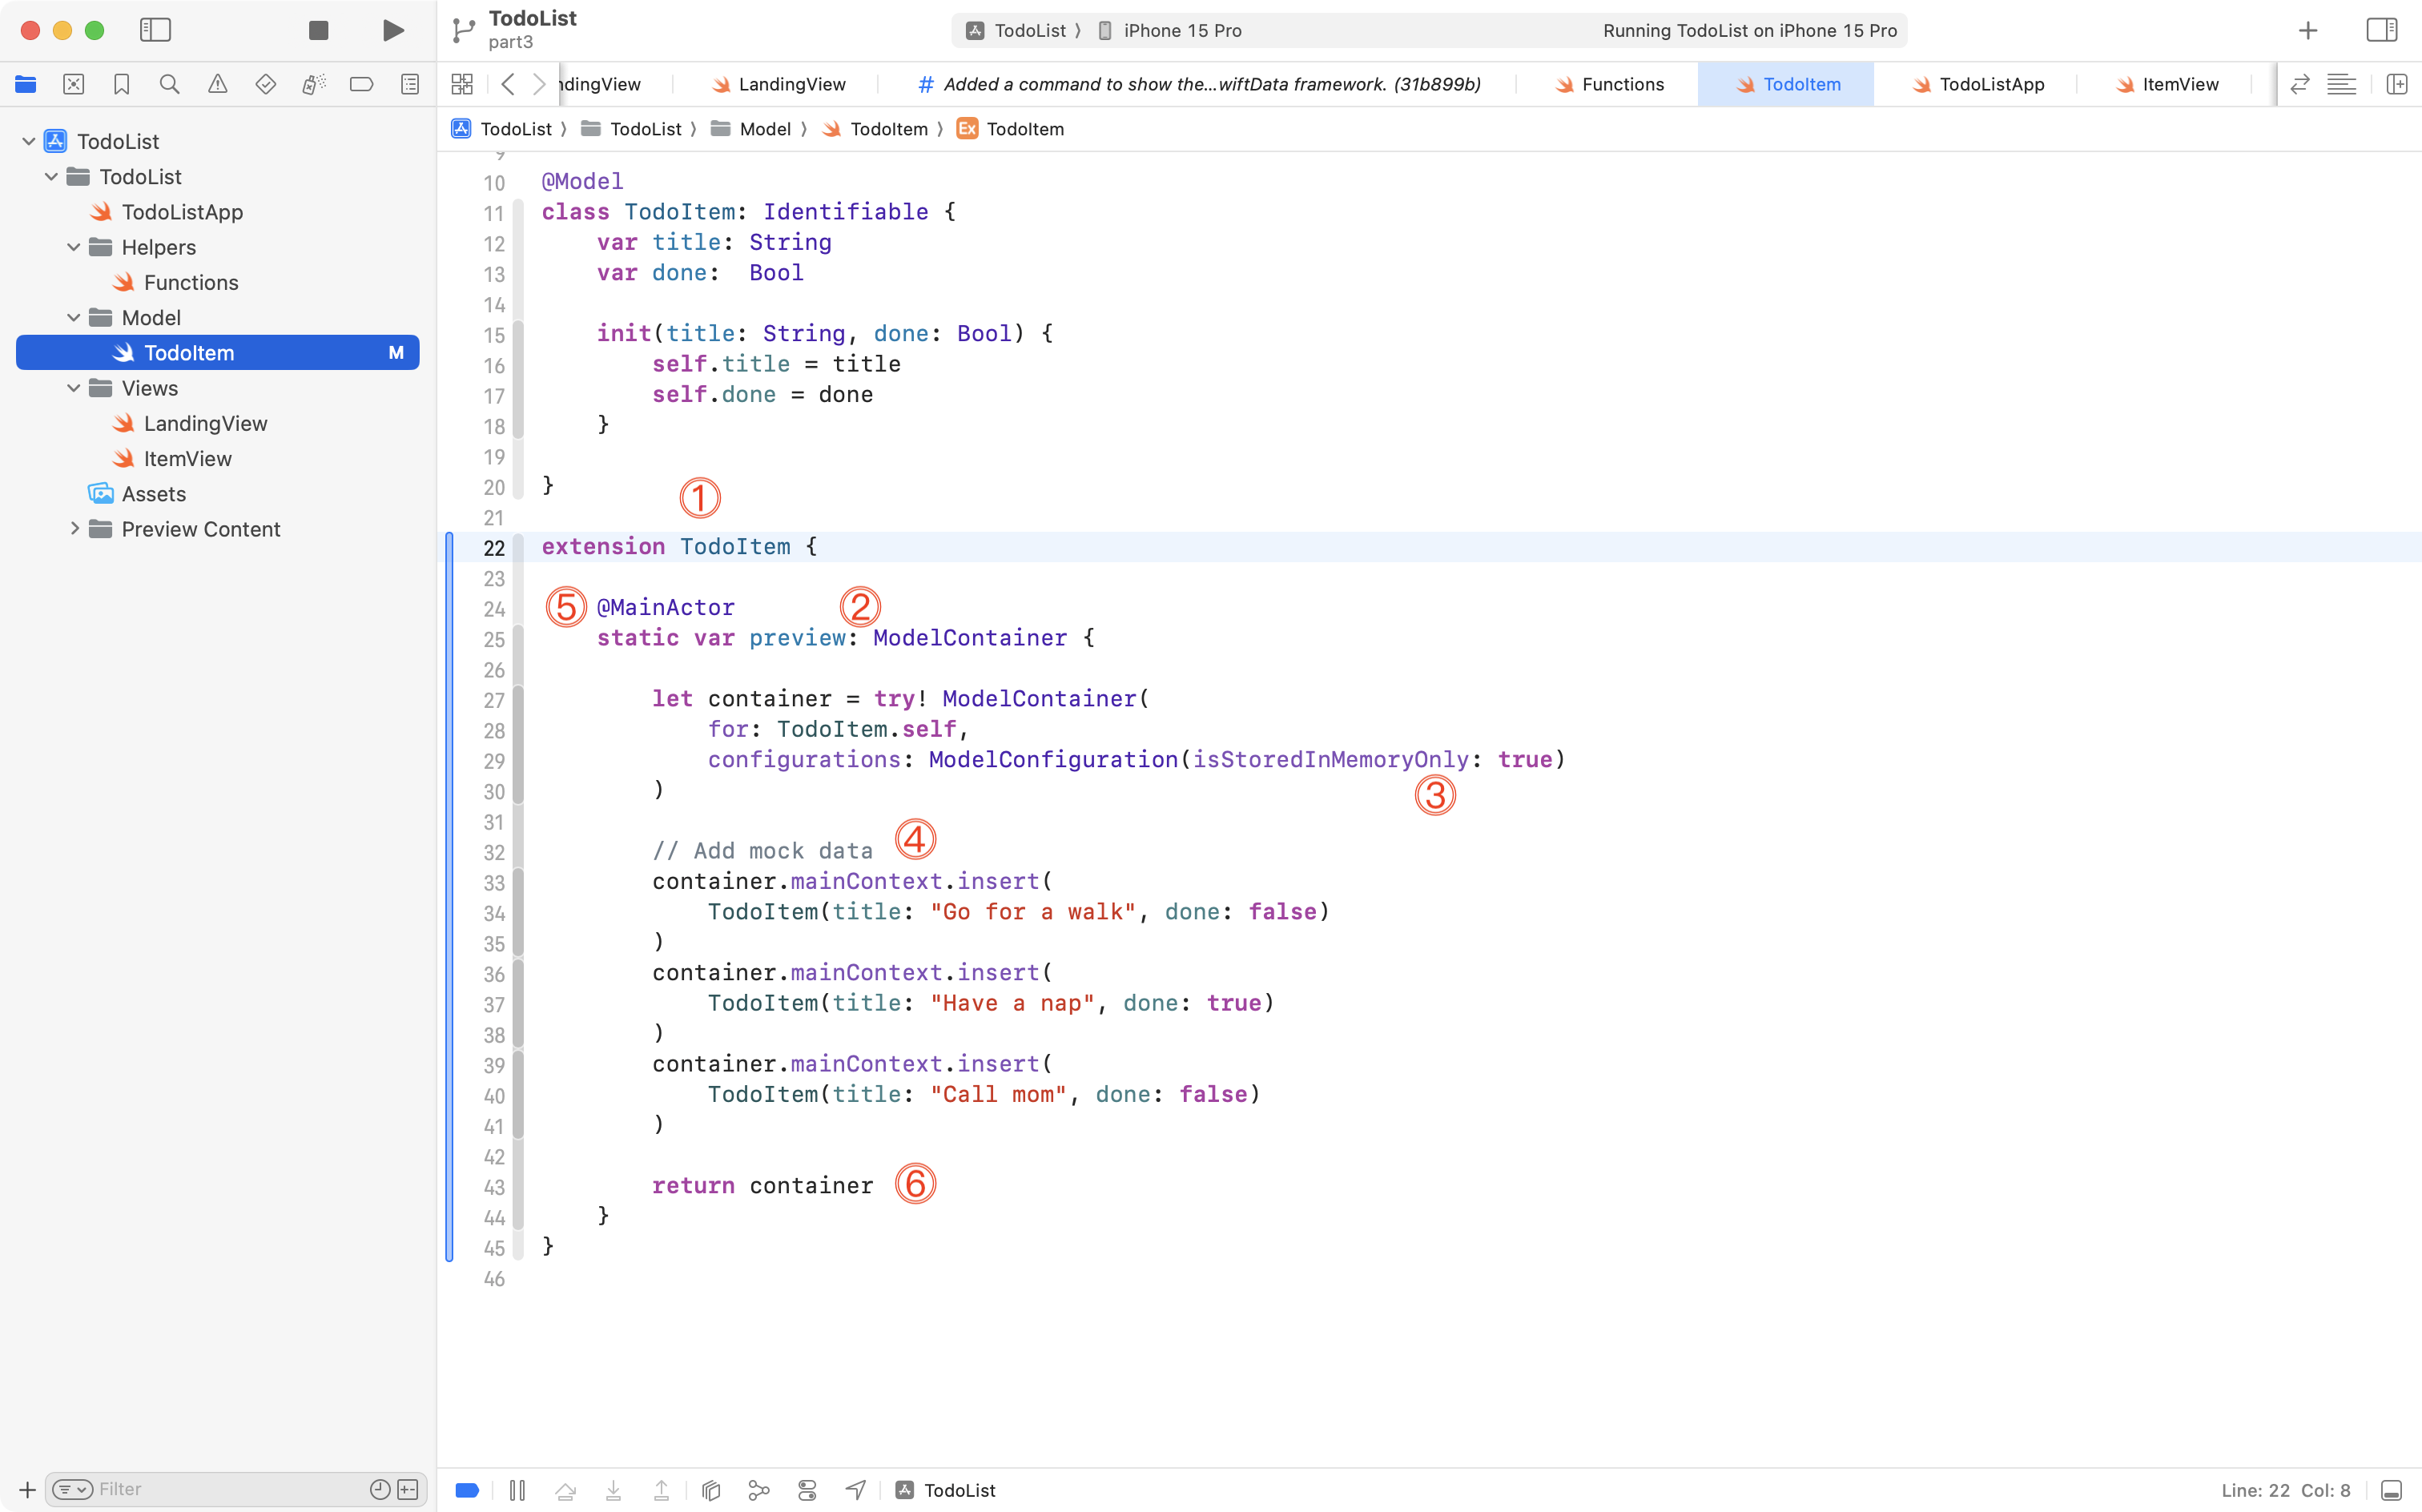
There’s a lot going on there, so let’s break that down.
DISCUSSION
- We are adding functionality to our model,
TodoItem, by way of an extension.- We are creating a computed property named
preview. It is marked with thestatickeyword so that we do not have to create an instance ofTodoItemto use this property (more on that soon). The computed property returns an instance of the datatypeModelContainerwhich is used to store information.- The container is “in-memory” only which means data won’t actually be persisted – which is perfect for use with Xcode Previews.
- We use the context that SwiftData automatically makes available from the container. That context exists on the main thread of the app – this is implied by it’s name –
mainContext. We use this context to insert three instances of mock data using theTodoItemmodel.- Computers run many threads at a time to do work on our behalf. Applications written in SwiftUI are automatically made multi-threaded to take advantage of modern CPU architectures. We cannot run this computed property on a background thread if it is using a context on the main thread to insert data. By using the
@MainActorkeyword we are telling Swift to run this computed property on the main thread of our app.- Finally, the in-memory container with our mock data is returned from the static computed property.
Will you ever be tested on your ability to memorize how this section of code works? No.
However, it is good to have an understanding of what code you are adding to your app does. You can always come back to this explanation if you forget exactly how this code works!
So, let’s continue.
To use this new code, switch to the LandingView file, and find the code we commented out at the bottom:
Un-comment the code by highlighting it, then pressing the Command / keyboard shortcut. As an alternative, you can use the menu sequence Editor > Structure > Comment Selection.
Then add this code:
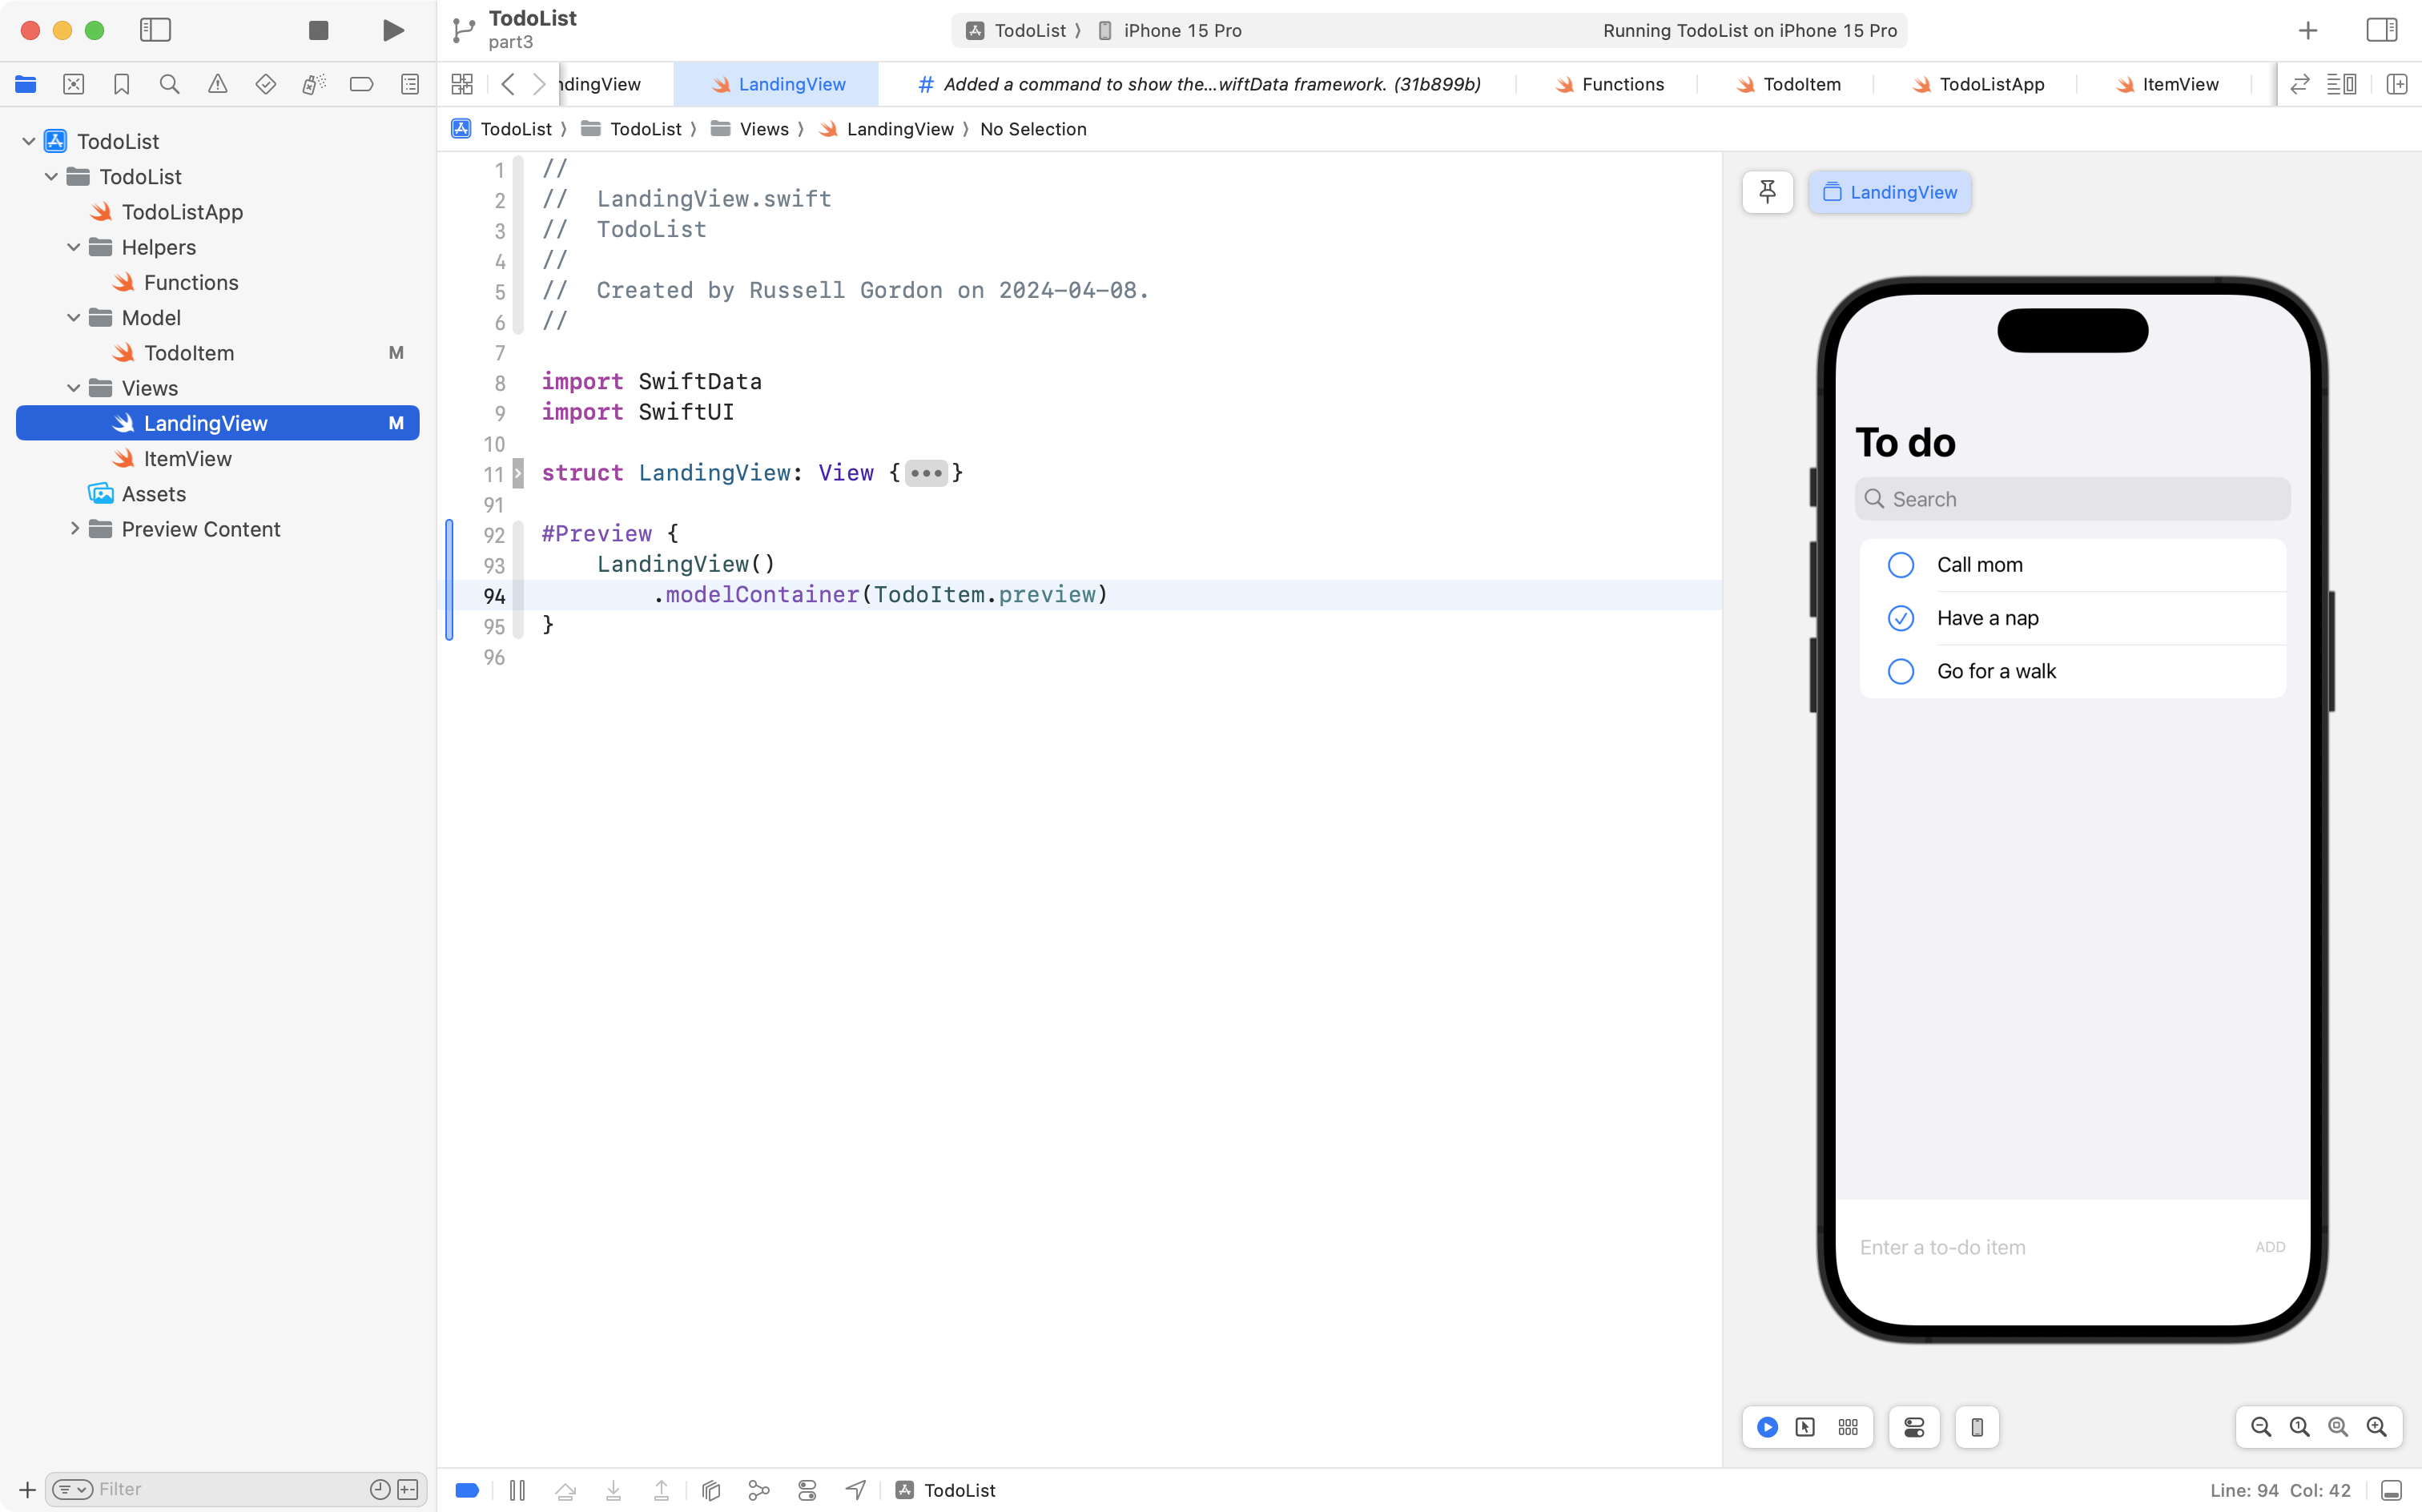
.modelContainer(TodoItem.preview)… like this, right below where the instance of LandingView is created for the preview:
Then press the Option-Command-Return keyboard shortcut to open the Canvas area, and you should see a preview again:
You may then need to press the Option-Command-P keyboard shortcut to start up the preview.
The .modelContainer view modifier inserts the in-memory container held within TodoItem.preview. This in-memory container holds our mock data, and it is inserted into the environment. The container is then used by the Xcode Preview window to show us what LandingView looks like.
You can interact with the view as you’d like for testing purposes or for refining the look and feel of a user interface.
However, when you return to the preview again later, the same three pieces of mock data will be present. Remember, the preview container was in-memory only, so any changes to data that you make will not be persisted.
Commit and push your work with this message:
Added mock data to our model for use with Xcode Previews with the LandingView structure.
Fix the remaining preview
ItemView is still missing a functioning Xcode Preview.
To correct this, first return to the TodoItem structure, and add this code:
extension TodoItem {

    static let someItem = TodoItem(title: "Read a book", done: true)
    static let anotherItem = TodoItem(title: "Make a sandwich", done: false)

}
… just below the first extension, like this:

Here, we add a second extension to the TodoItem structure, and simply create a couple of static instances of TodoItem. We will use these in a moment.
Return to ItemView.
Find the previews code we commented out at the bottom:
Un-comment the code by highlighting it, then pressing the Command / keyboard shortcut. As an alternative, you can use the menu sequence Editor > Structure > Comment Selection.
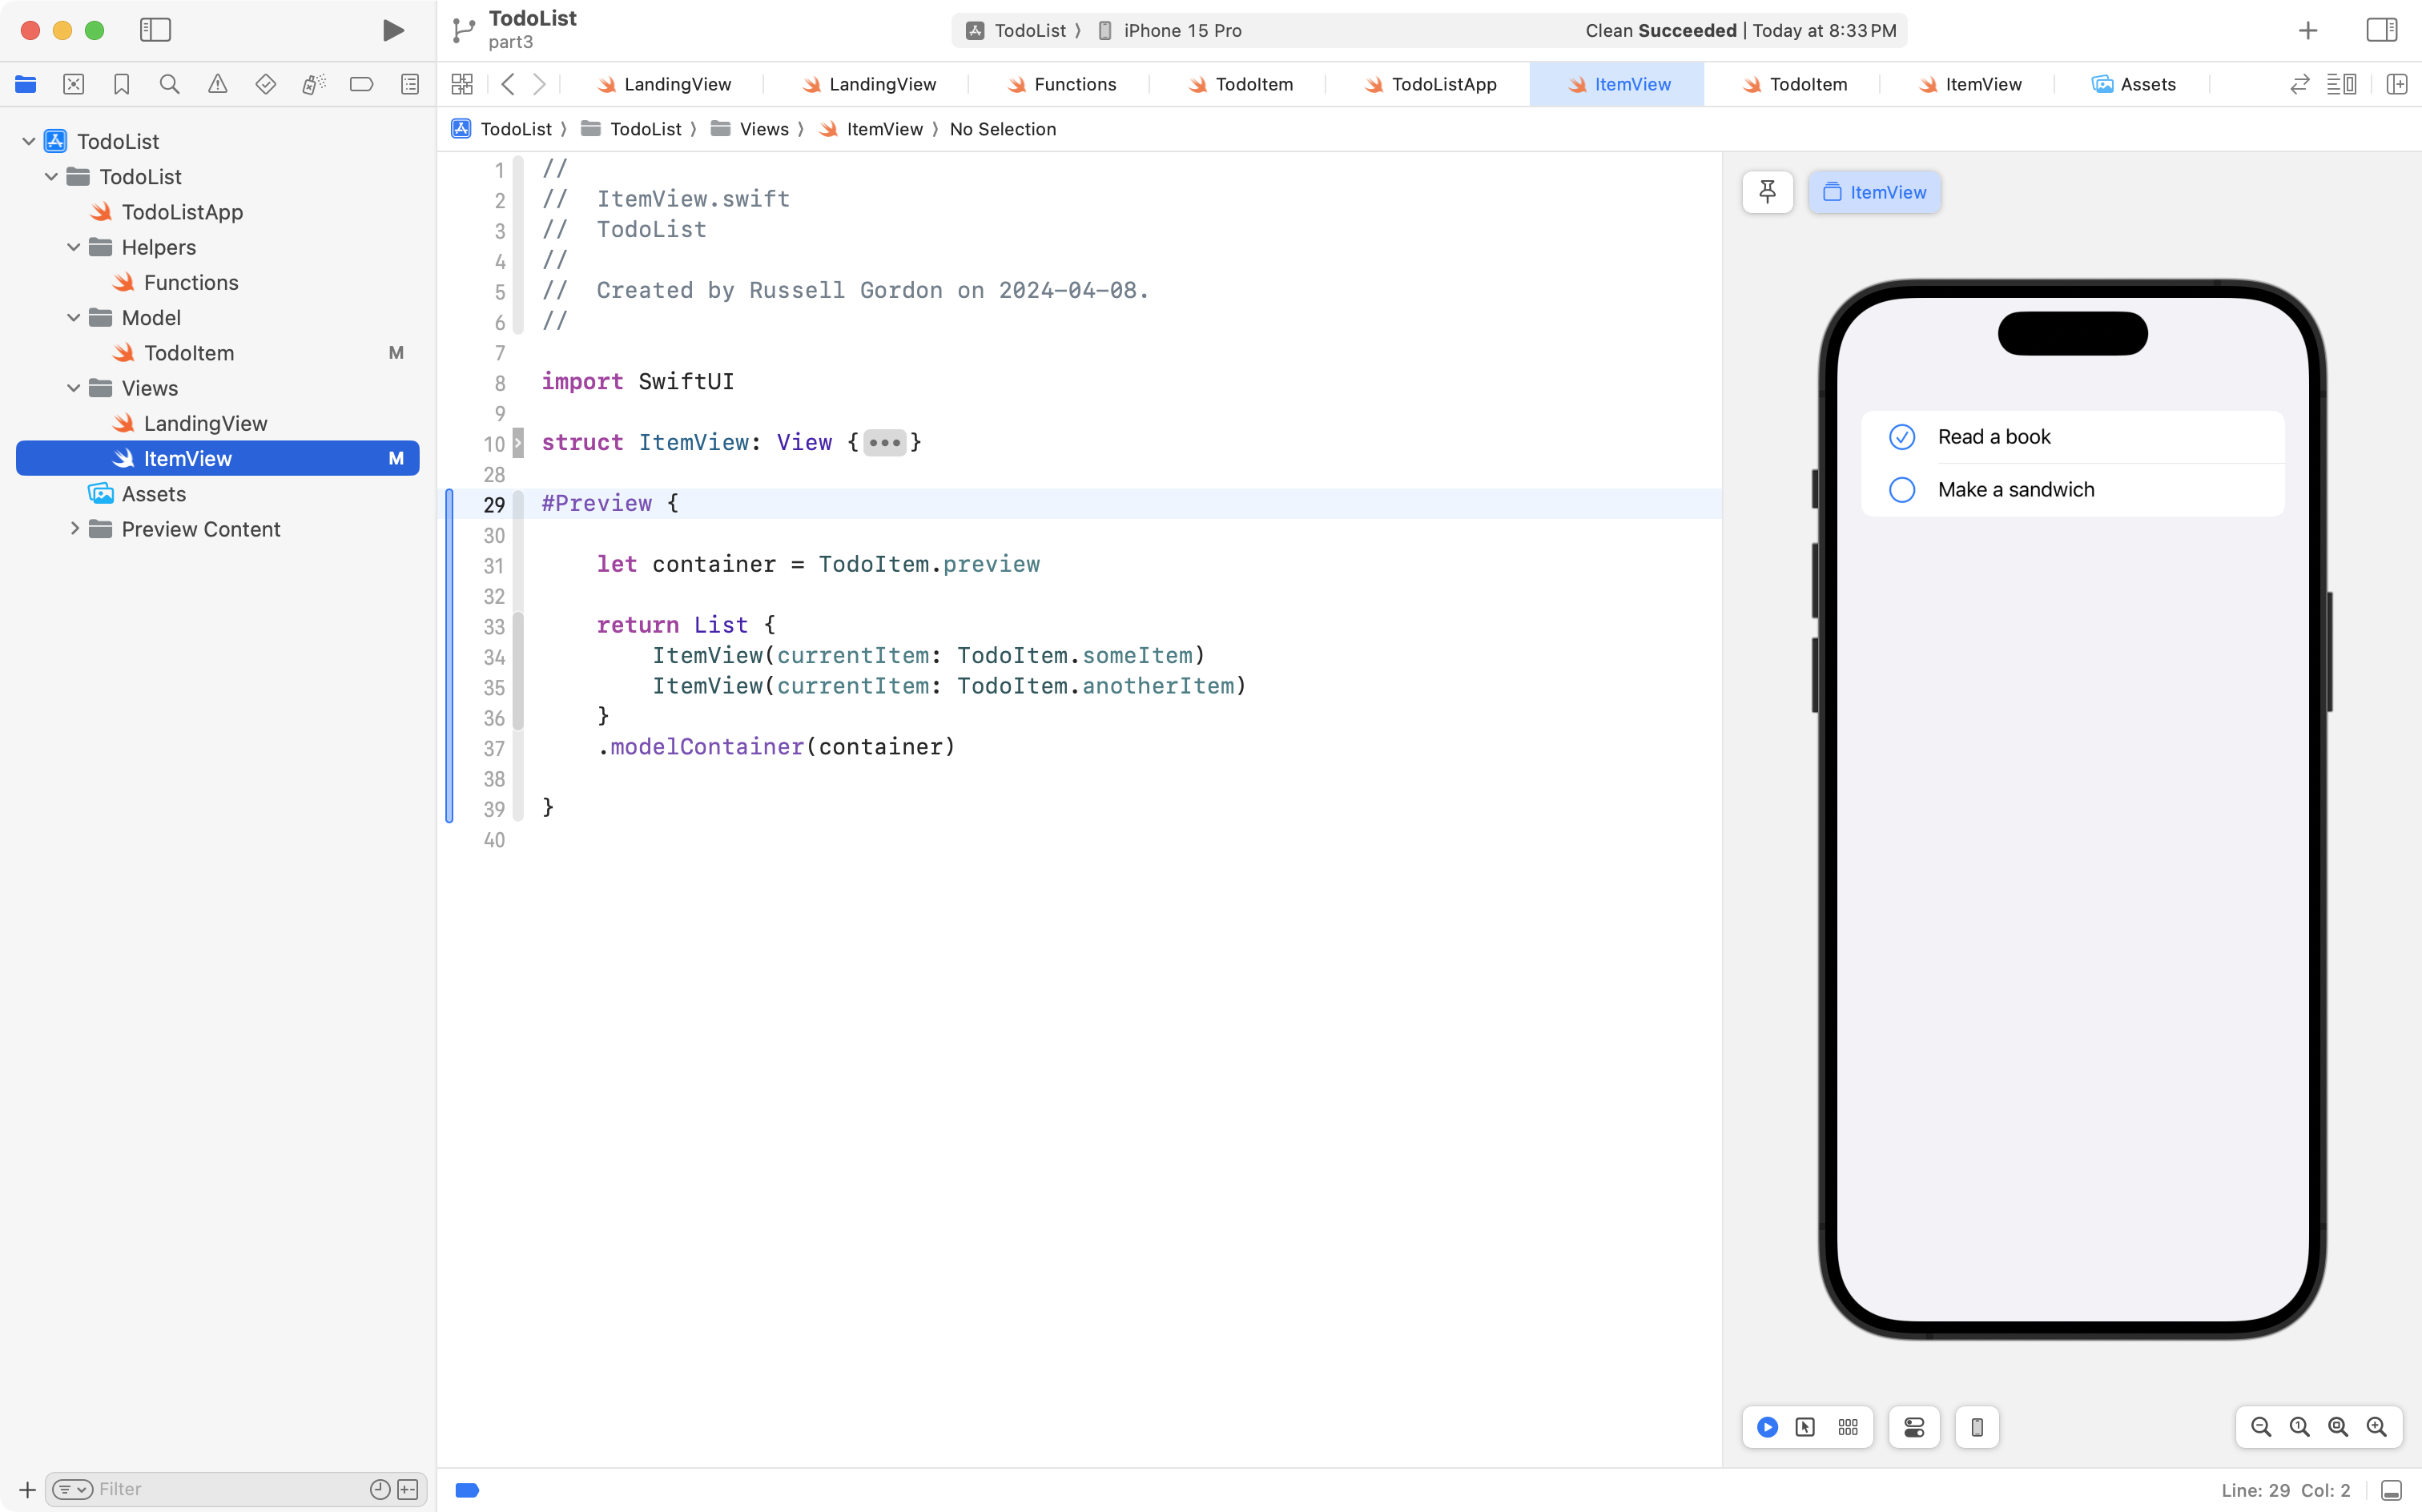
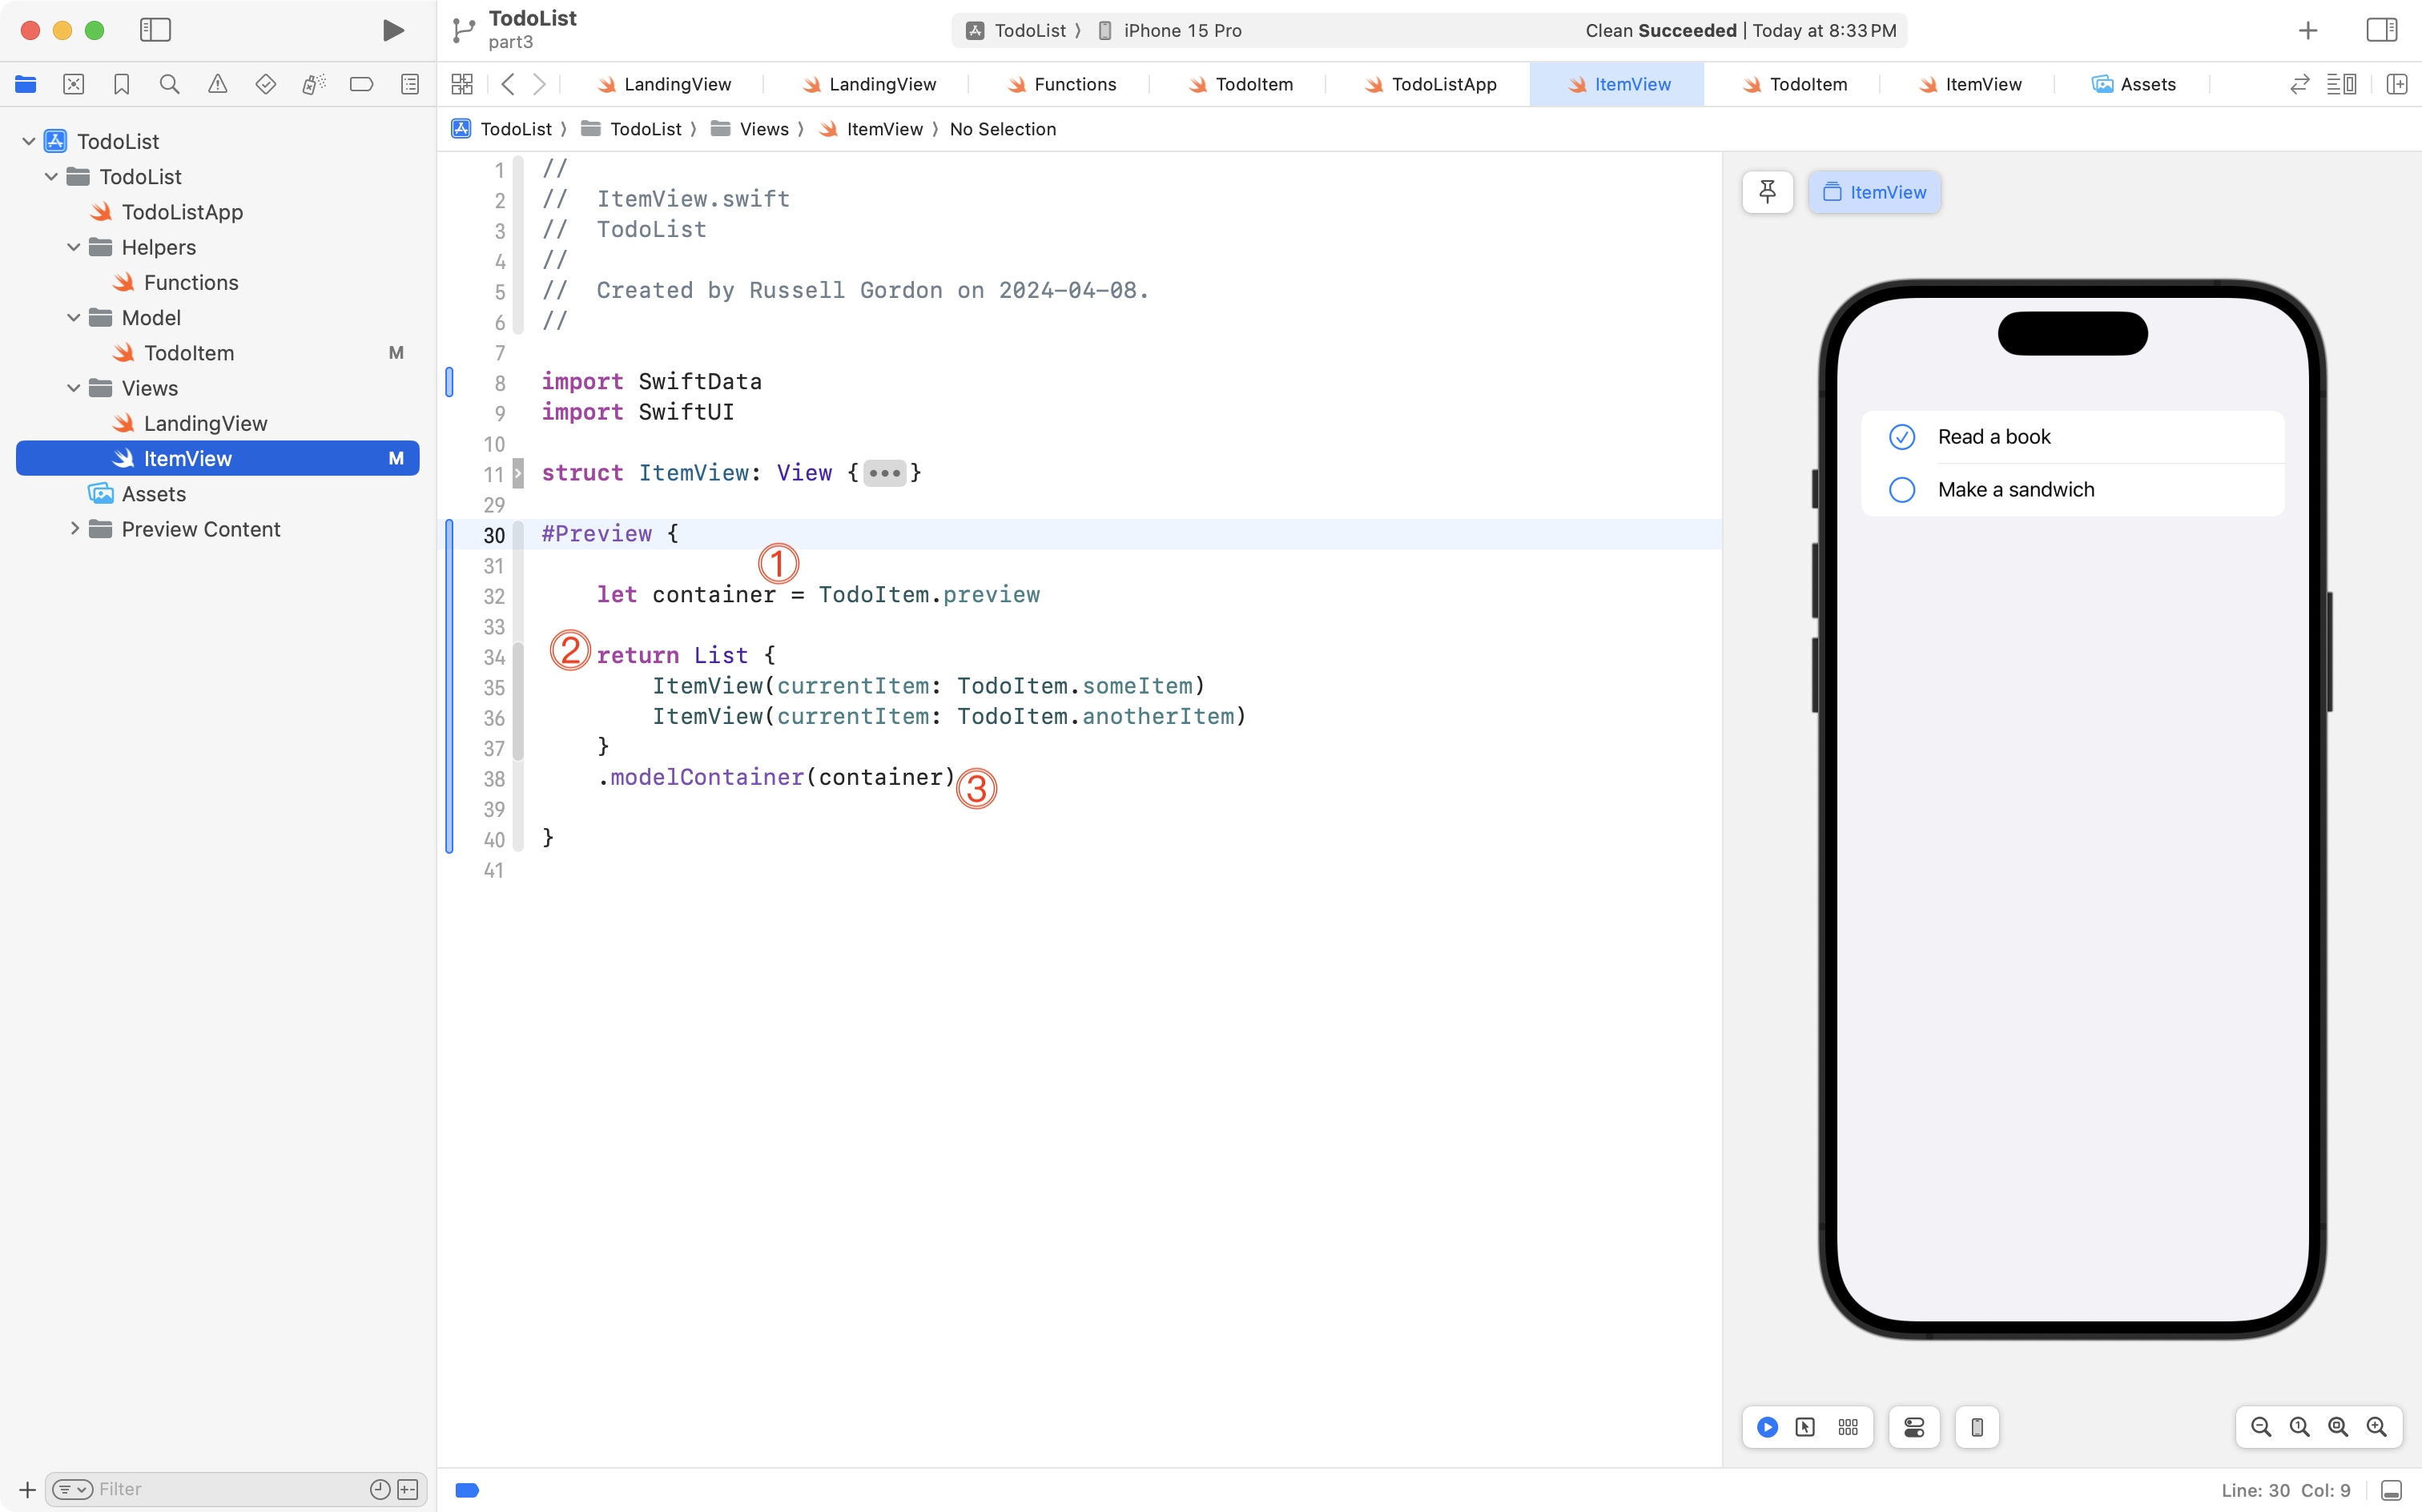
Then replace it with this code:
#Preview {

    let container = TodoItem.preview

    return List {
        ItemView(currentItem: TodoItem.someItem)
        ItemView(currentItem: TodoItem.anotherItem)
    }
    .modelContainer(container)

}
… like this:
Finally, be sure to import the SwiftData framework:
If necessary, press Option-Command-Return to open the Canvas area, and Option-Command-P.
You should see the Xcode Preview window running again.
Before finishing, let’s briefly break down the code that is being used:
DISCUSSION
- Within the scope of the preview structure, we create a local instance of a SwiftData container to use – it’s the same in-memory container we are using to preview
LandingView.- Since we have declared a stored property within the scope of the preview structure, we must add an explicit
returnkeyword in front of ourListstructure.- The
.modelContainerview modifier is used to insert the in-memory container with our mock data into the environment. This container is then used by the Xcode Preview window to show us whatItemViewlooks like.
This approach to using Xcode Previews with SwiftData, for ItemView, looks a little different than what was required for LandingView.
The reason for the different approach is because ItemView has a stored property marked with the @Bindable property wrapper.
Whenever you are trying to use Xcode Previews with SwiftData, and your view makes use of the @Bindable keyword, you will need to apply the approach shown here.
Commit and push your work with this message:
Got Xcode Previews working for the ItemView structure (which uses the @Bindable property wrapper, and so requires a slightly different approach).
Conclusion
You have now made use of in-memory containers with SwiftData so that you can use Xcode Previews.
The approaches shown here can be applied to any view that you wish to preview data within when using SwiftData.
In the next and final part of this tutorial series, you will learn how to persist data within a cloud-hosted database, so that if necessary, multiple users of your apps can see data created by one another. However – that is a task for another day.