If you are interested in computer animation and graphics, you may be familiar with Adobe After Effects.
Lottie is an open-source project that defines a file format for describing vector-based animations.
After Effects, and other animation software, can save animations created in those programs in the Lottie file format.
AirBnb maintains lottie-ios, an open-source third-party package that allows iOS, macOS, and tvOS apps to natively render vector-based animations made in applications like After Effects.
Fortunately, you don’t have to make these animations yourself.
A website known as LottieFiles makes many of these animations available free of charge.
Browse available animations
Head over to LottieFiles and then sign up with your LCS Google account:

Afterwards, take a moment to browse or search for animations that you find entertaining or that you think might be useful in the future within apps that you might write.
In this tutorial, you will learn how to use these Lottie animations within an iOS app by using the AirBnb third-party package.
Make a new iOS project
In Xcode, create a new project:
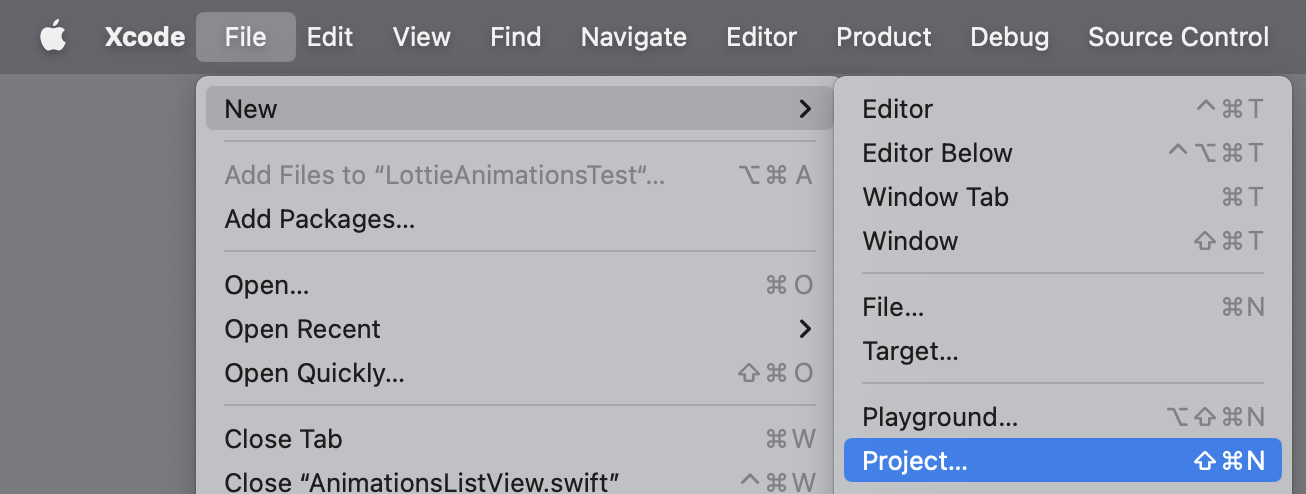
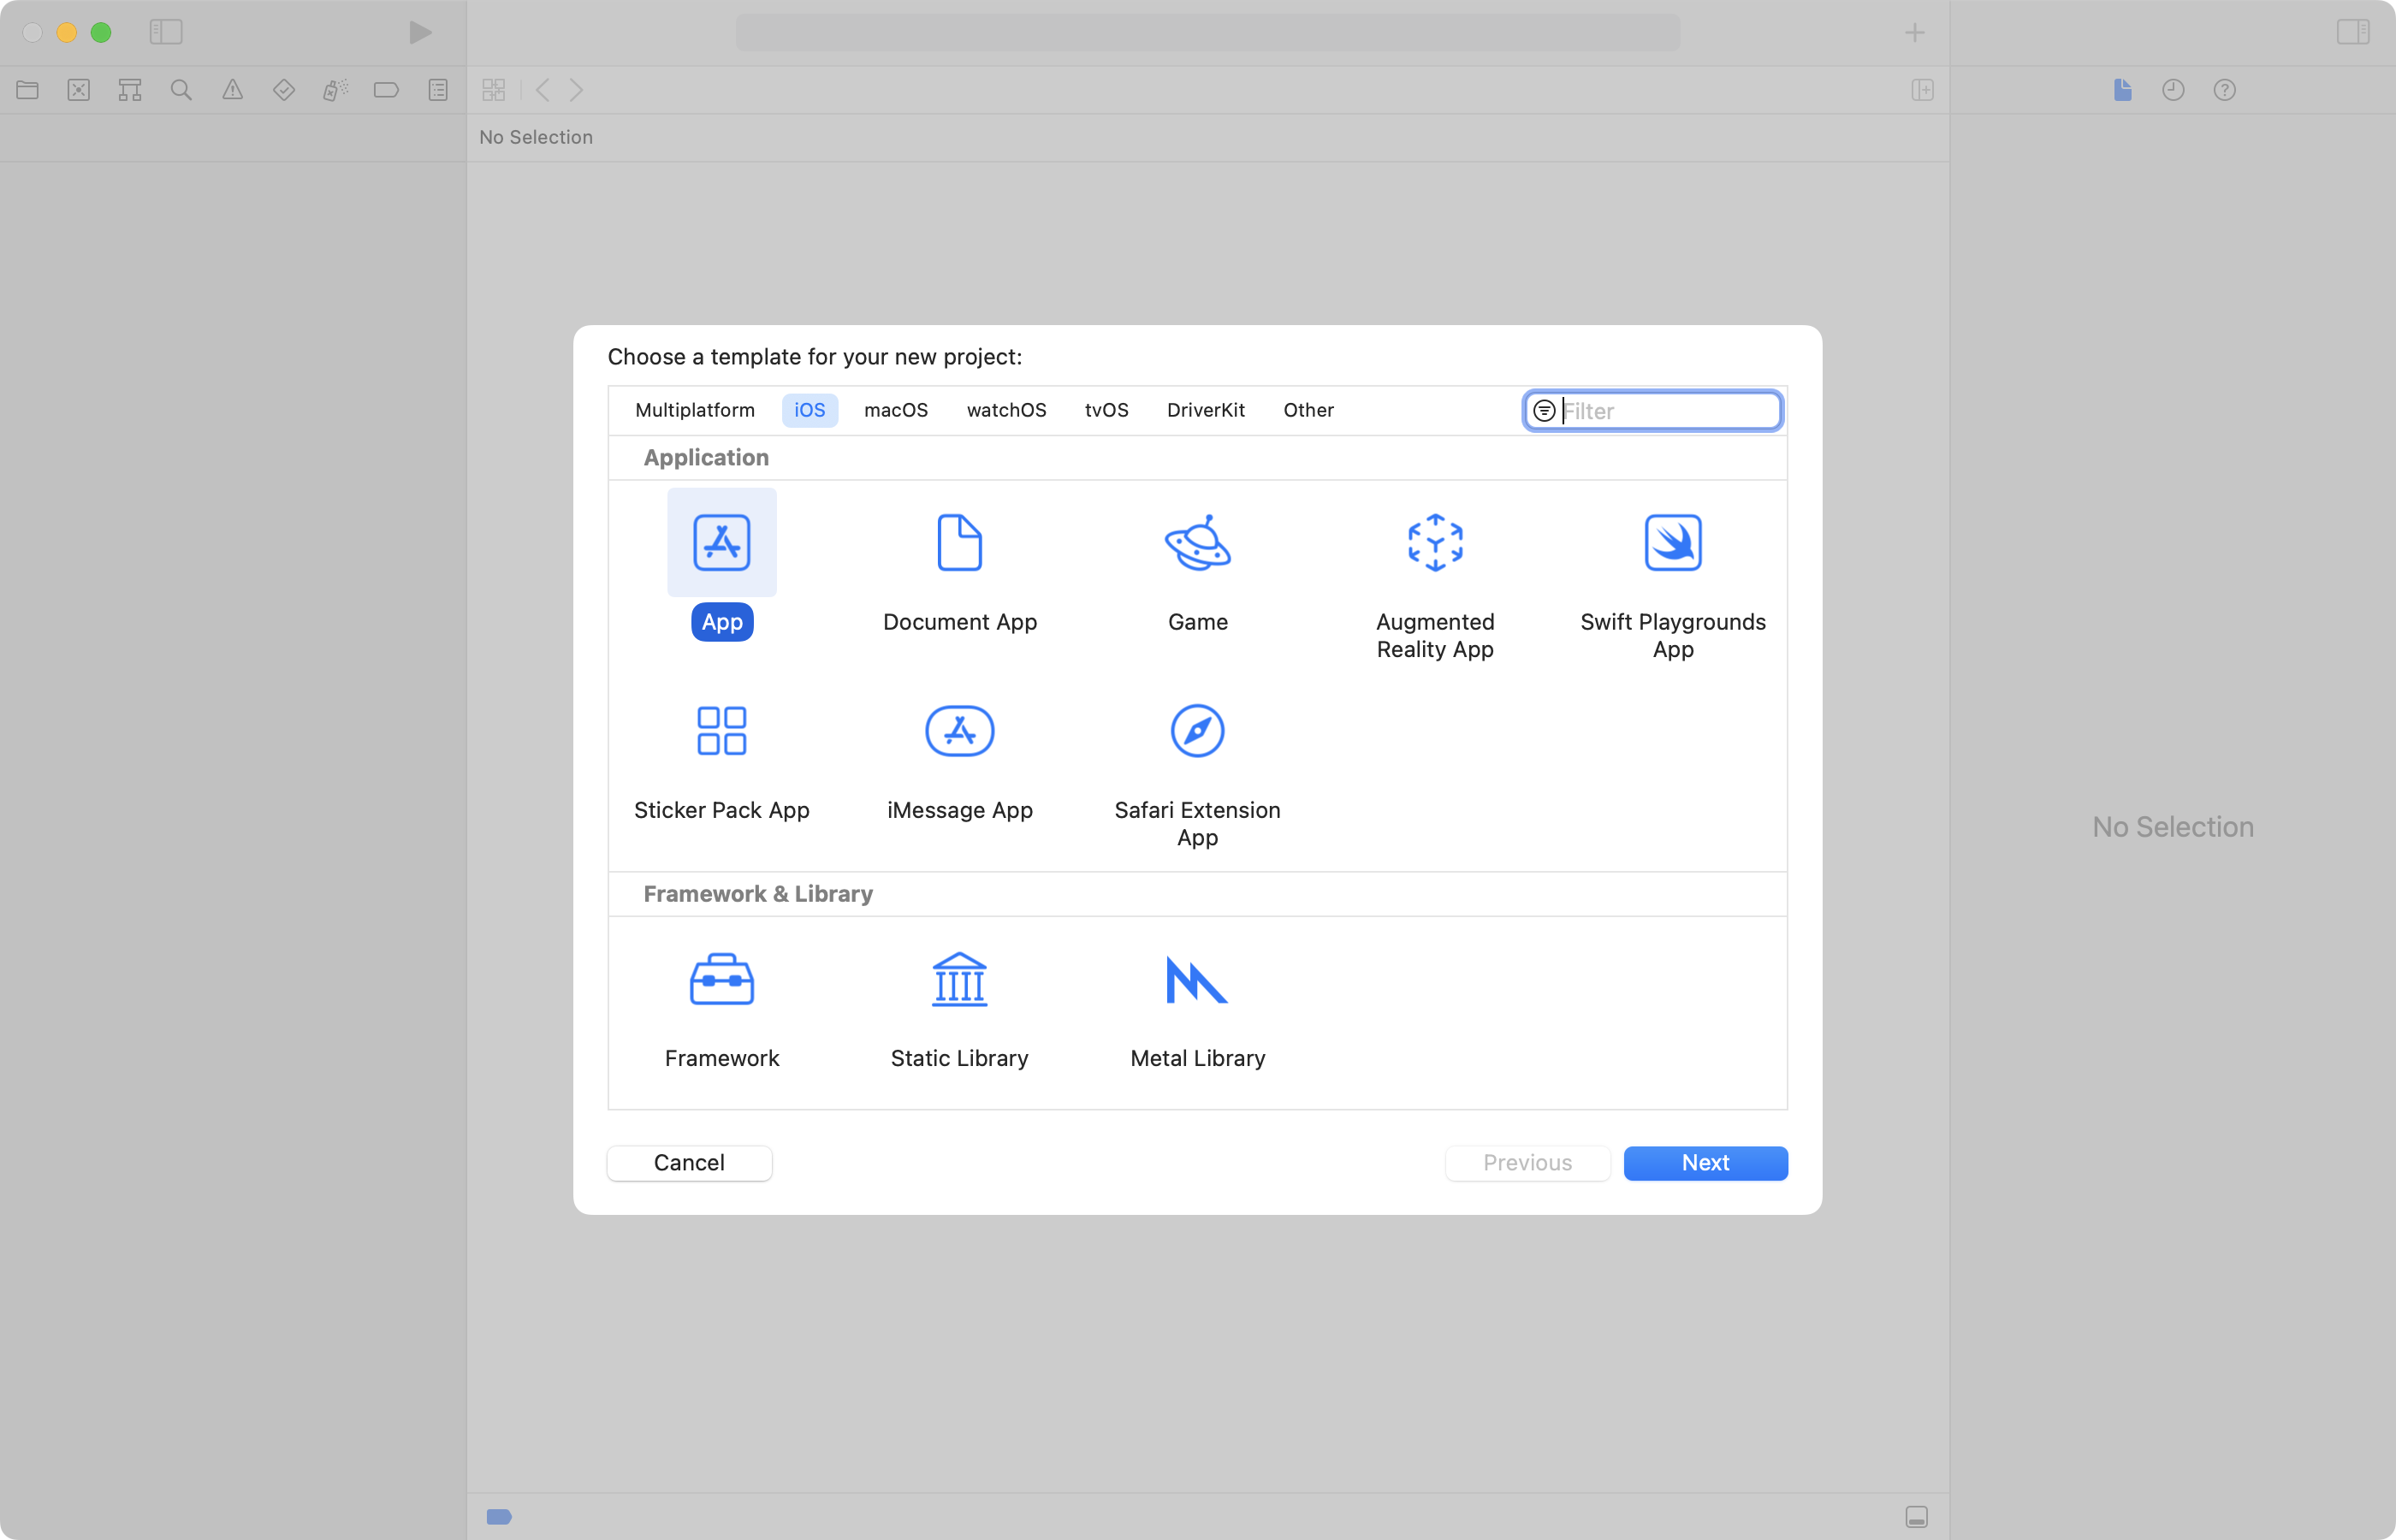
It should be an app, for the iOS platform:
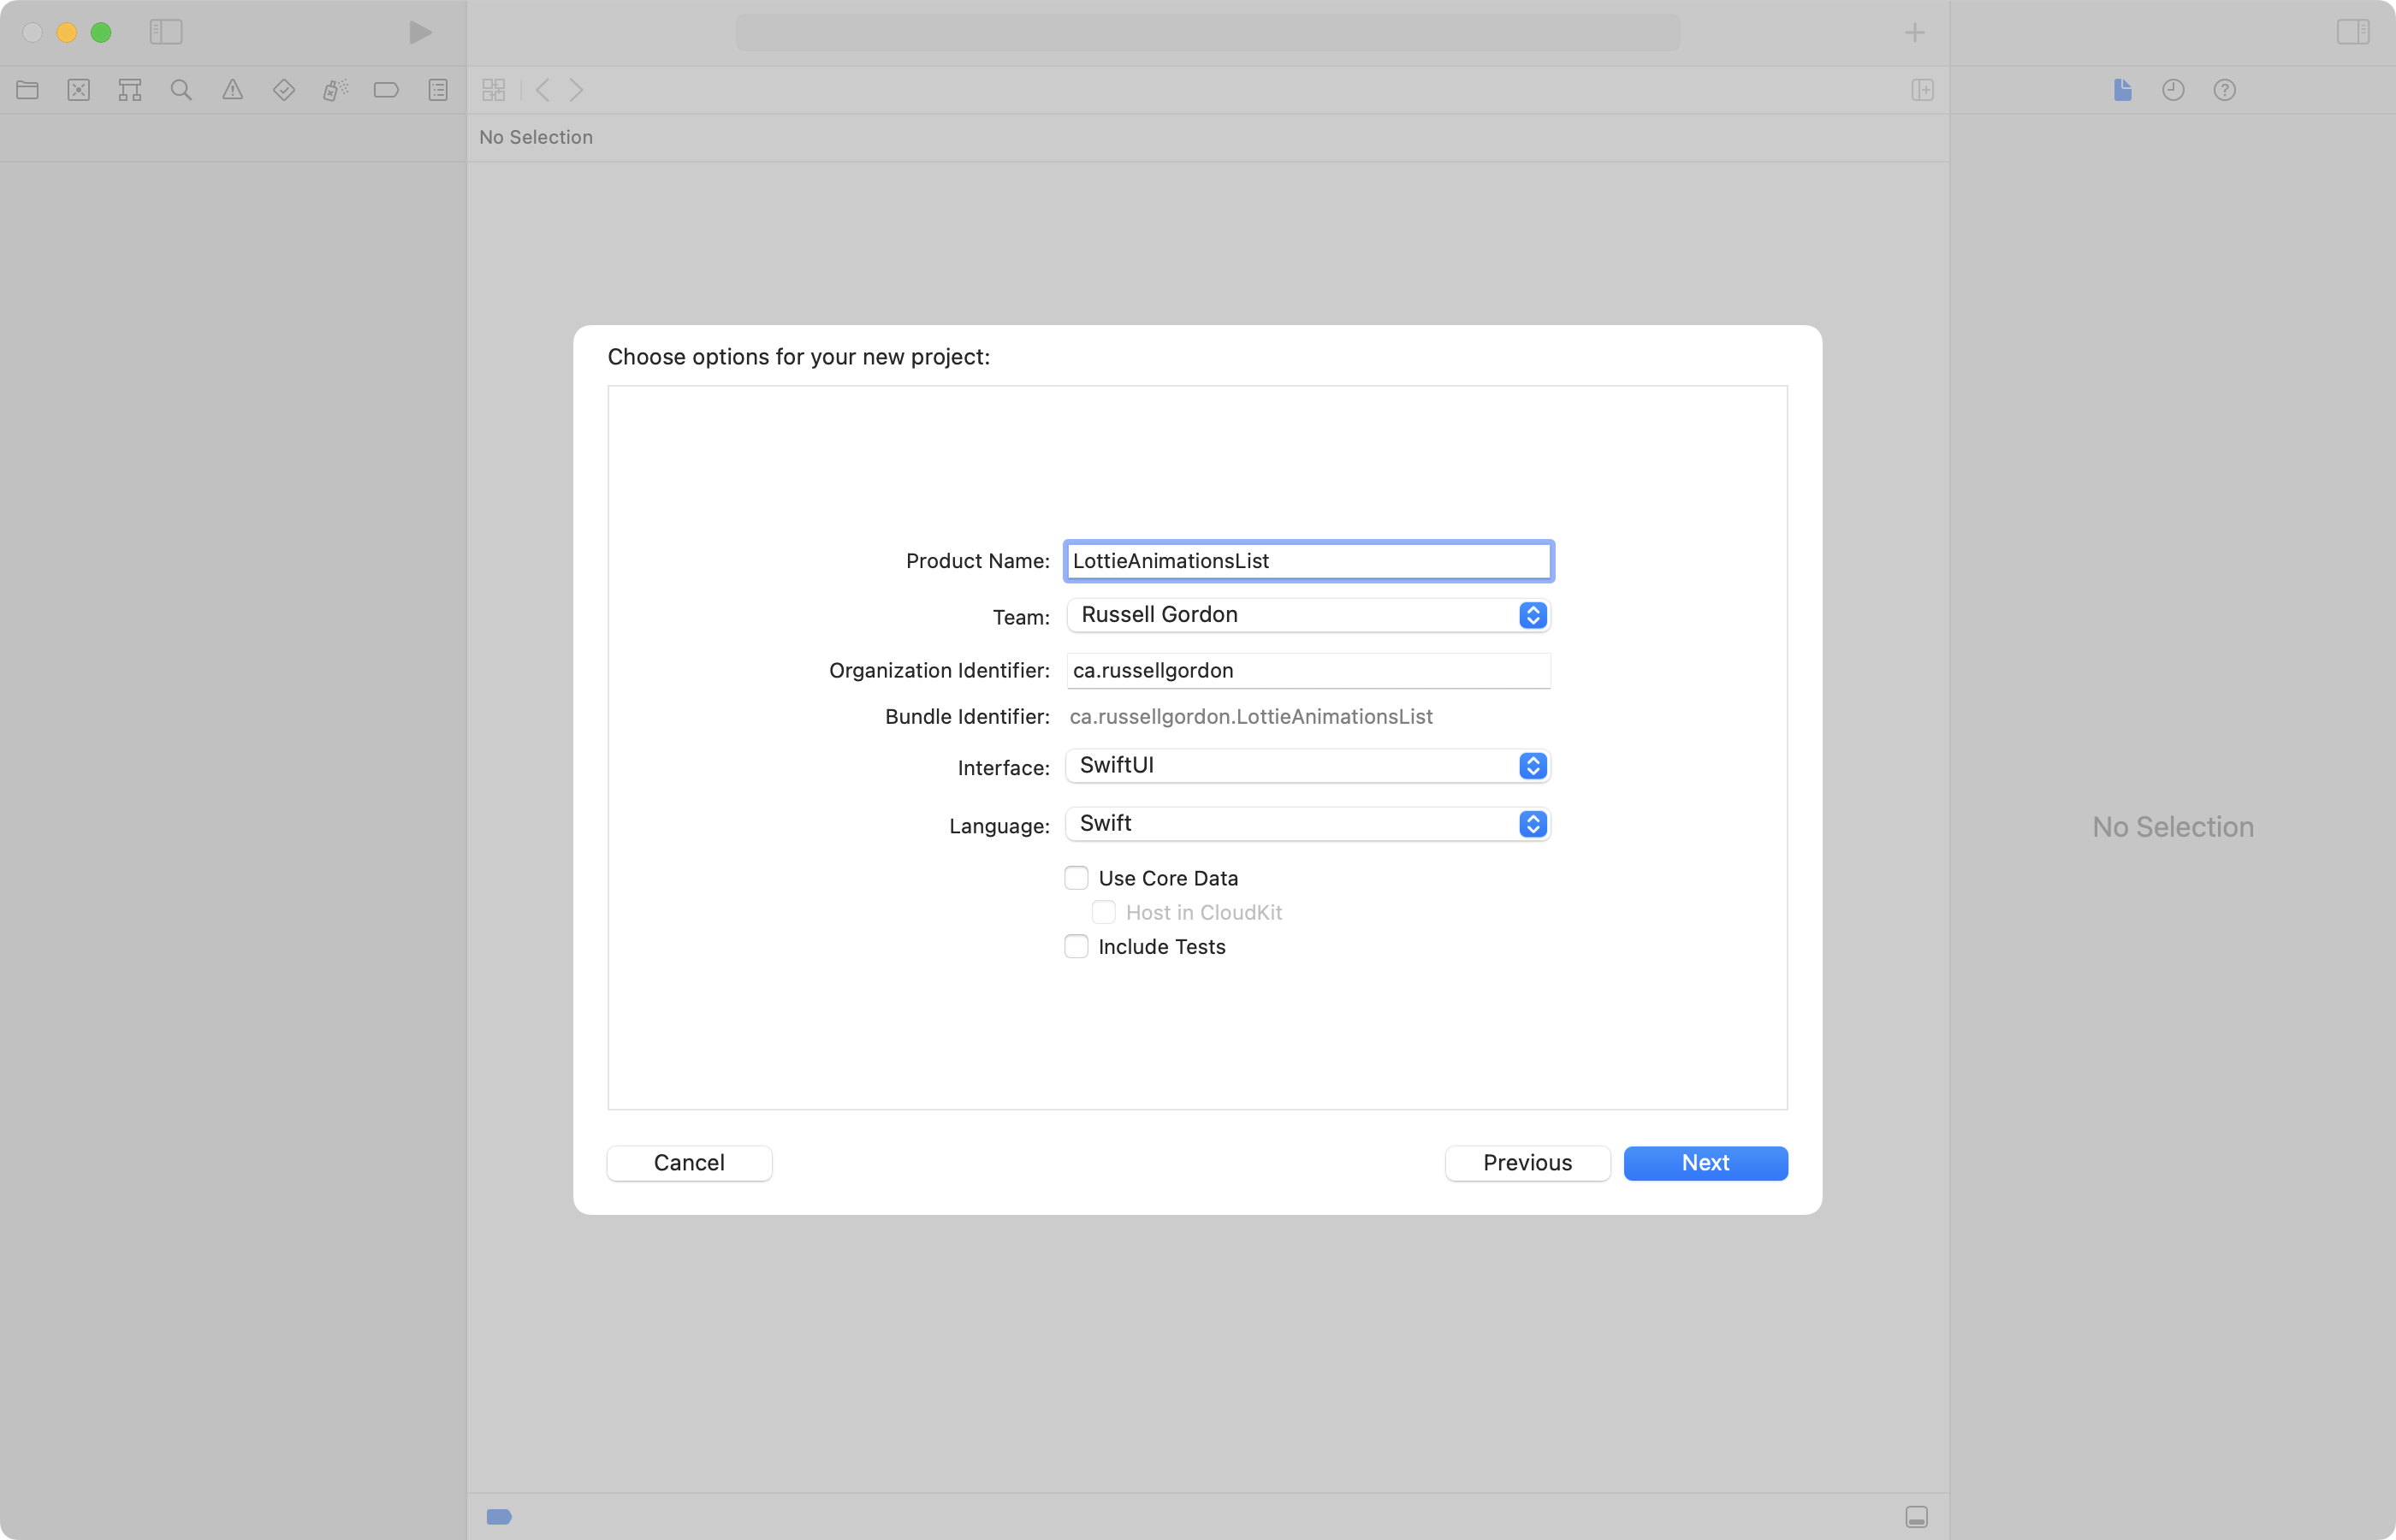
Name the project iOS LottieAnimationsList:
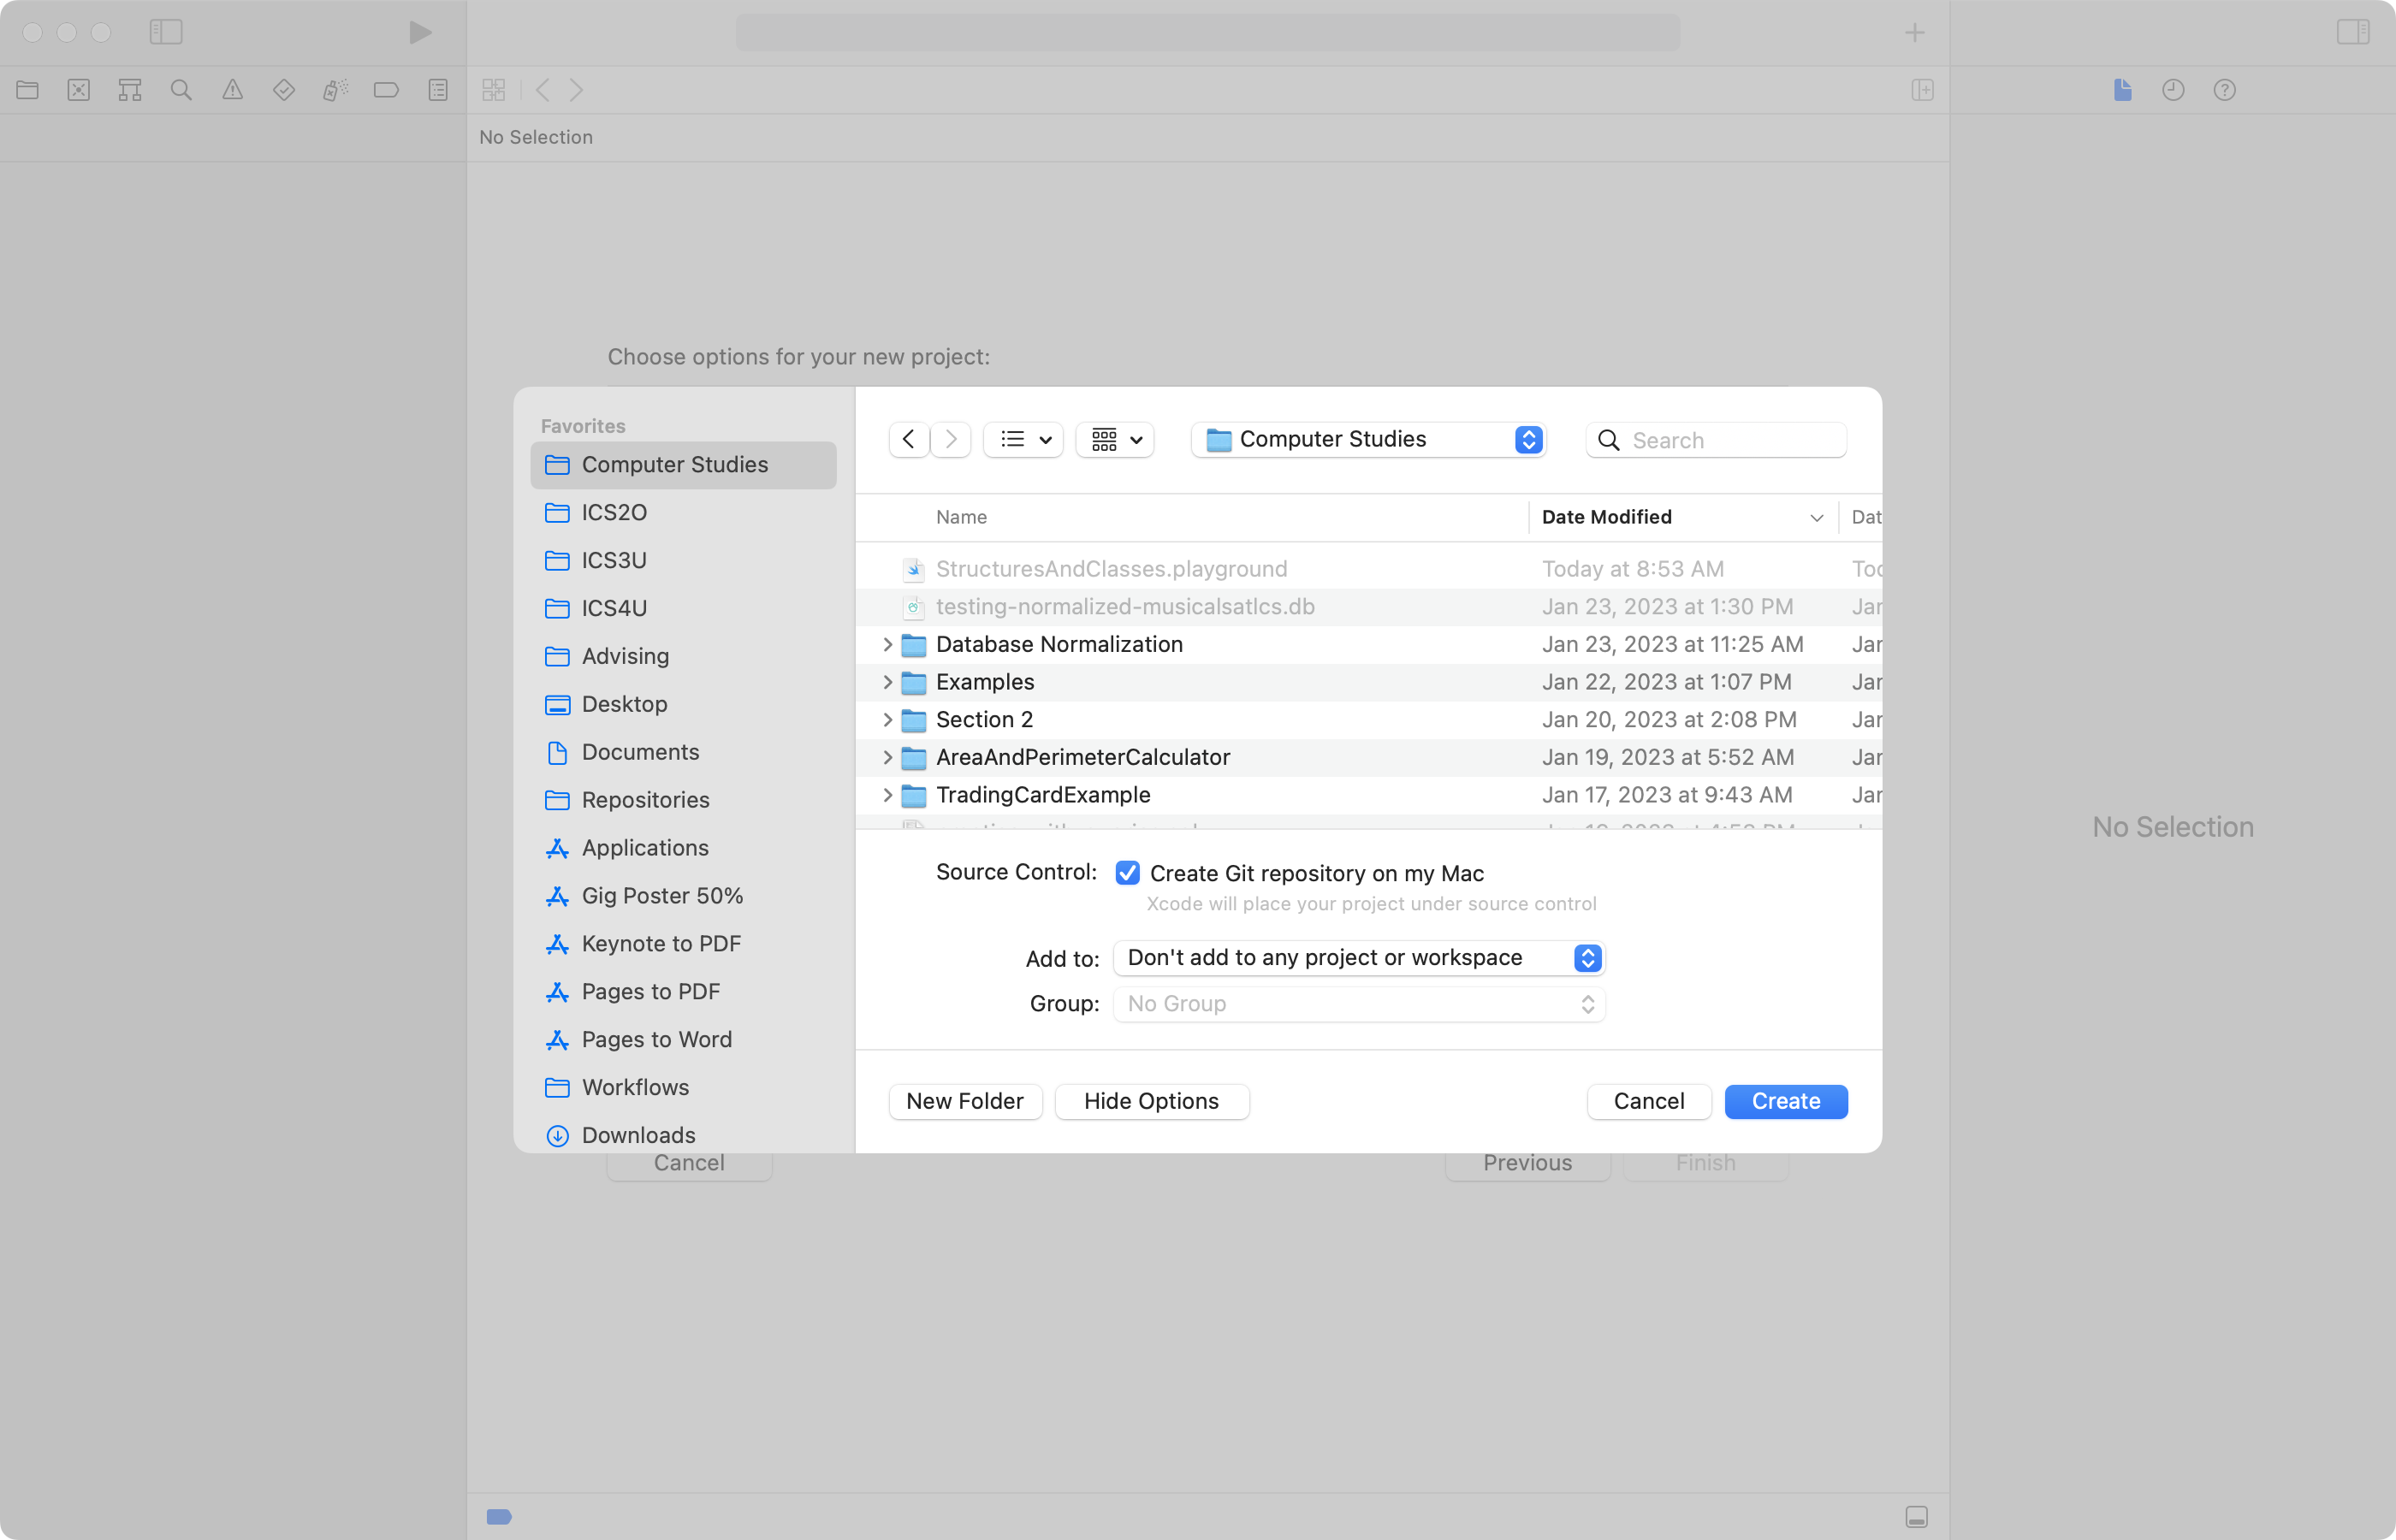
Ensure that source control is enabled and save in a place where you can find this project later on:
Once the project is open, create a remote:
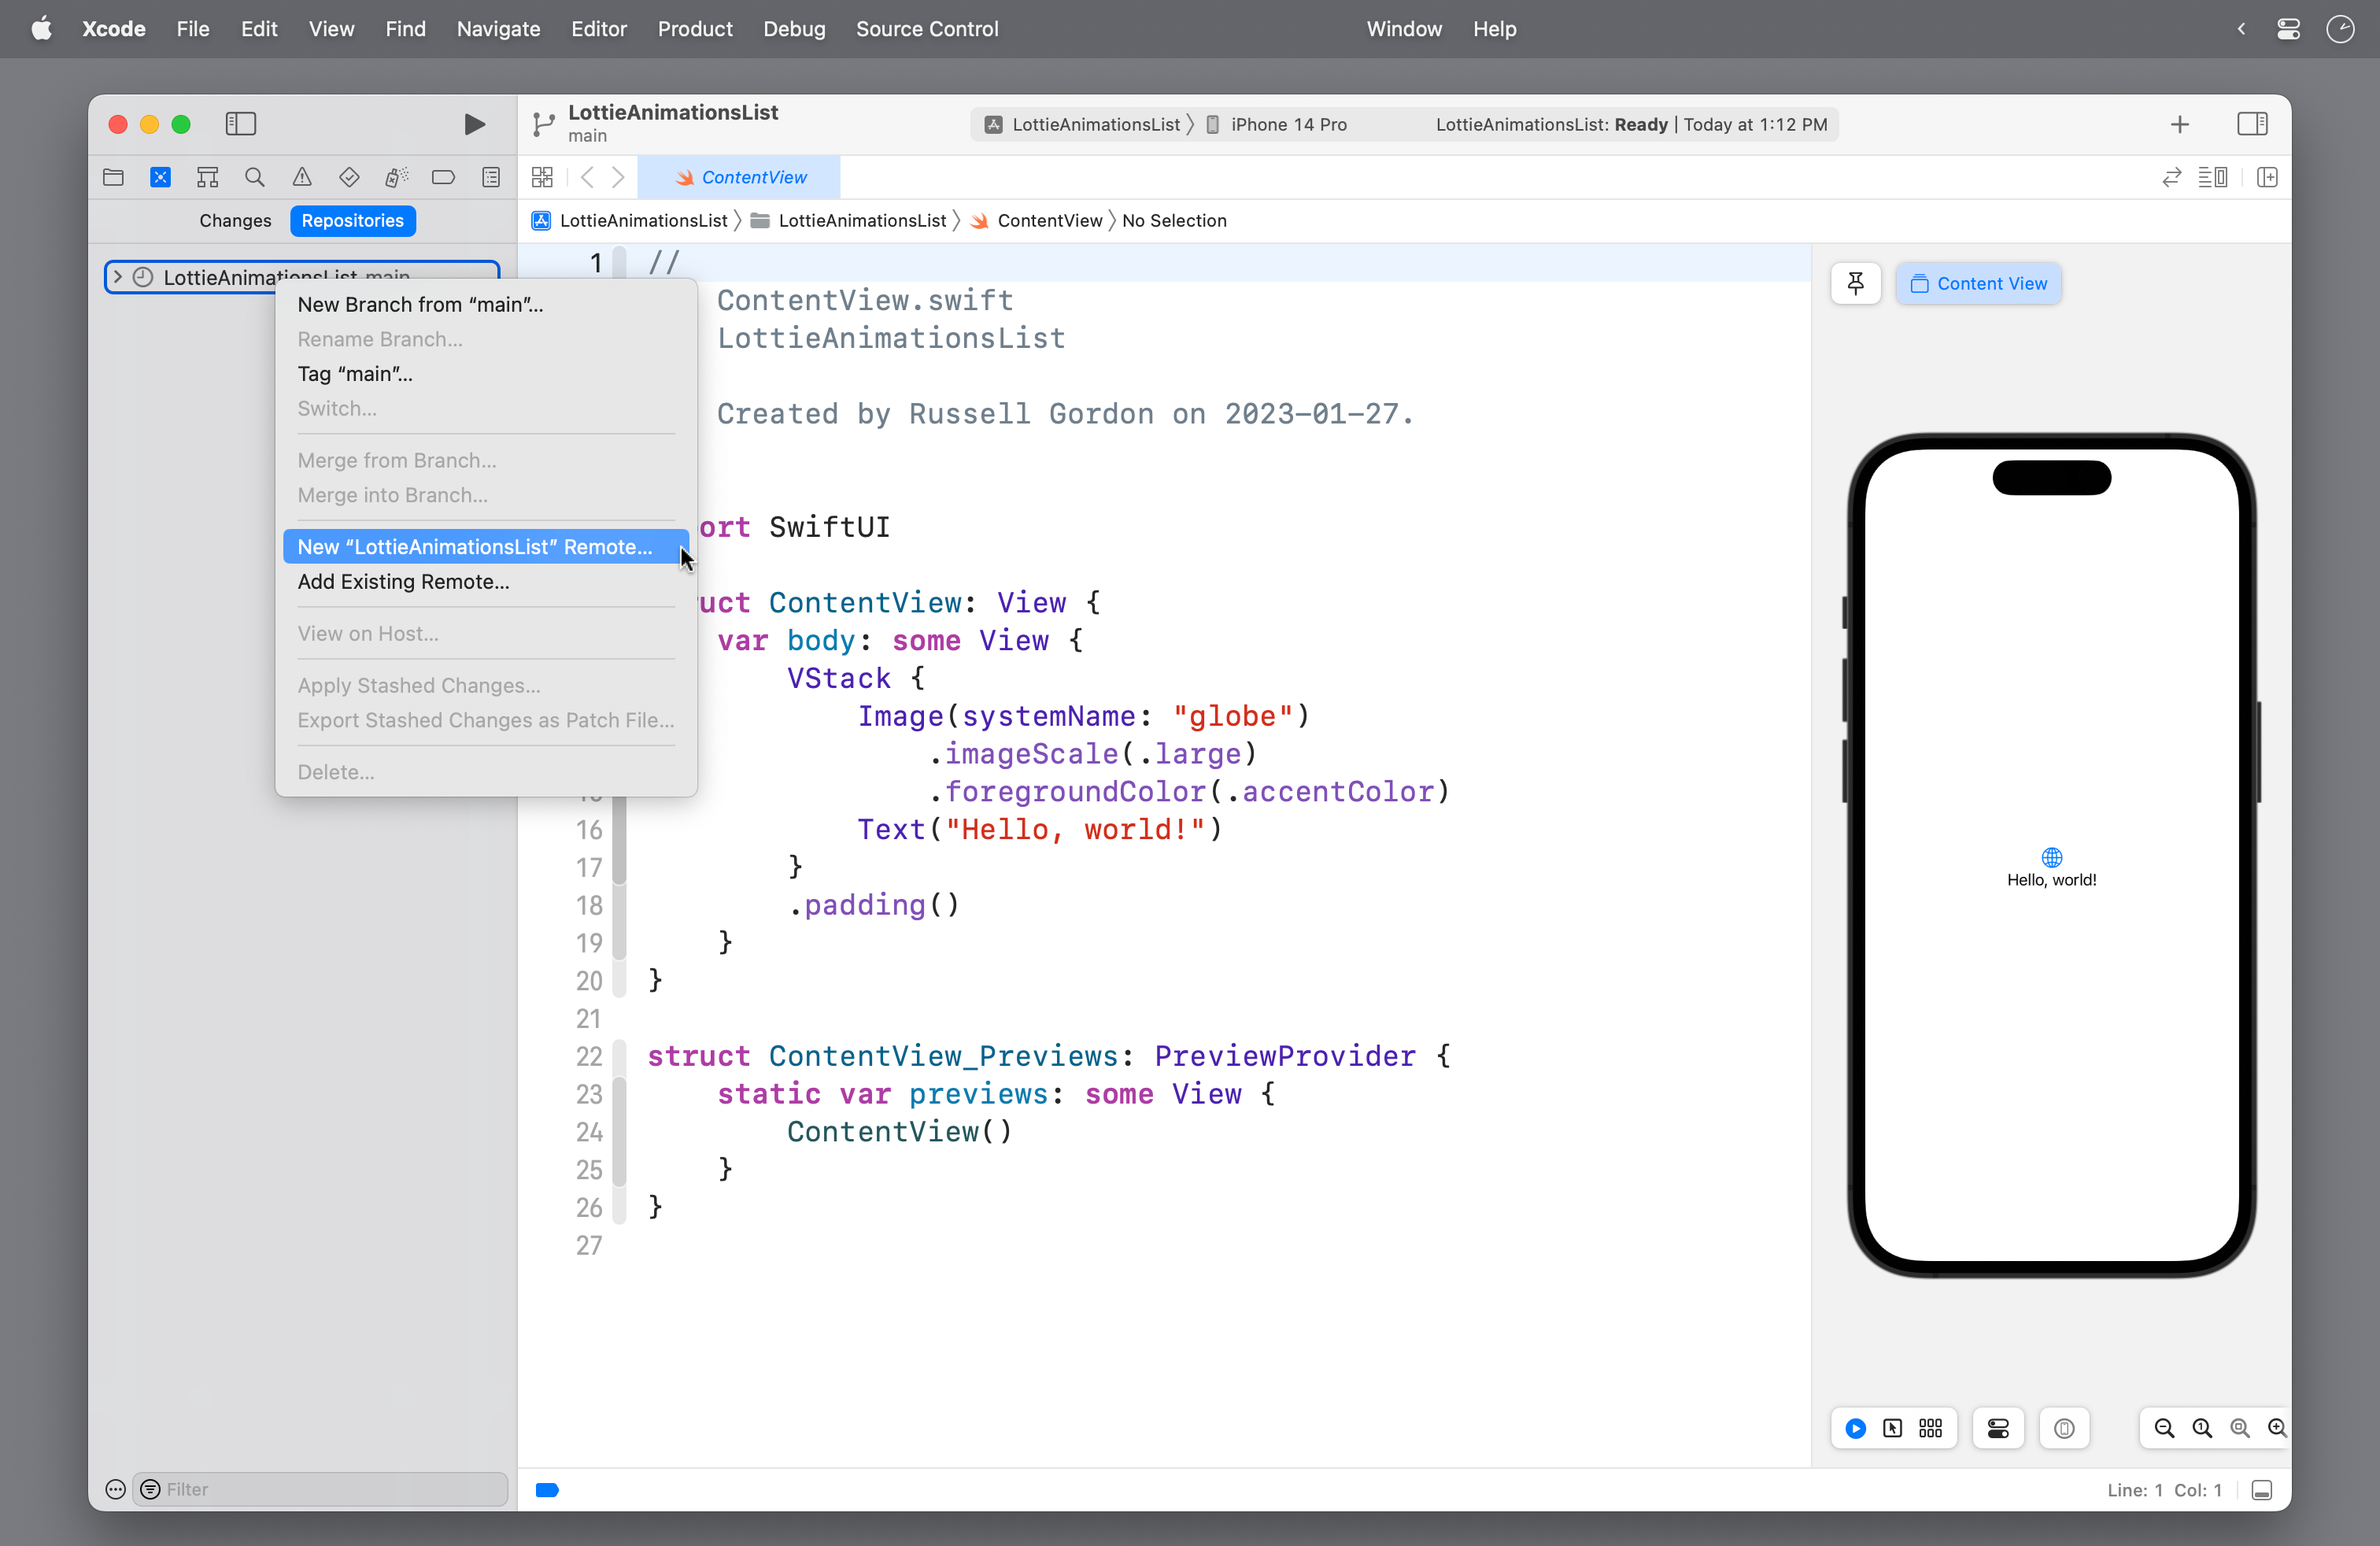
Organize the project
Now, complete the following steps:
- Delete
ContentView - Create two groups:
ModelViews
- Inside the
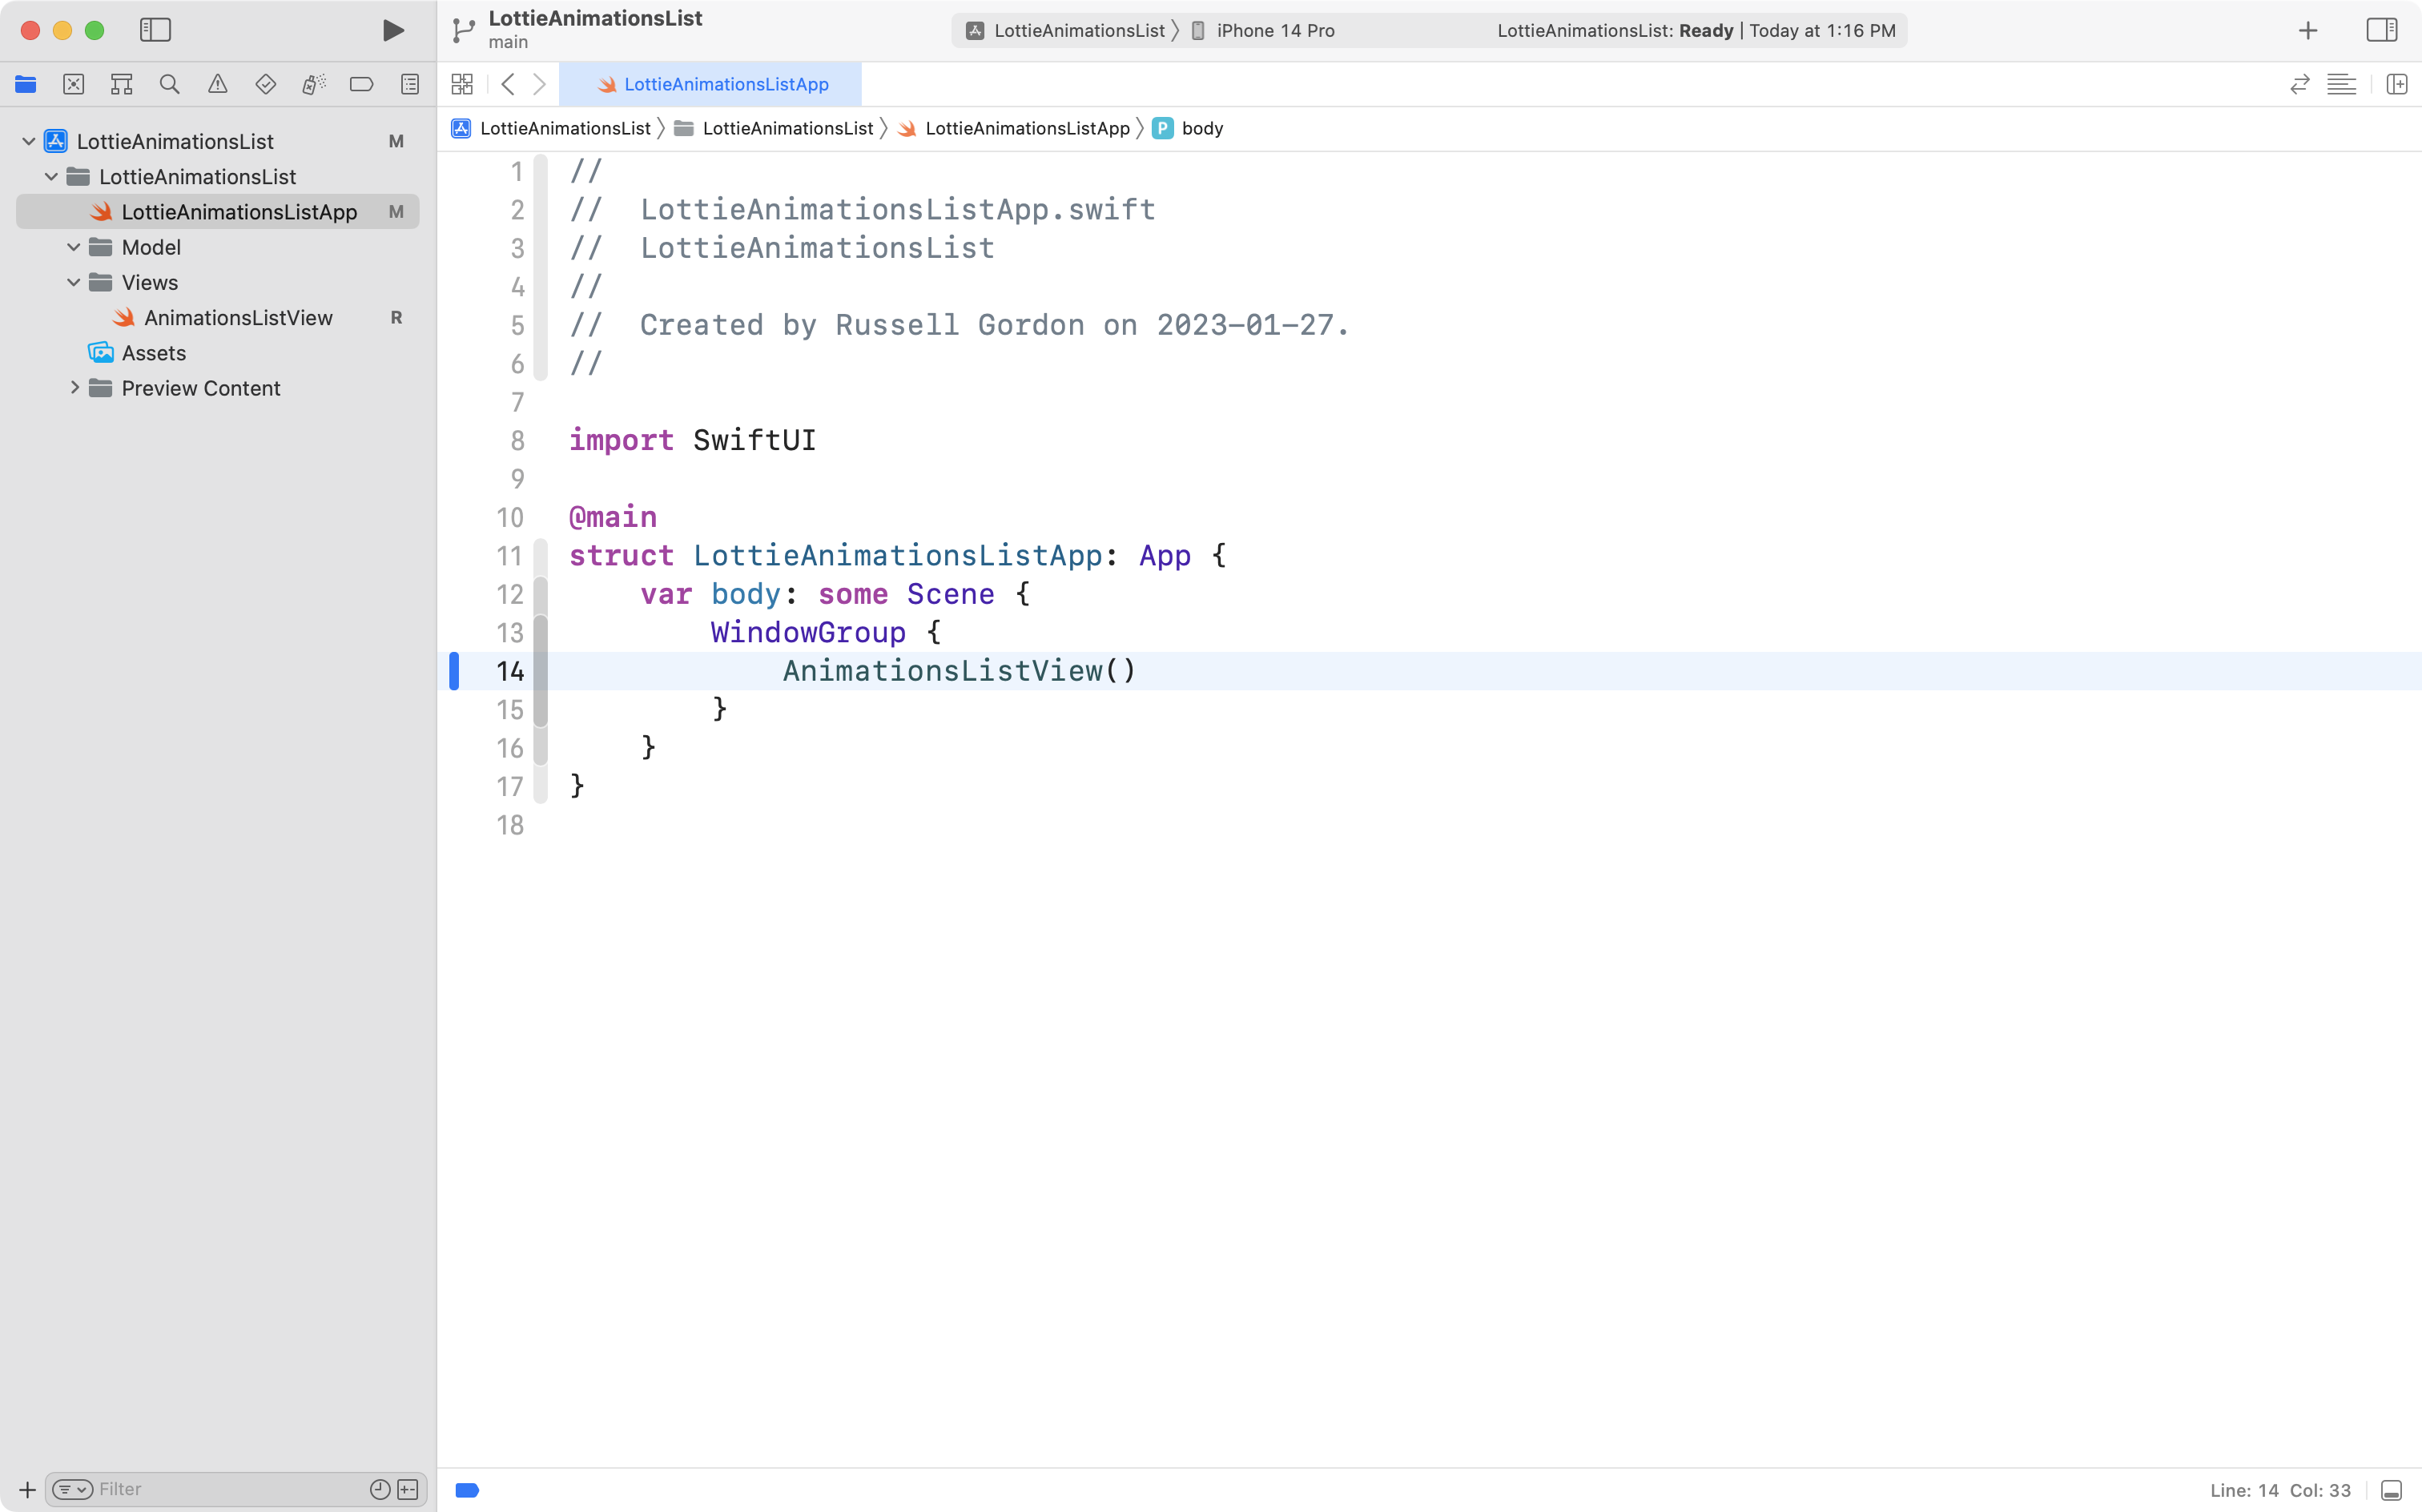
Viewsgroup, create a new SwiftUI View namedAnimationsListView. - Make the app entry point file create an instance of
AnimationsListView.
When you are all done, your project should look like this:
At this point, commit and push your work to your remote, with the message:
Organized project and created a list view to show interesting animations.
Add the third-party package
AirBnb’s lottie-ios package does most of the hard work for us.
https://github.com/airbnb/lottie-ios
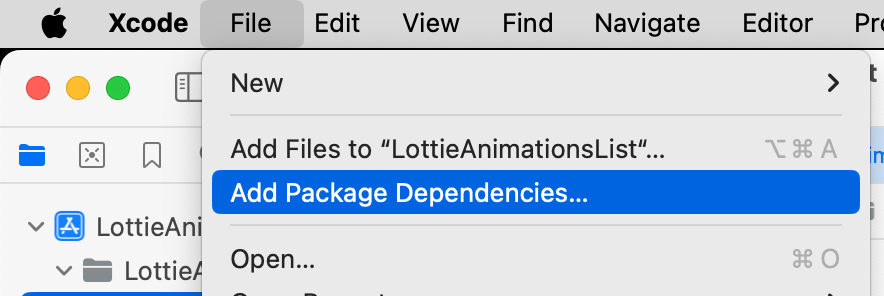
We will now add the package from AirBnb to our project.
Choose File > Add Package Dependencies…
In the window that appears, type lottie-ios in the top-right corner:
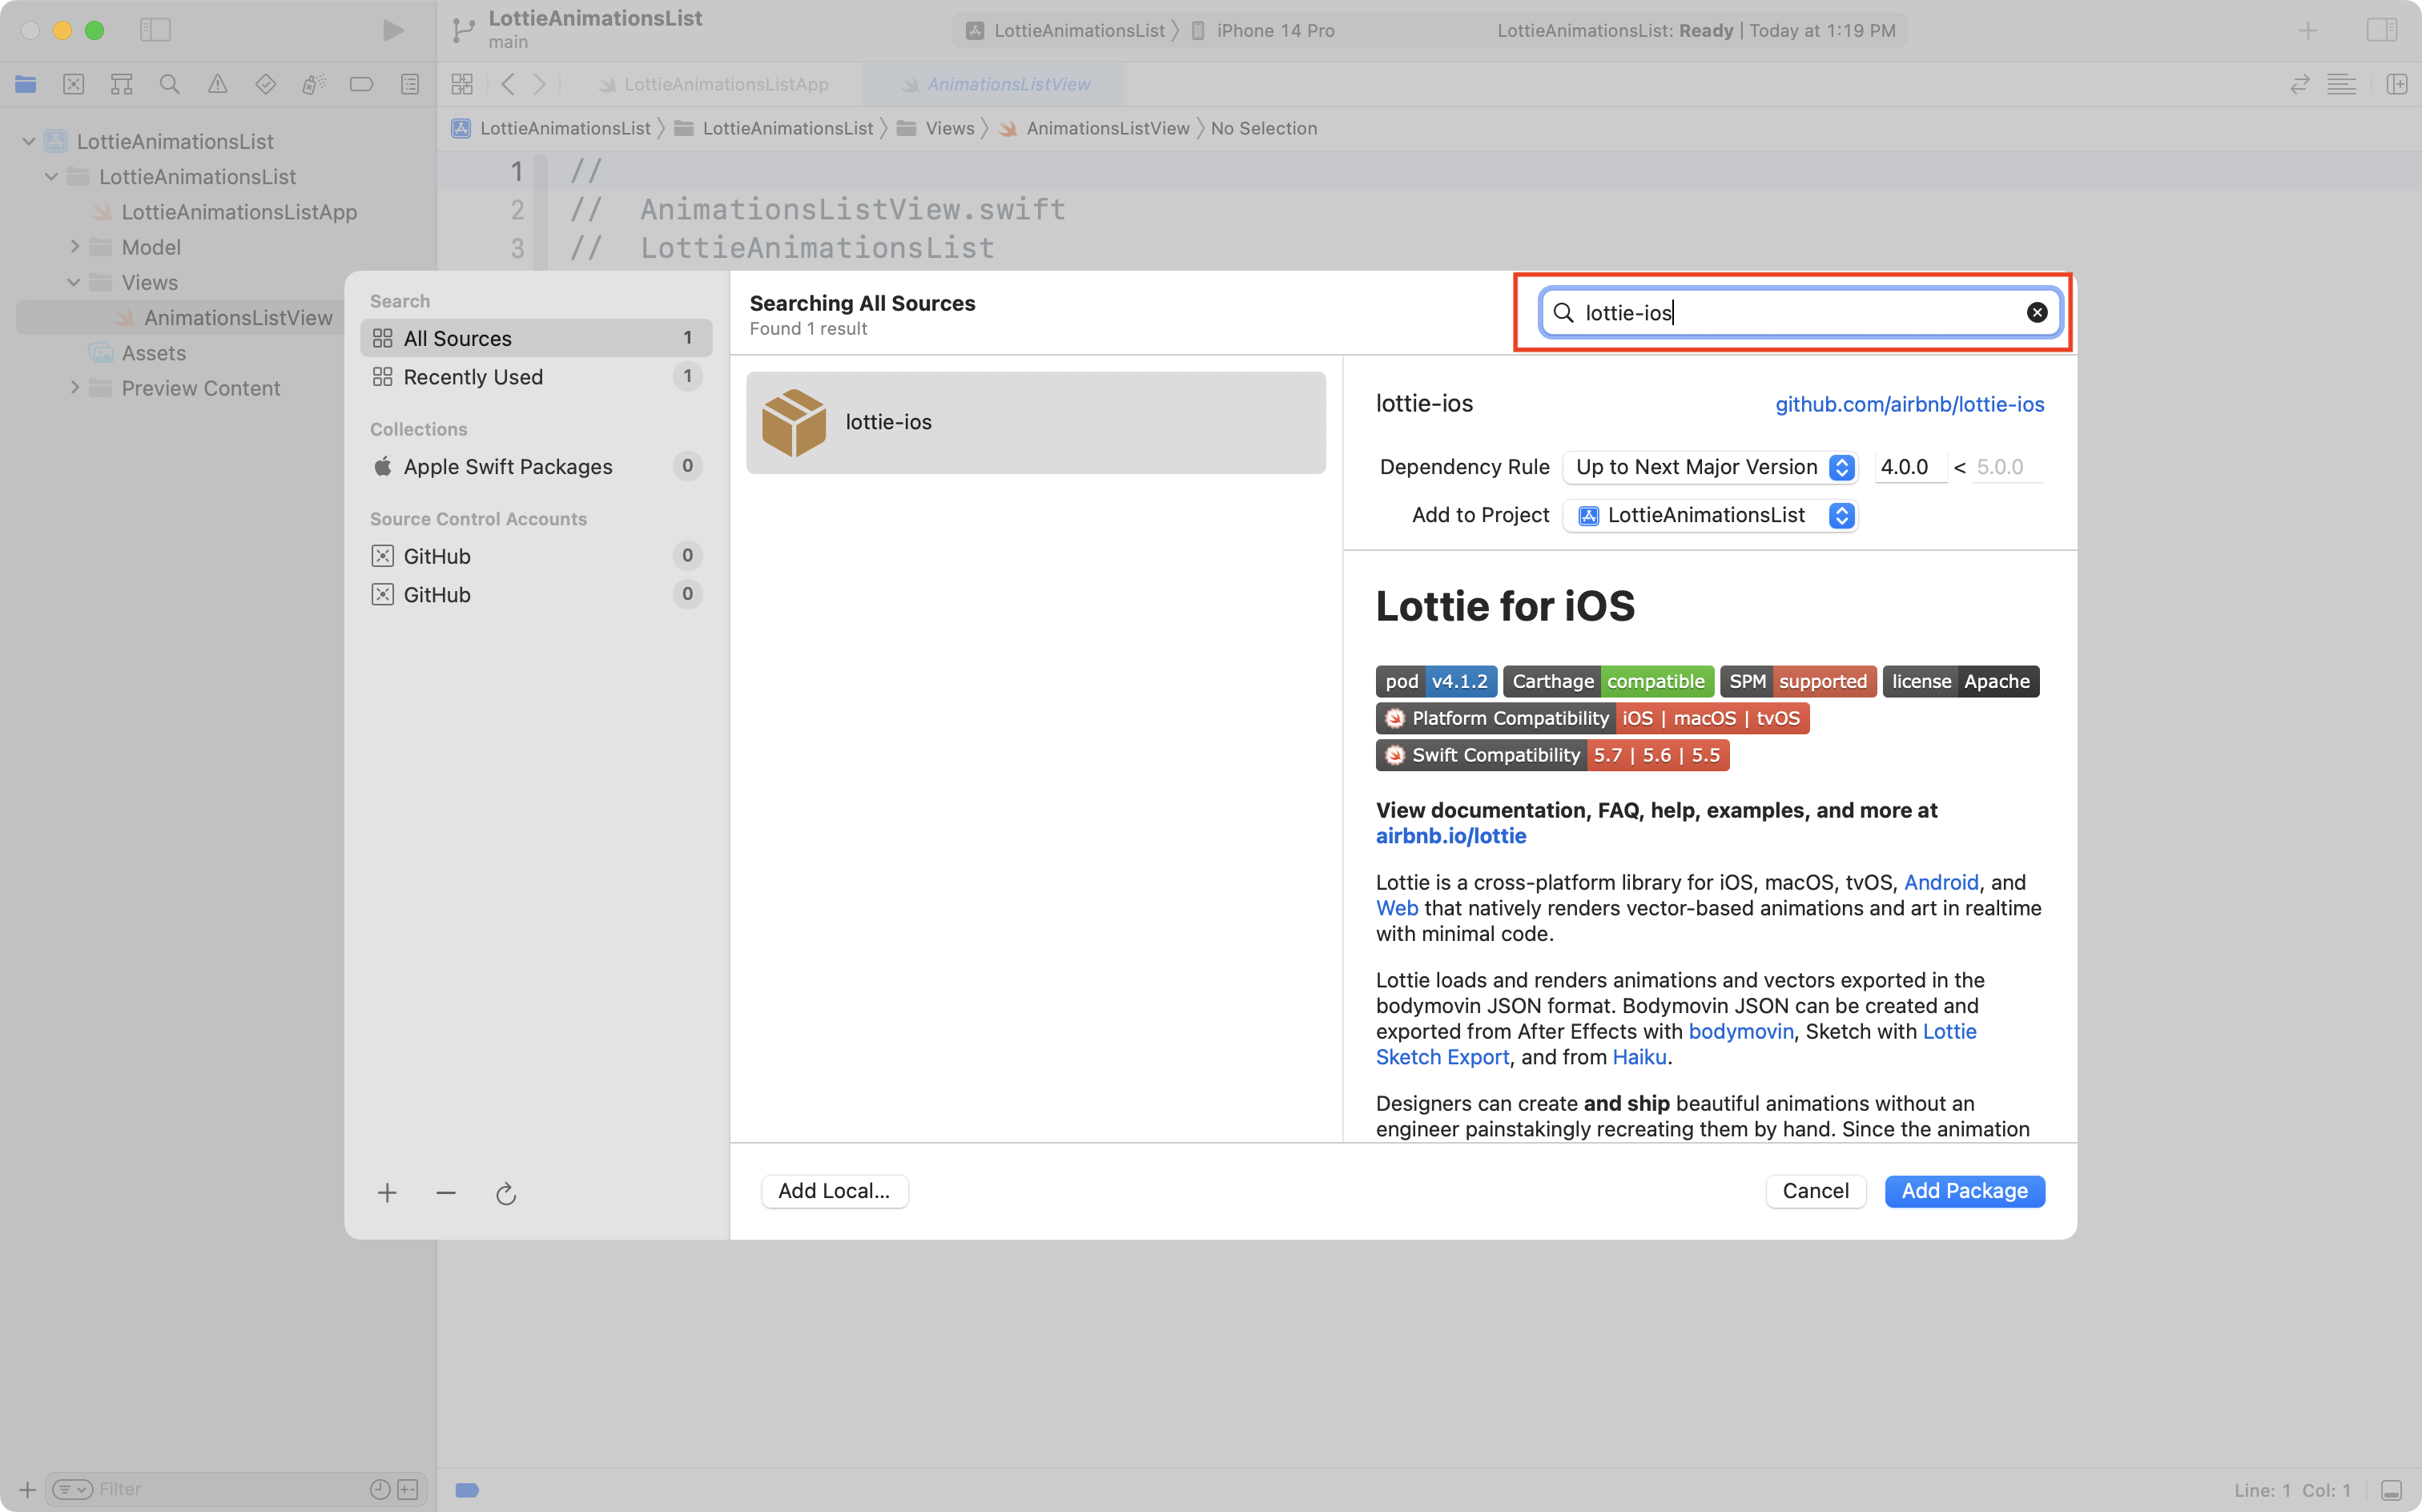
NOTE
If Xcode is unable to locate the
lottie-iospackage, instead of typinglottie-ios, copy and paste the address of the package into the dialog box:
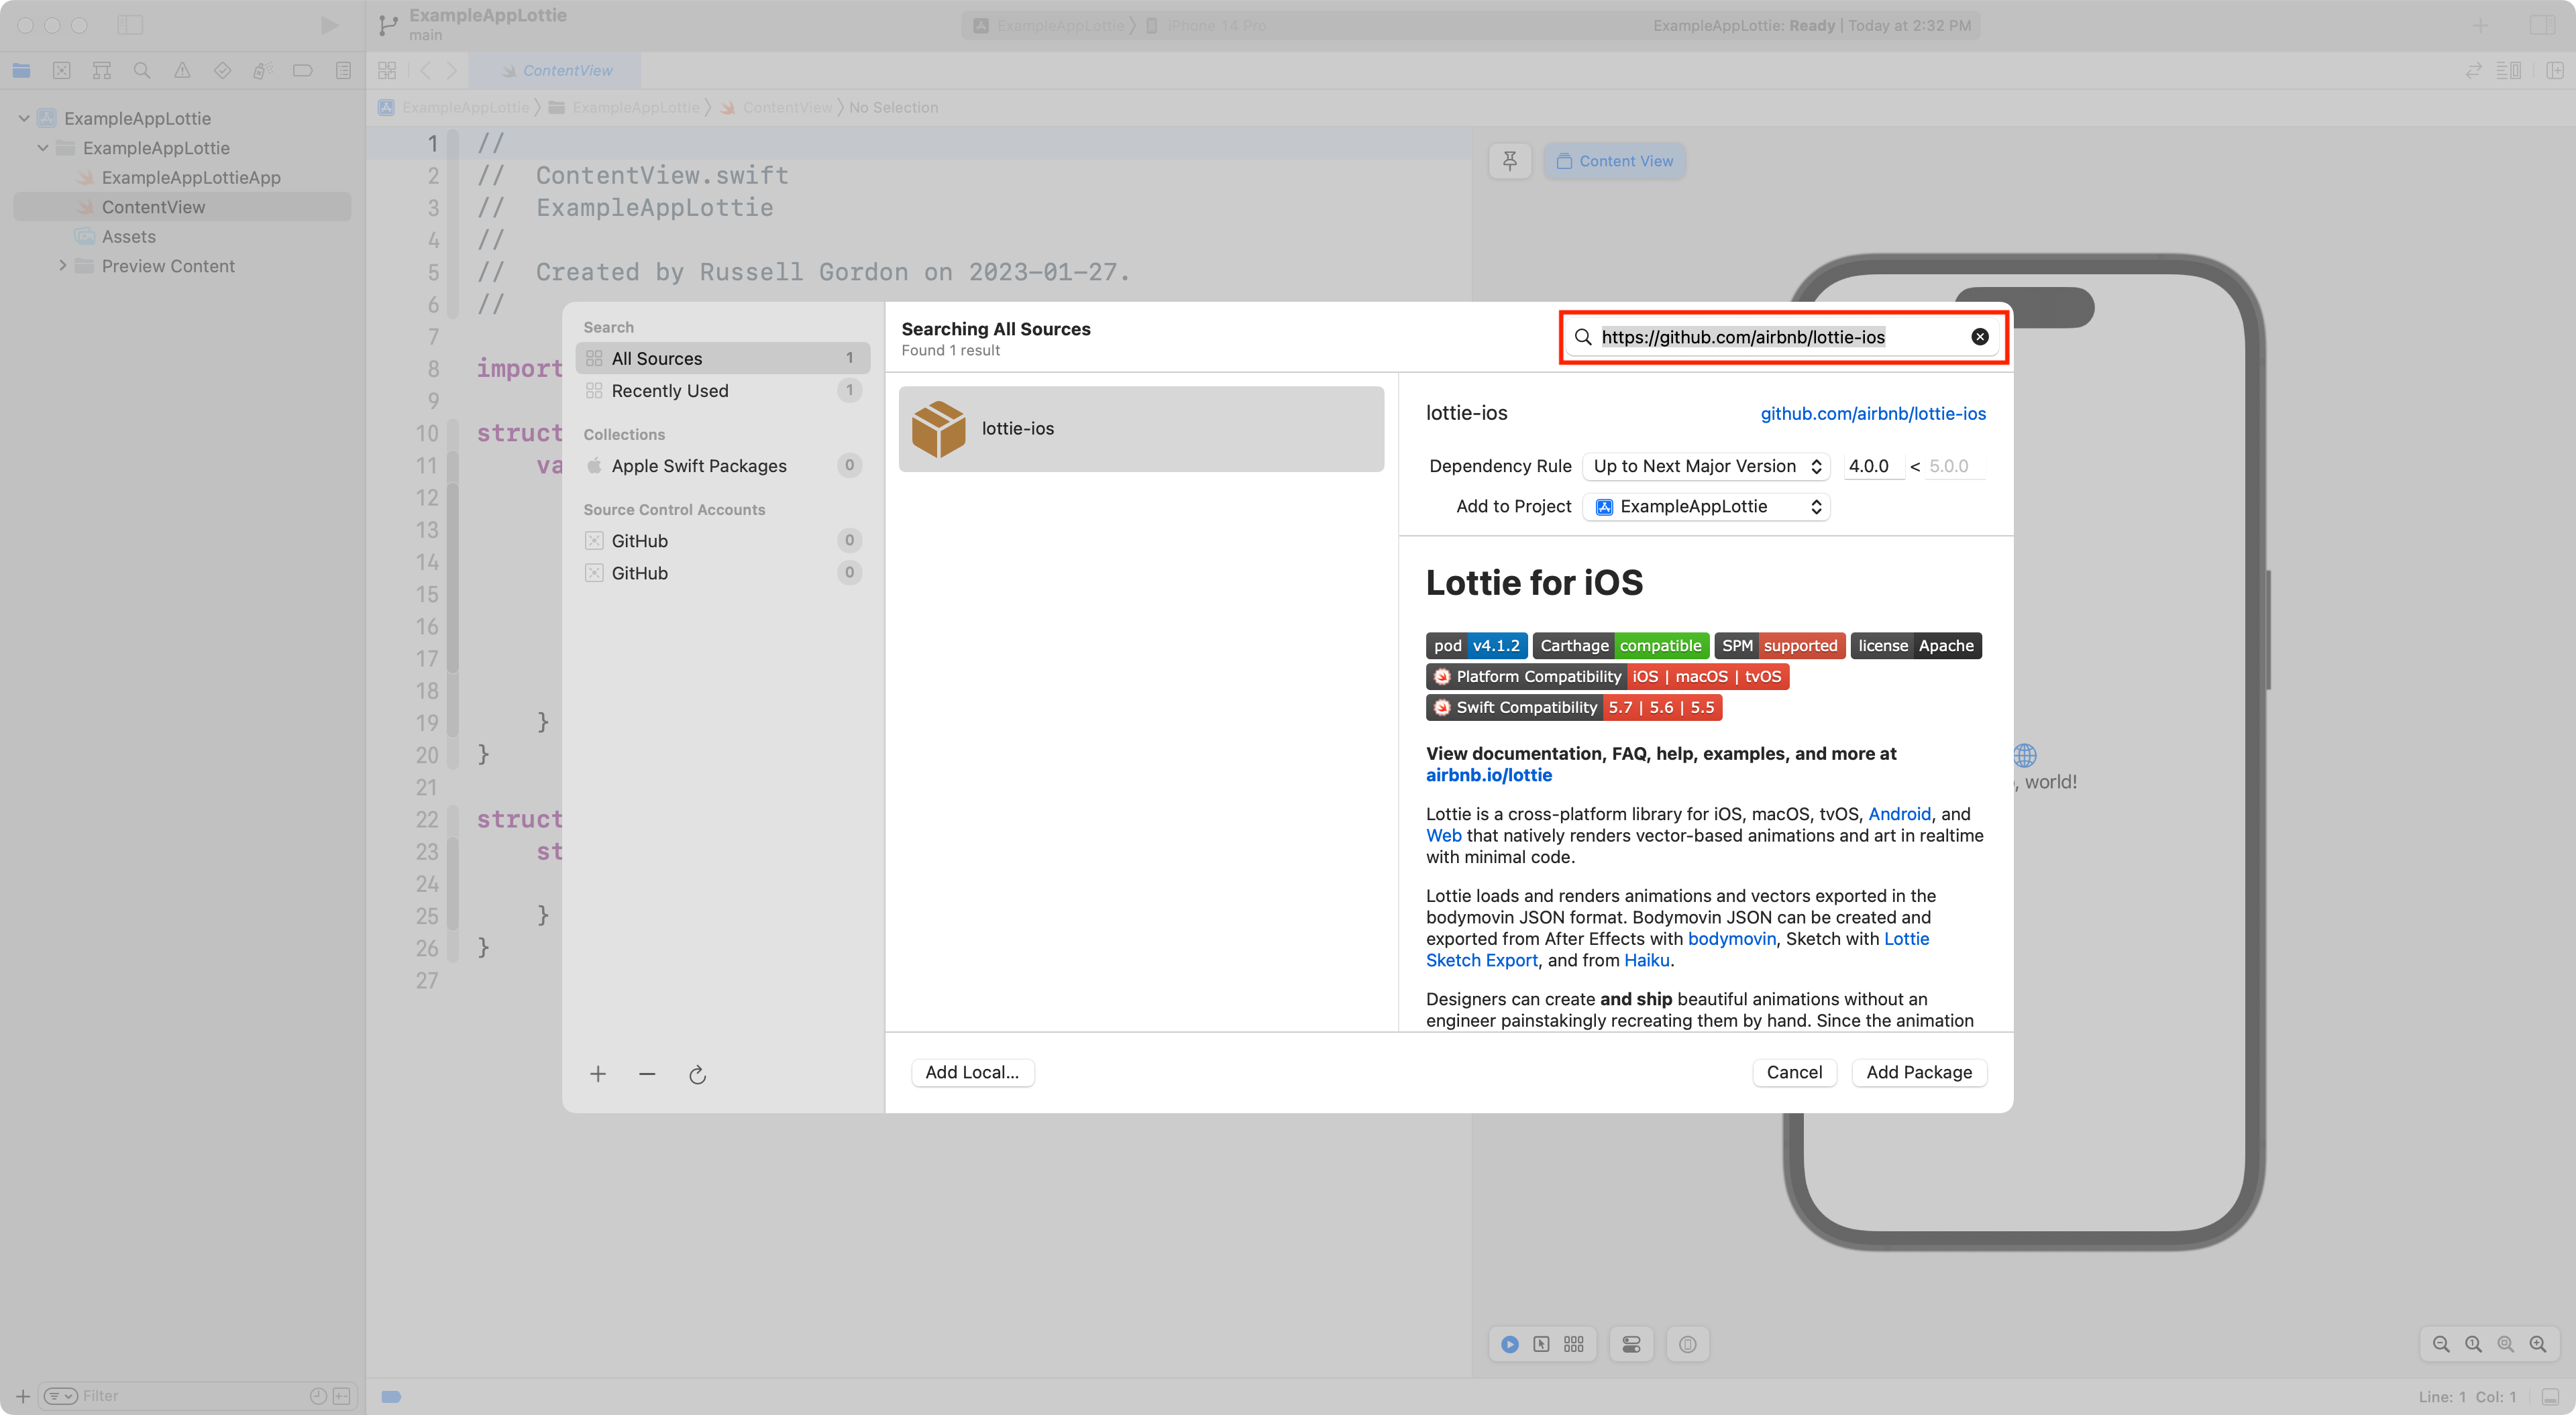
Then choose the Add Package button.
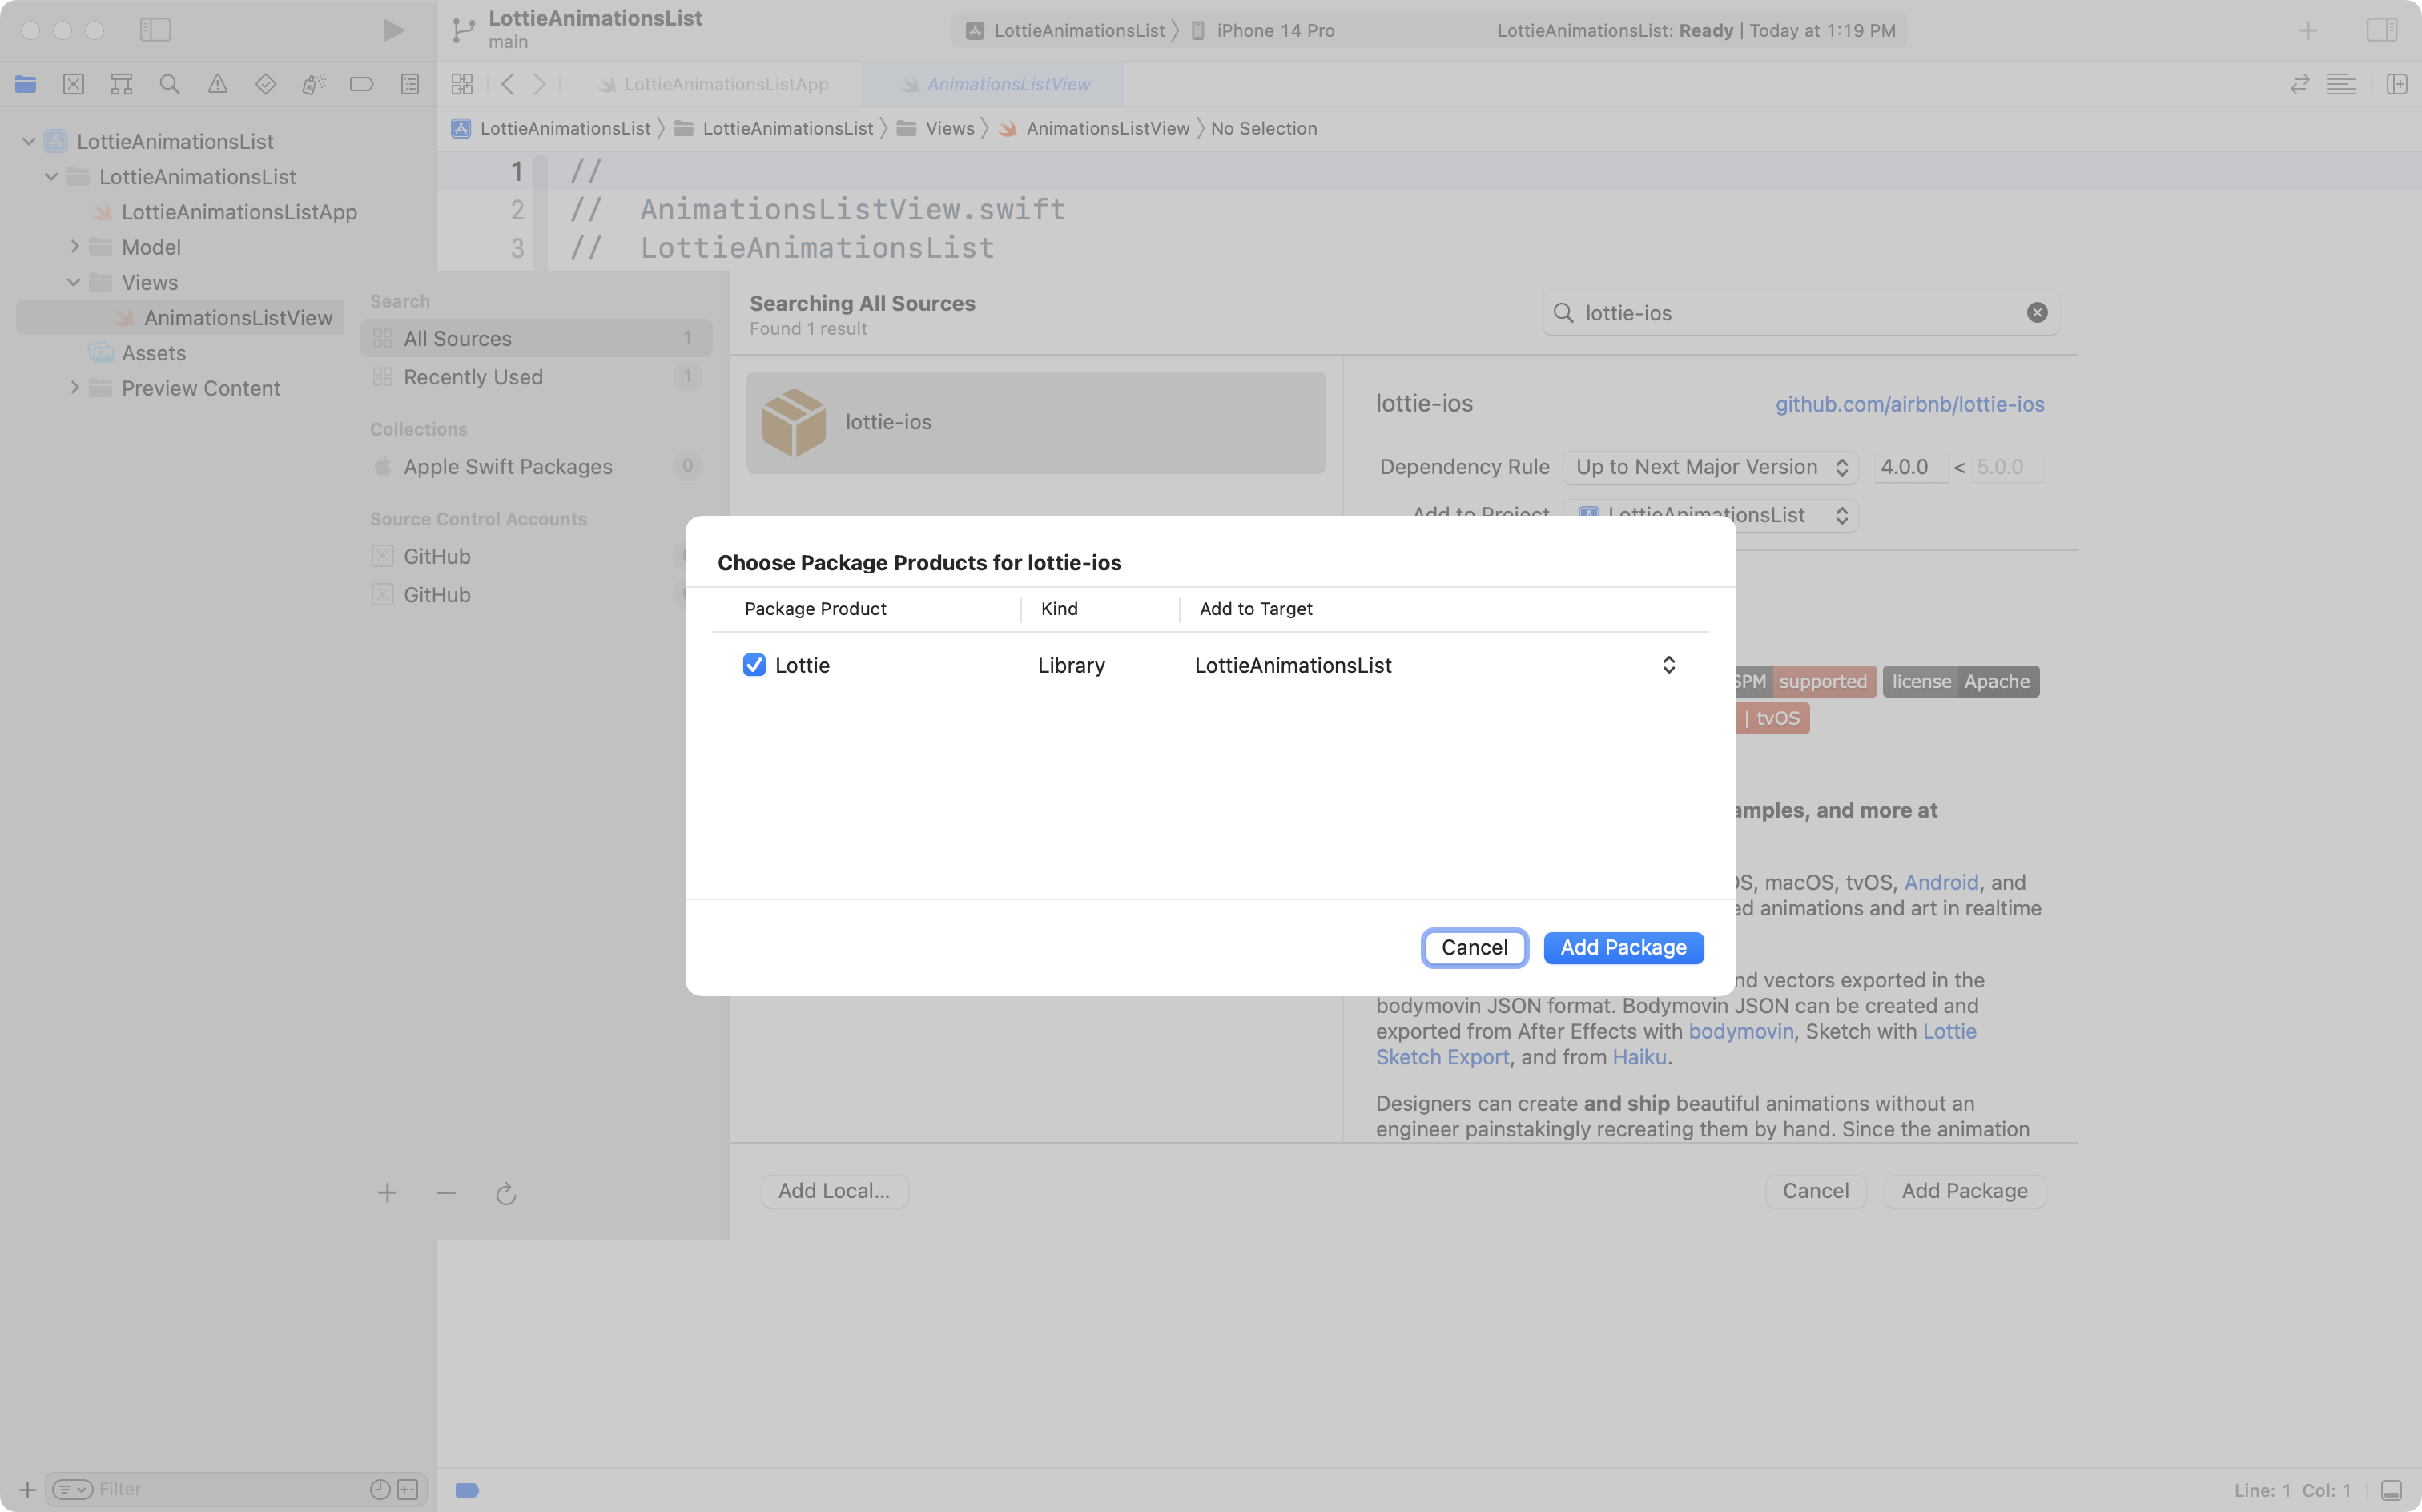
After a moment, another window will appear. Choose Add Package a second time:
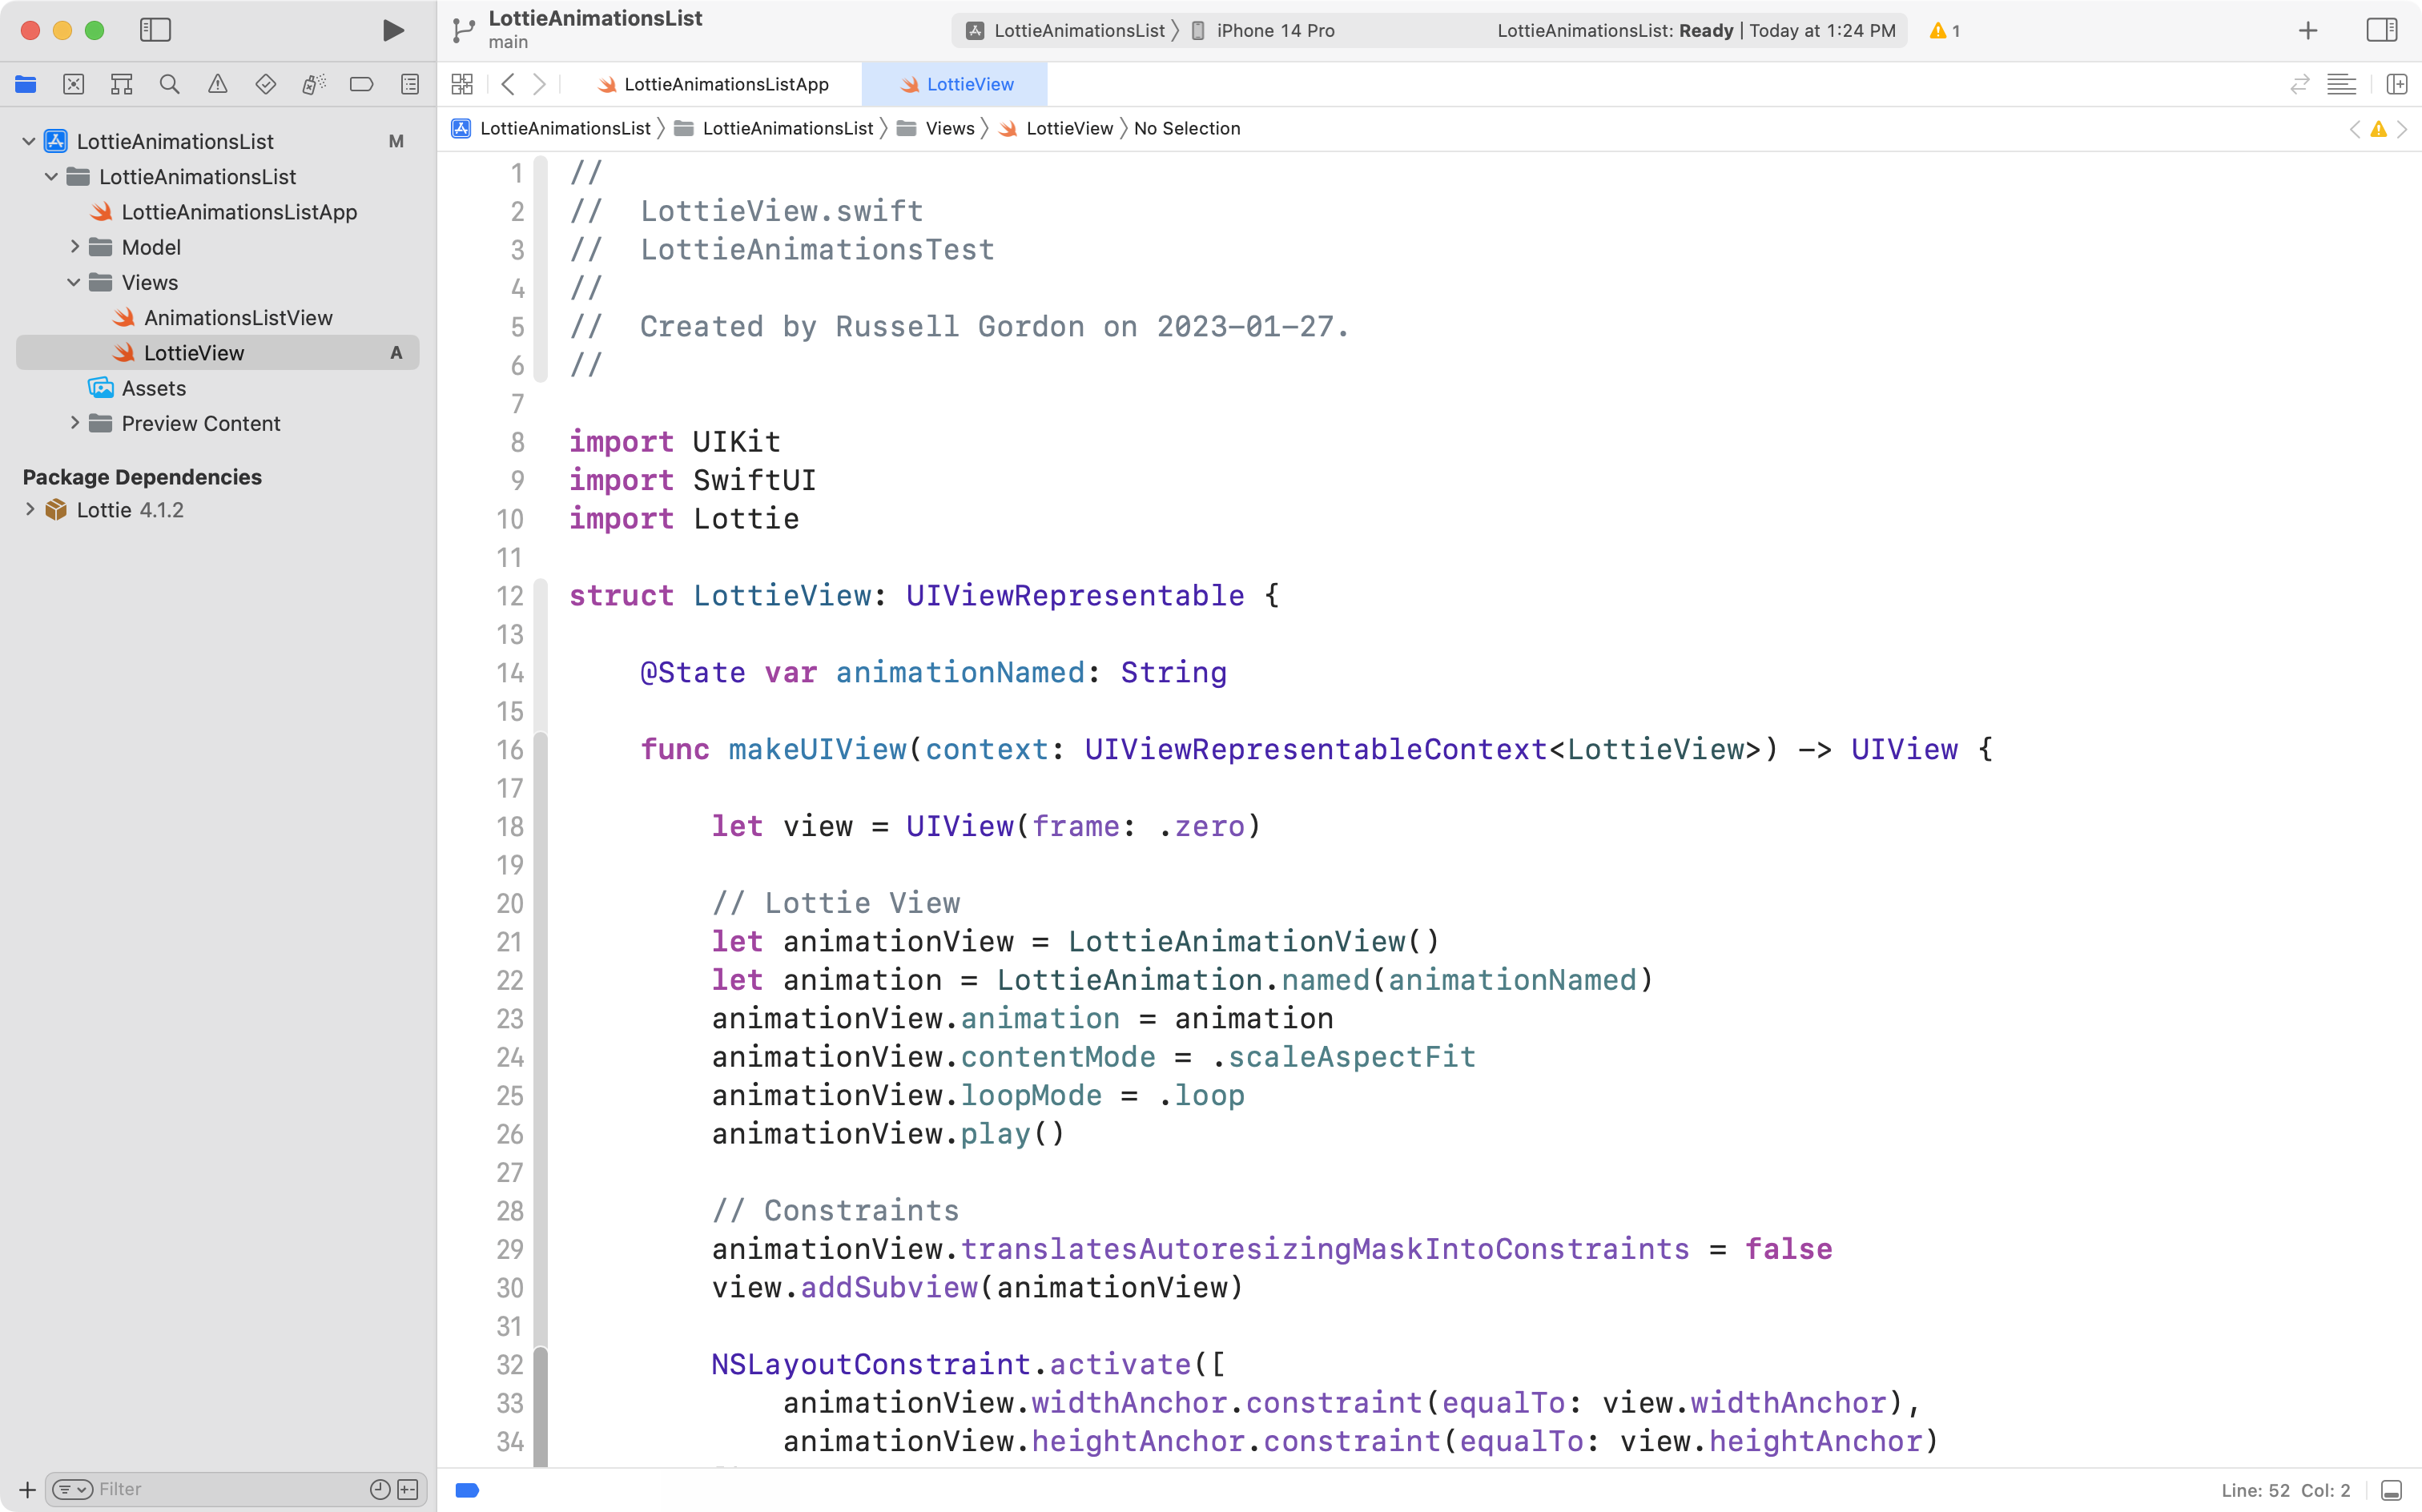
If things worked correctly, you should see Lottie listed under Package Dependencies:

NOTE
The exact version number of the package might vary from what you see in the screenshot above.
For example, the current version of the Lottie package is 4.4.0.
At this point, commit and push your work to your remote, with the message:
Added the third-party lottie-ios library.
Add Mr. Gordon’s helper view
Mr. Gordon has authored a helper view to make using Lottie animations even easier.
In the Views group, create a new SwiftUI view named LottieView:

Now visit this web page, select all the text using Command-A, copy it using Command-C, then switch to Xcode, select all the text in LottieView using Command-A, and paste in Mr. Gordon’s code using Command-V. When that is done, it should look like this:
While you are welcome to review this code, it’s not necessary for you to know how it works. You may simply use it within your apps.
At this point, commit and push your work to your remote, with the message:
Added Mr. Gordon's helper view.
Download an animation
You have already browsed available animations and found ones that you like.
Each Lottie animation can be saved as a JSON file, which is just a text file that has a particular format that is used to describe the animation.
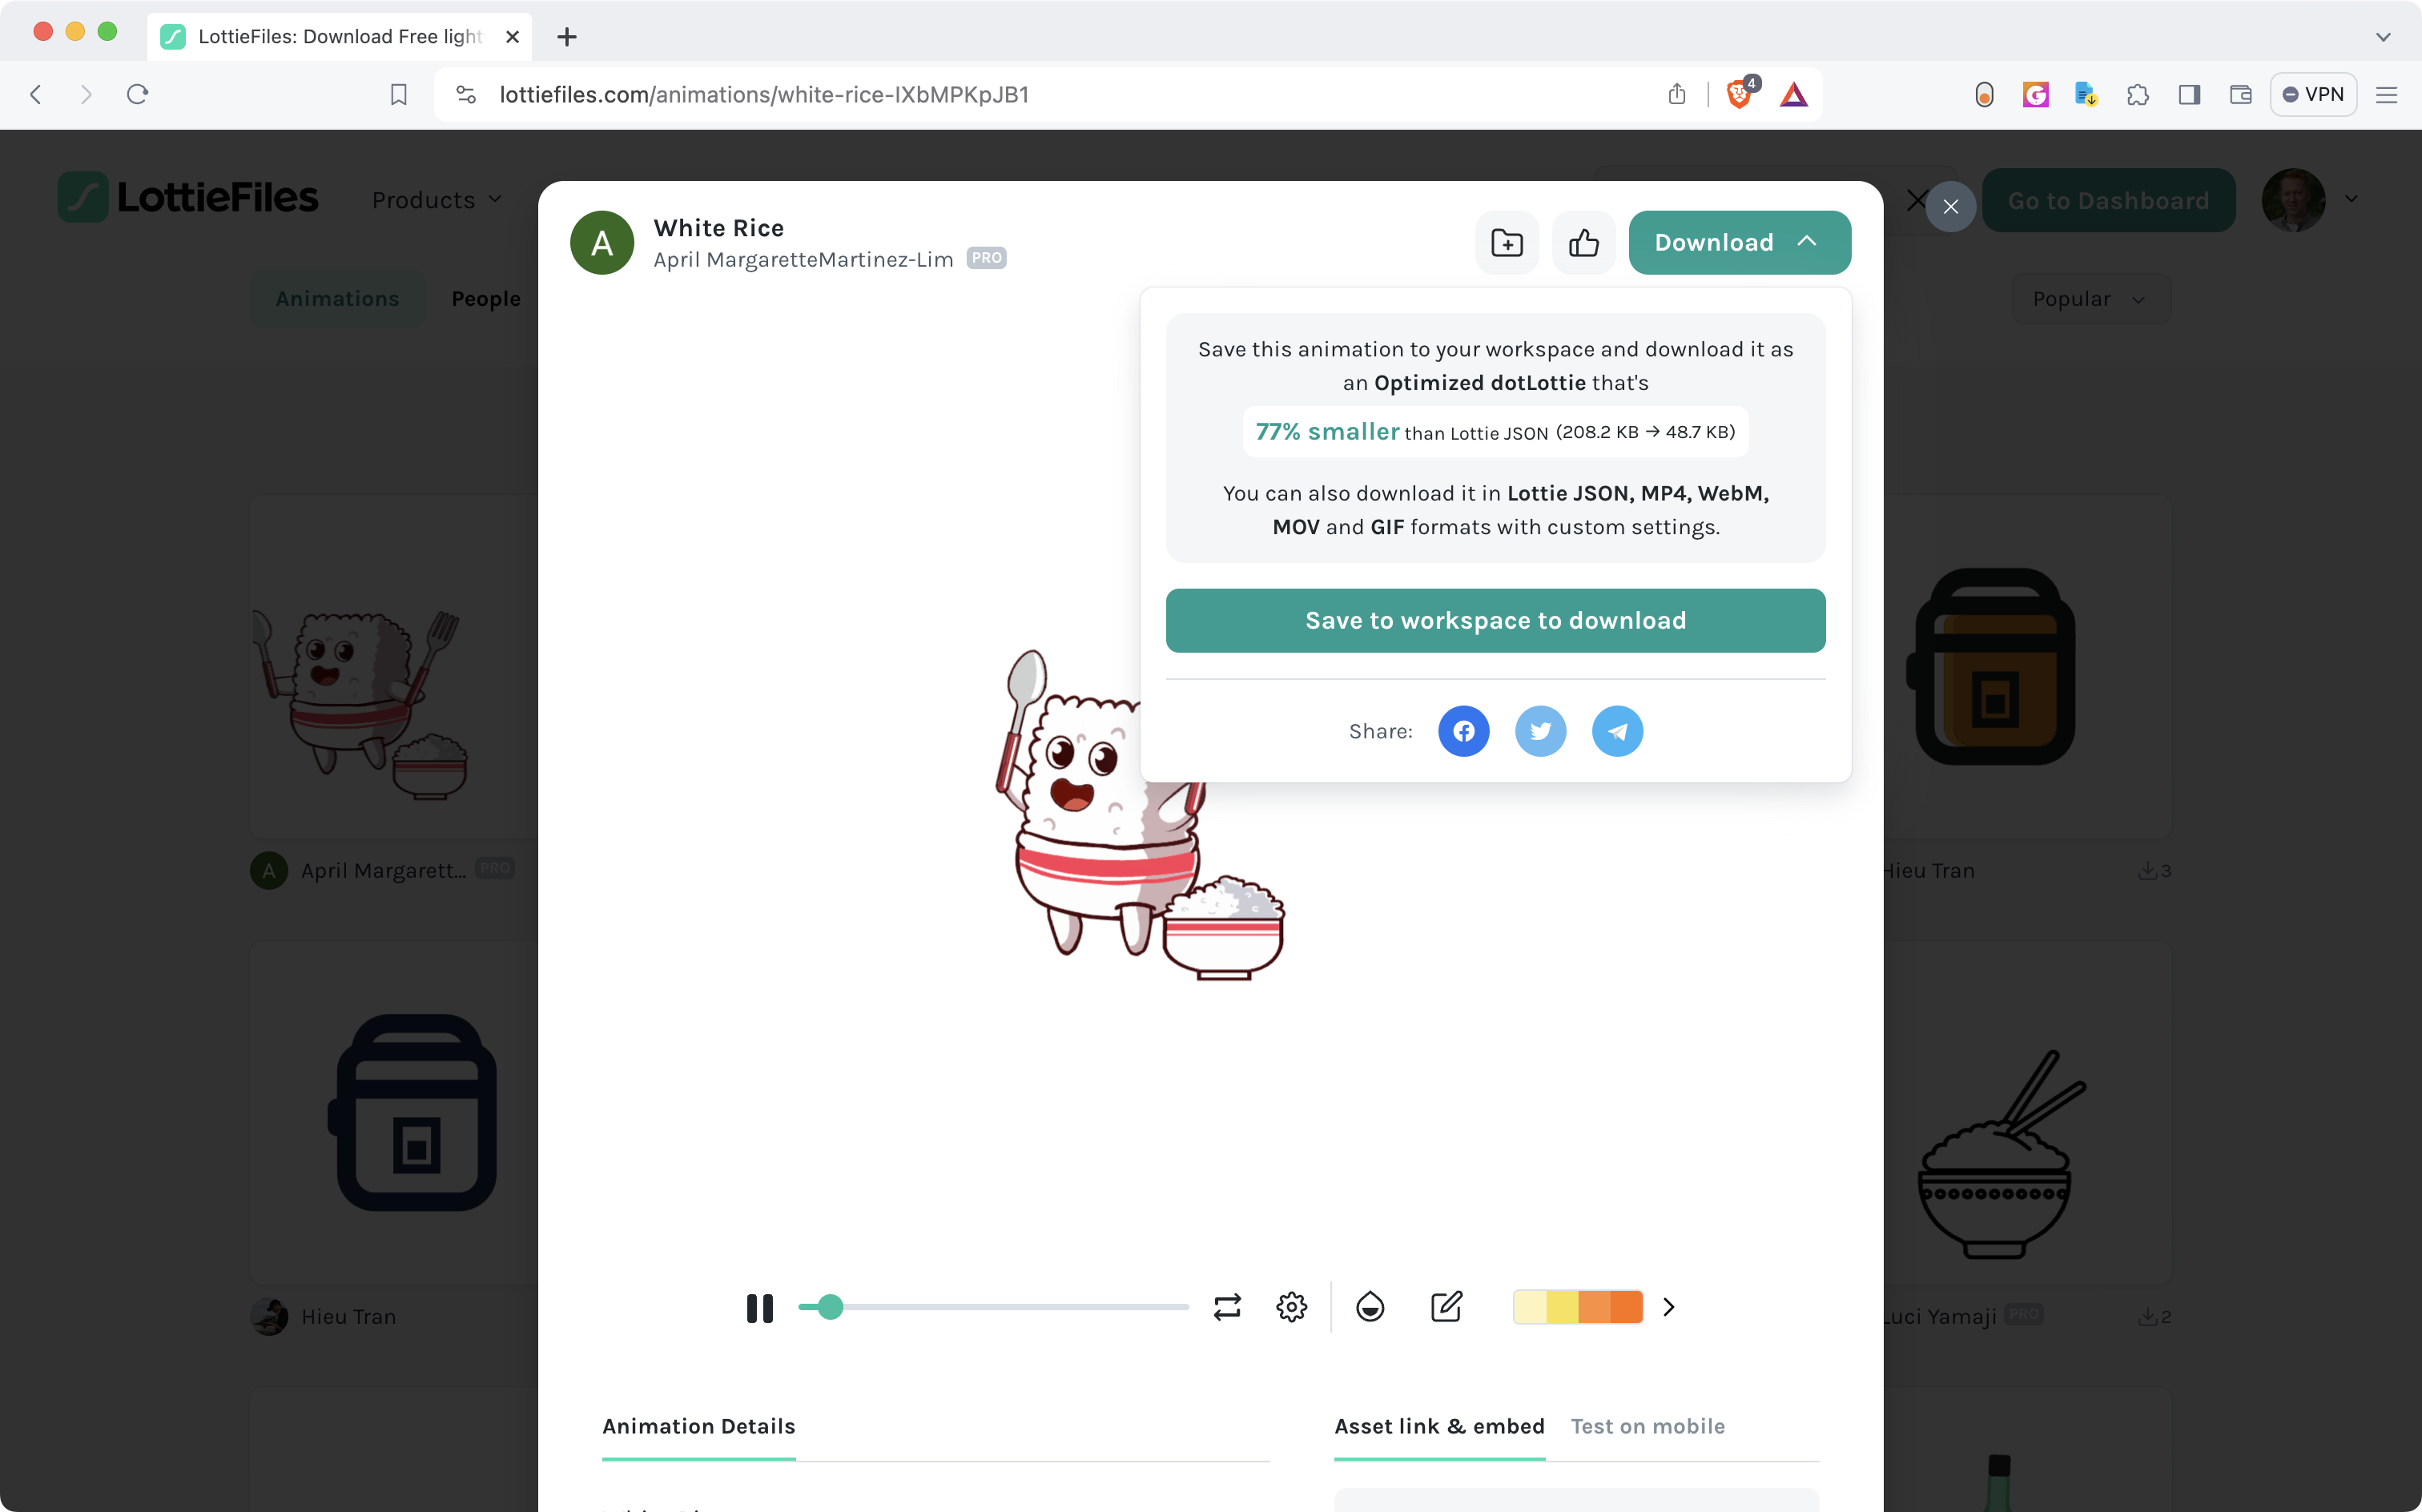
Find an animation you like:
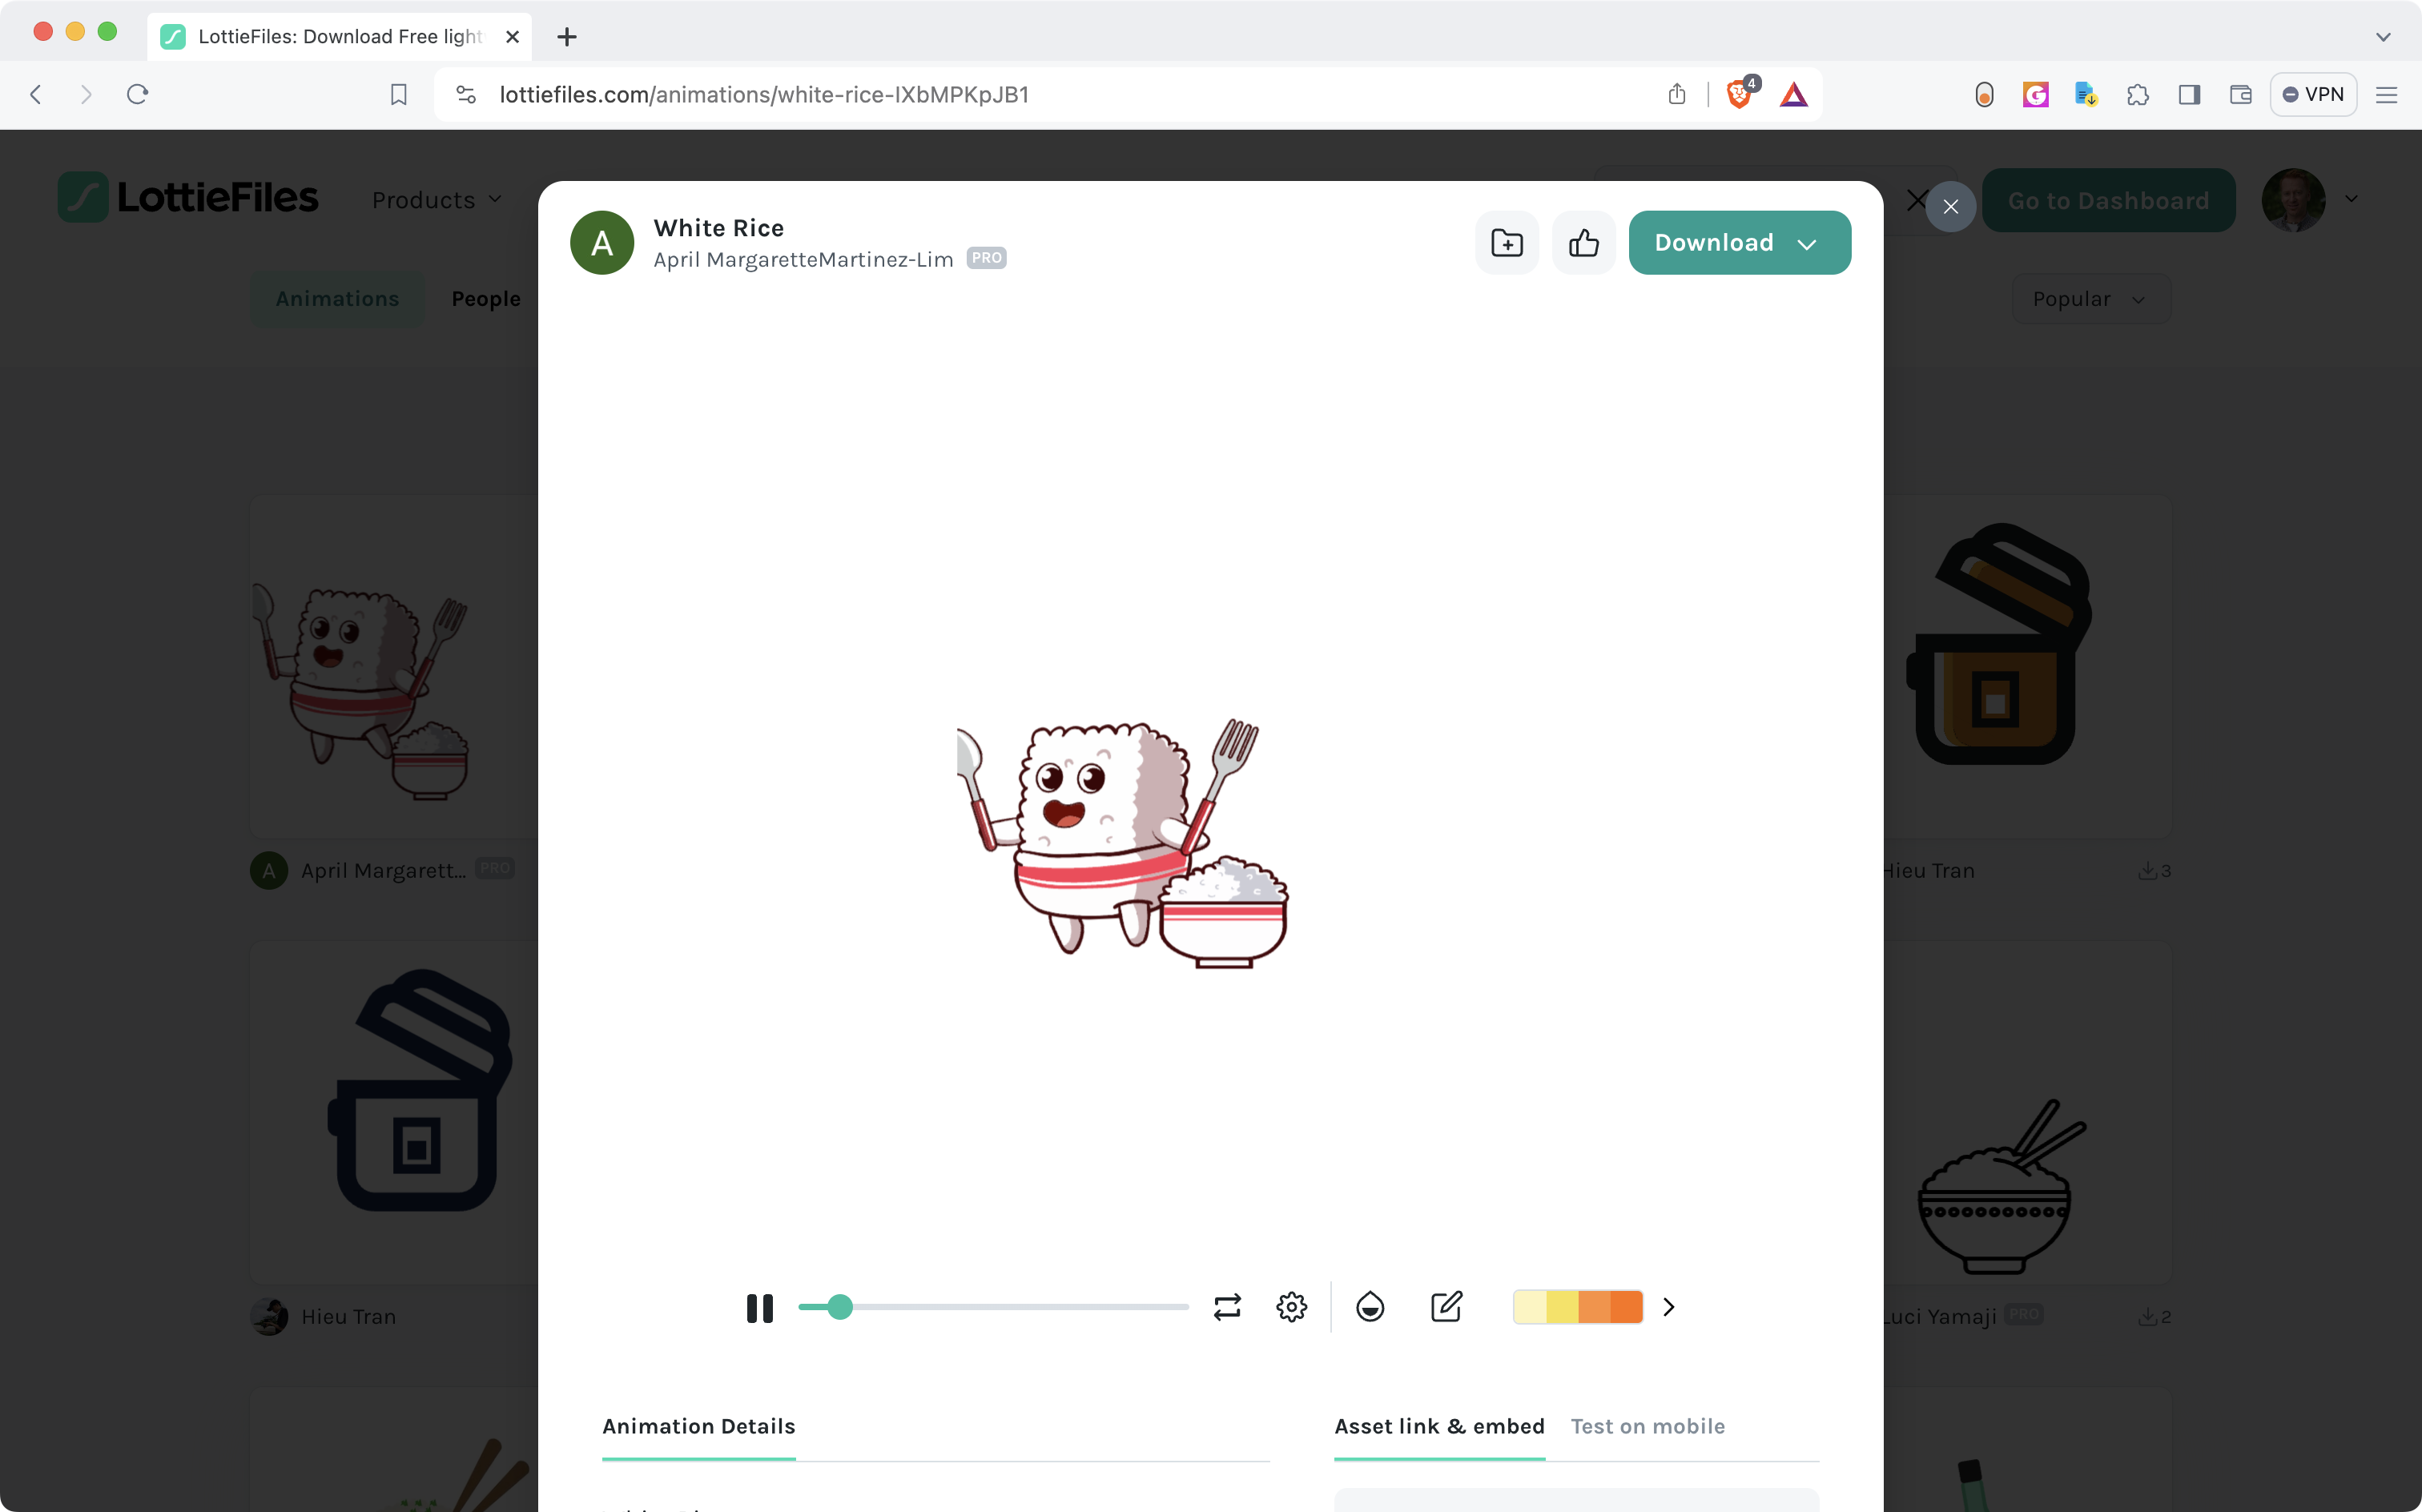
Then click the Download button at top-right:
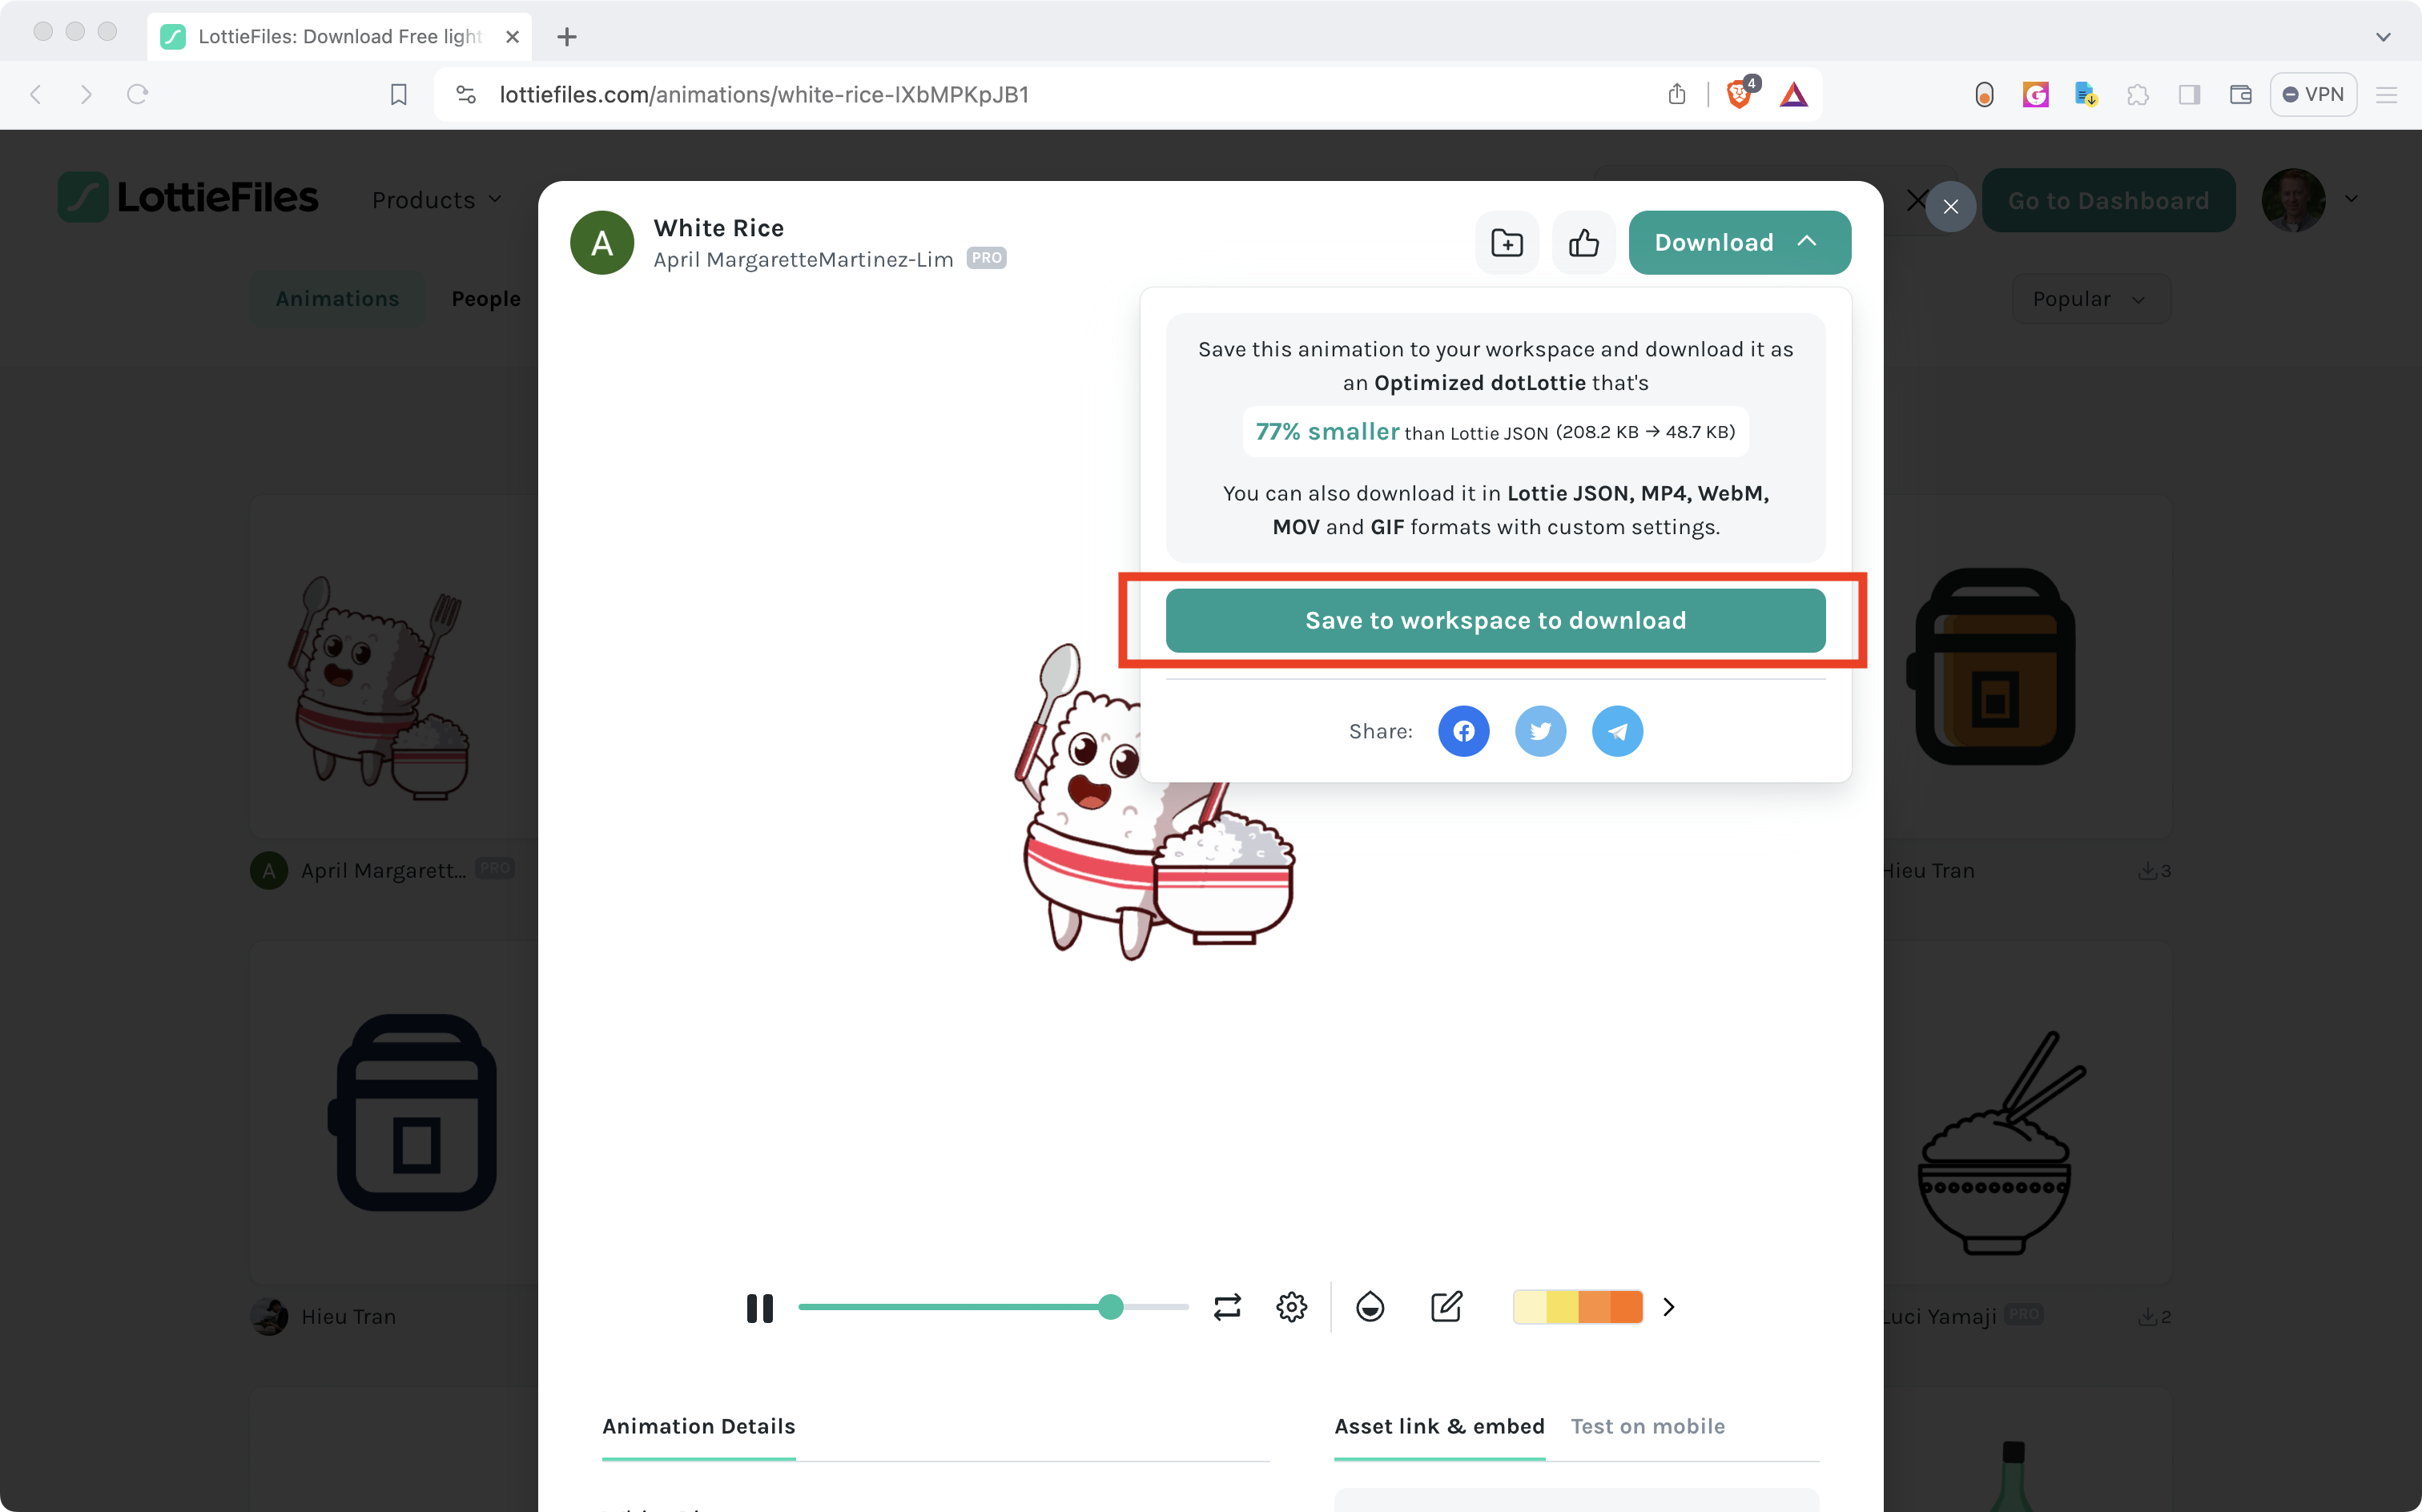
Click Save to workspace to download:
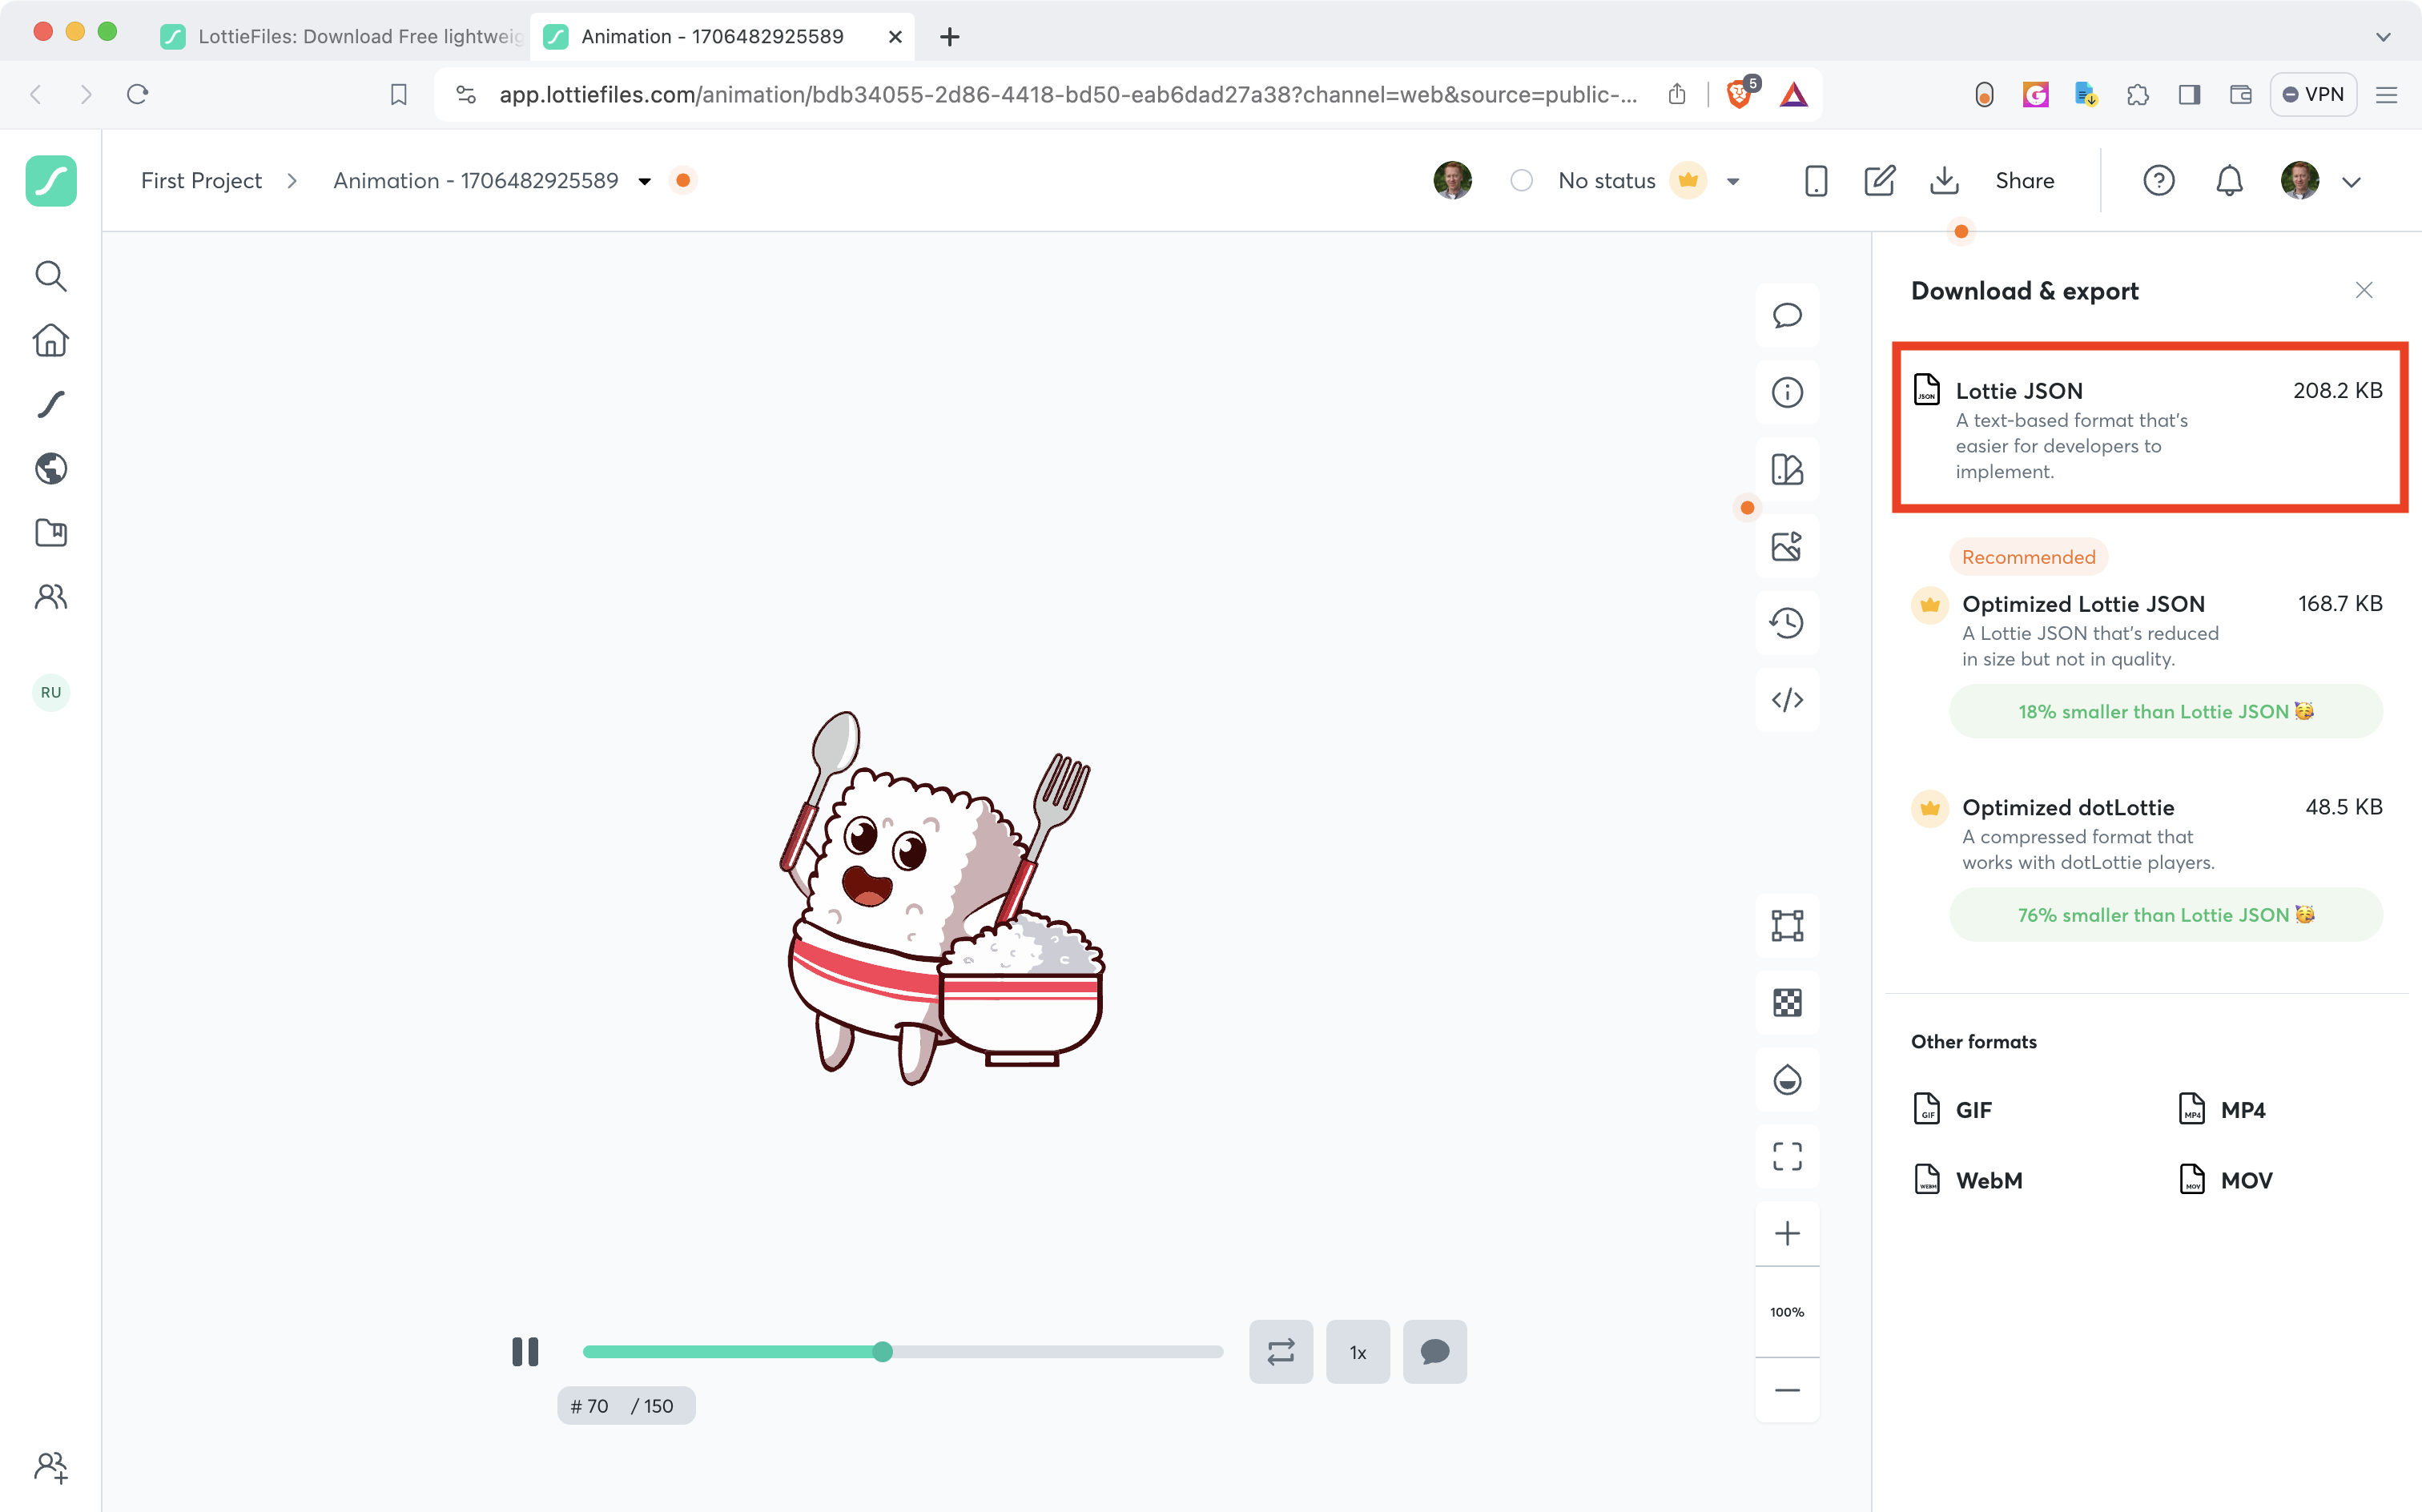
Once added to your workspace, download the animation in the Lottie JSON format:
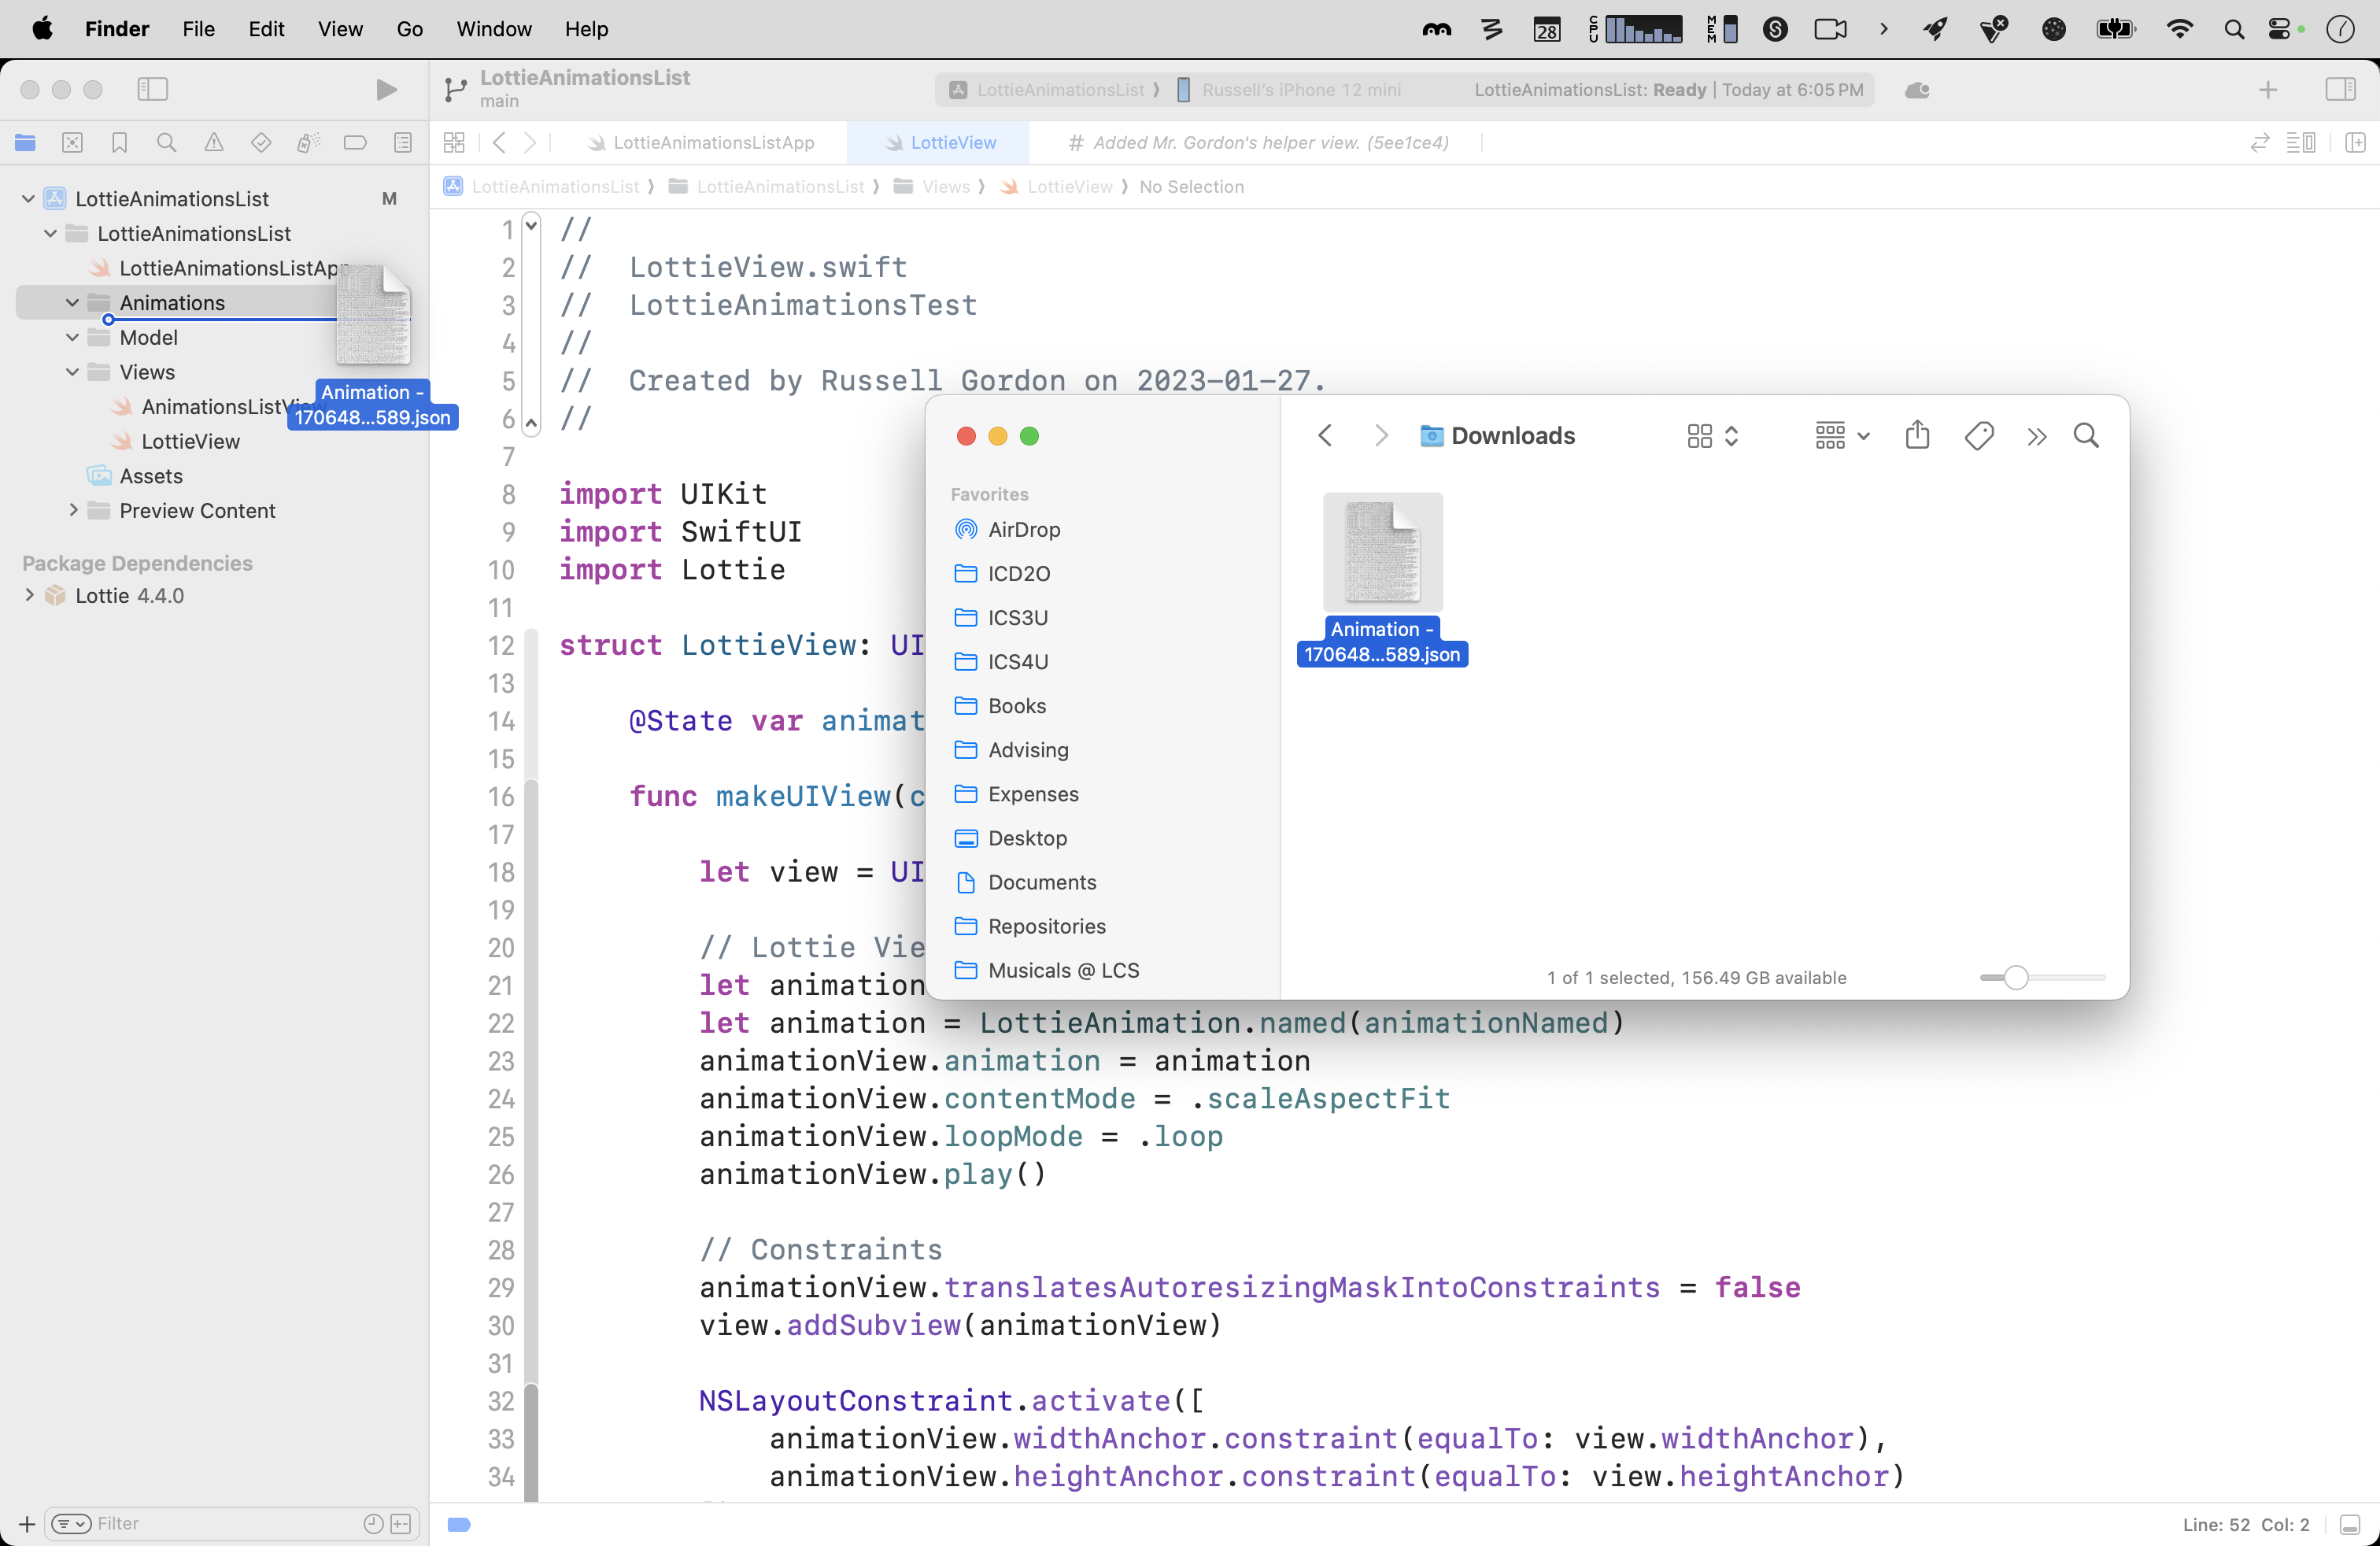
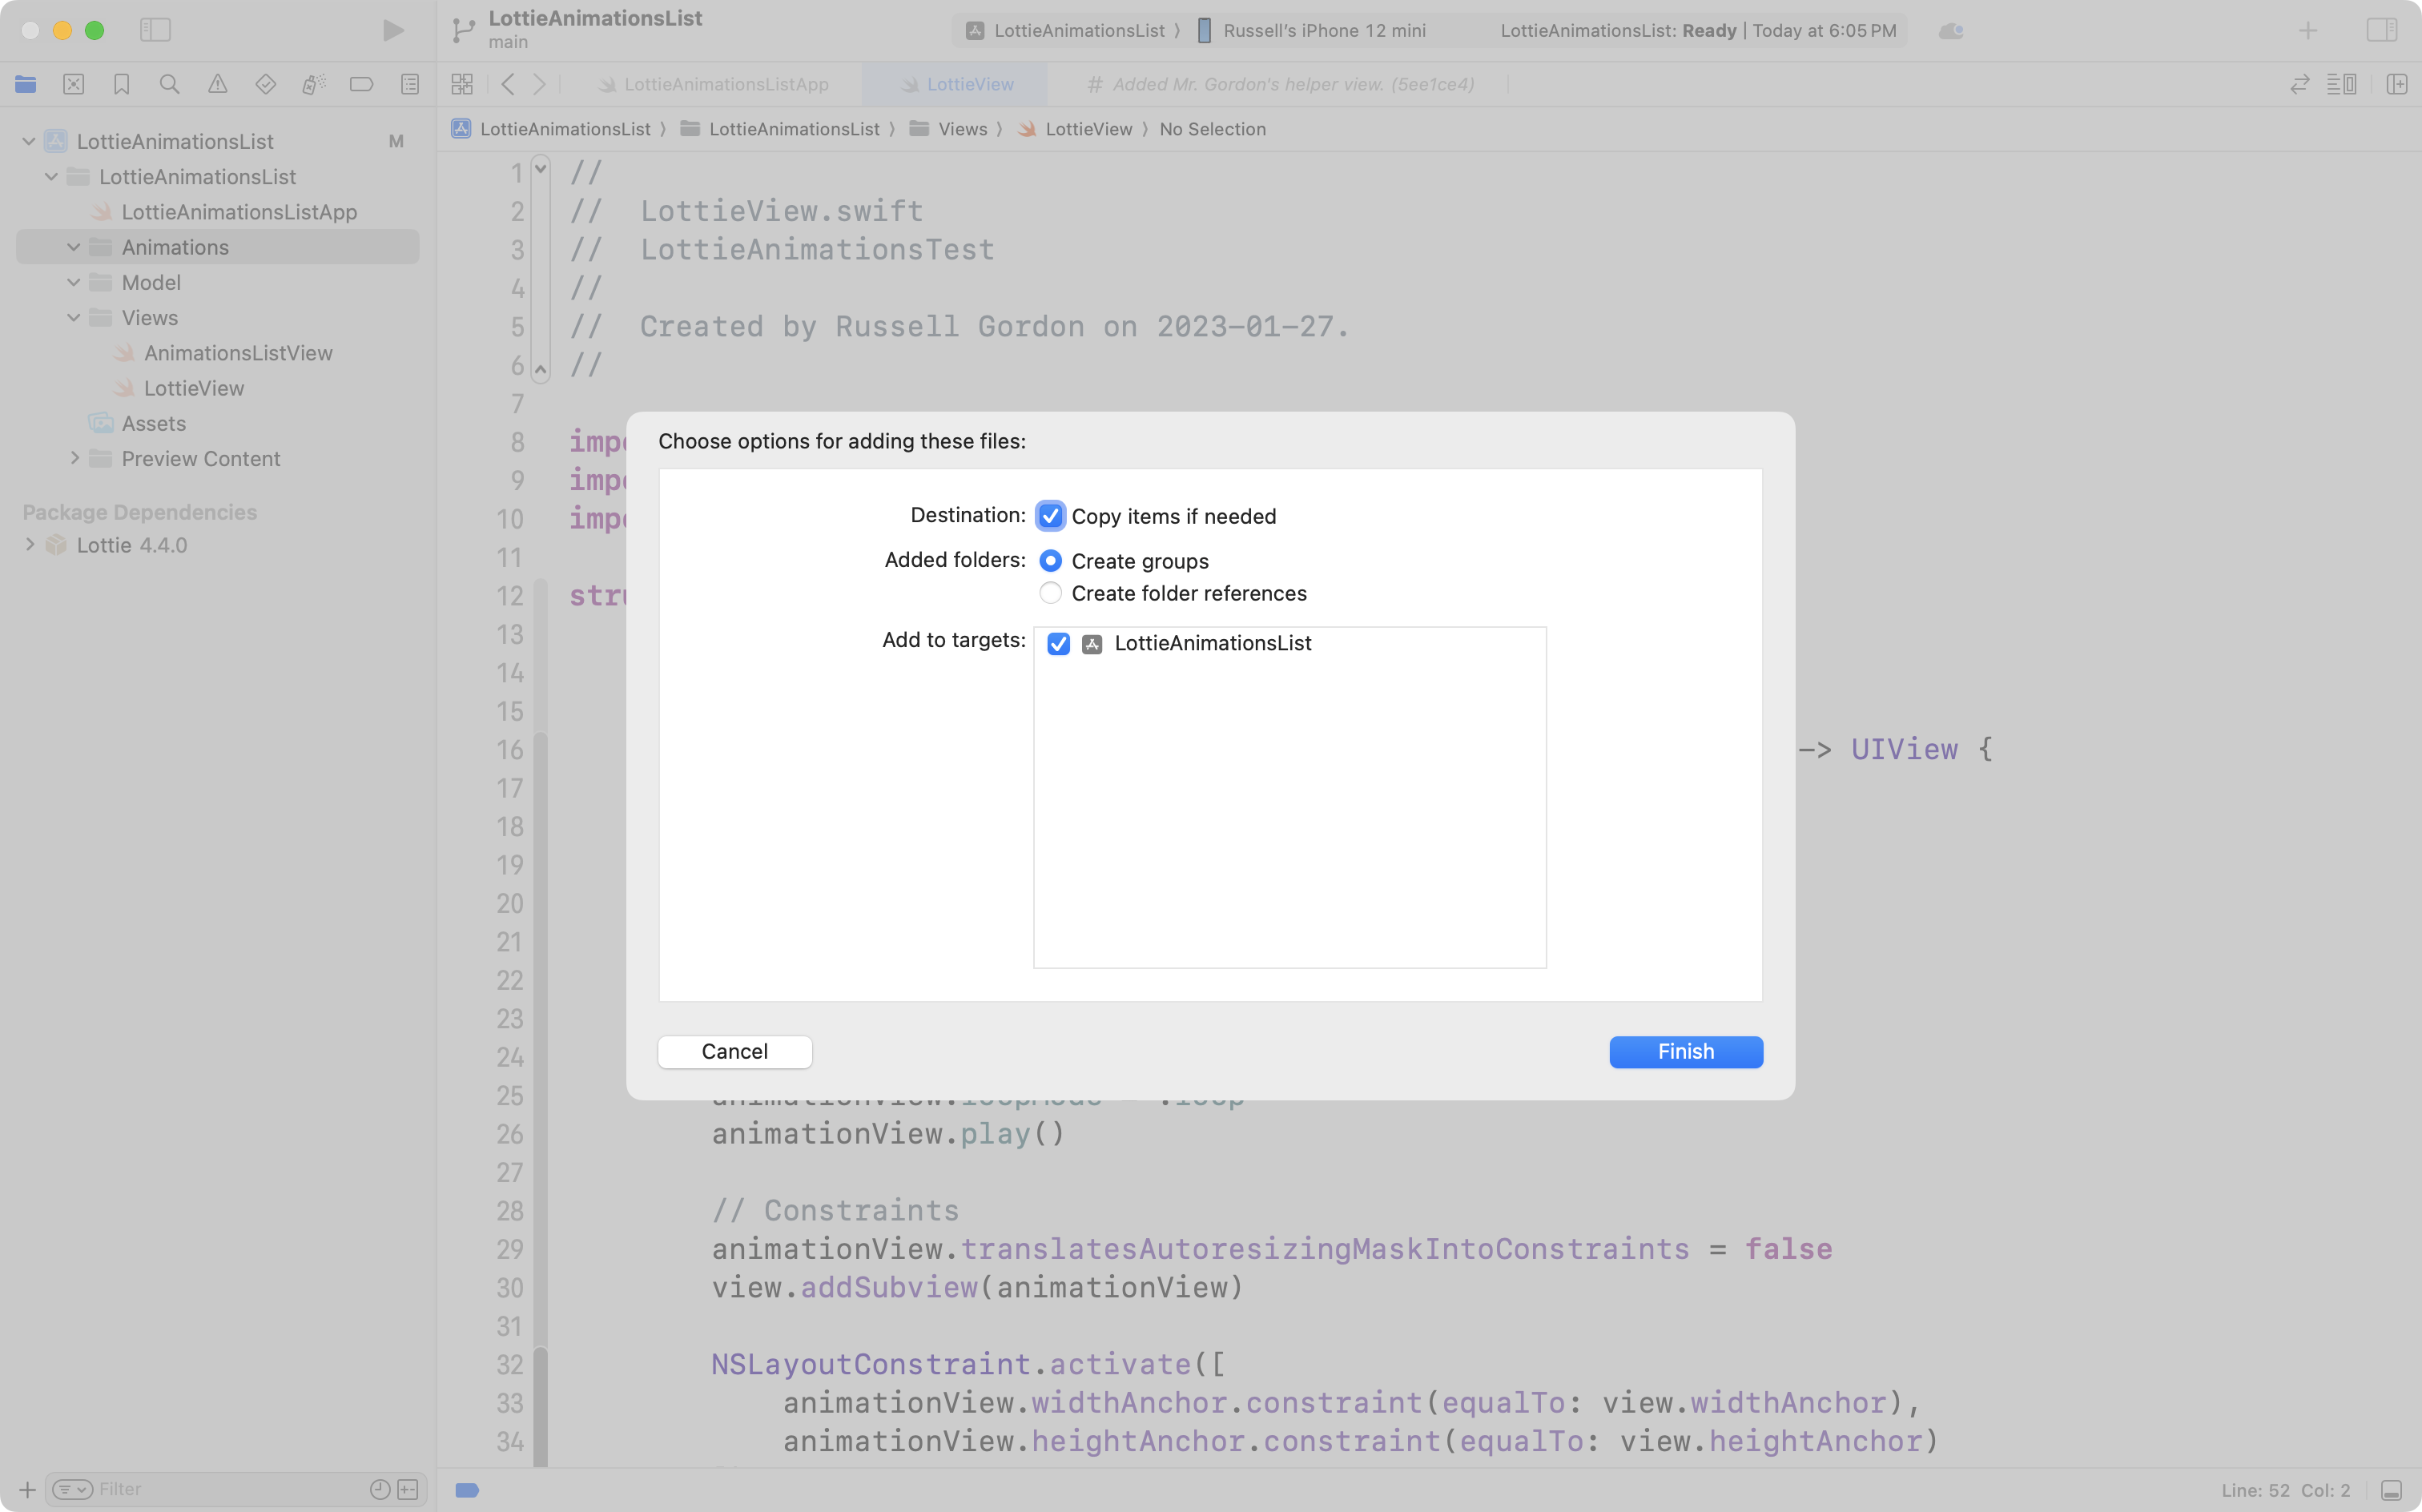
Now, make a new group named Animations in your Xcode project, then drag and drop the JSON file from your Downloads folder into the Animations group in Xcode:
When you drag the item into Xcode, this dialog will appear – you can accept the default options, as shown:
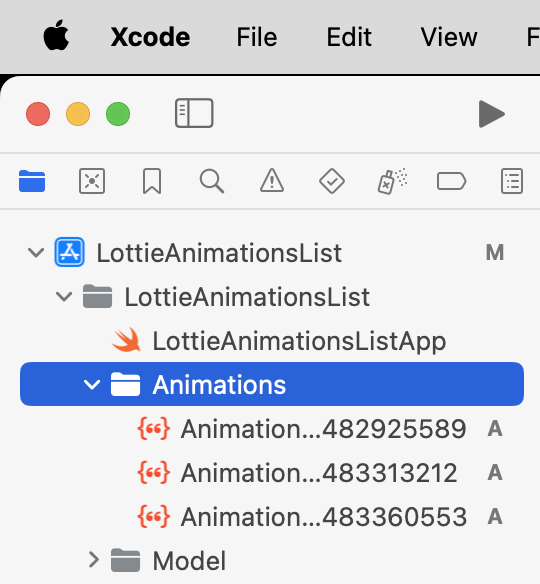
Repeat this process until you have several animations that you like in your project.
At this point, commit and push your work to your remote, with the message:
Added several animations that I like.
Write a structure to describe the animations
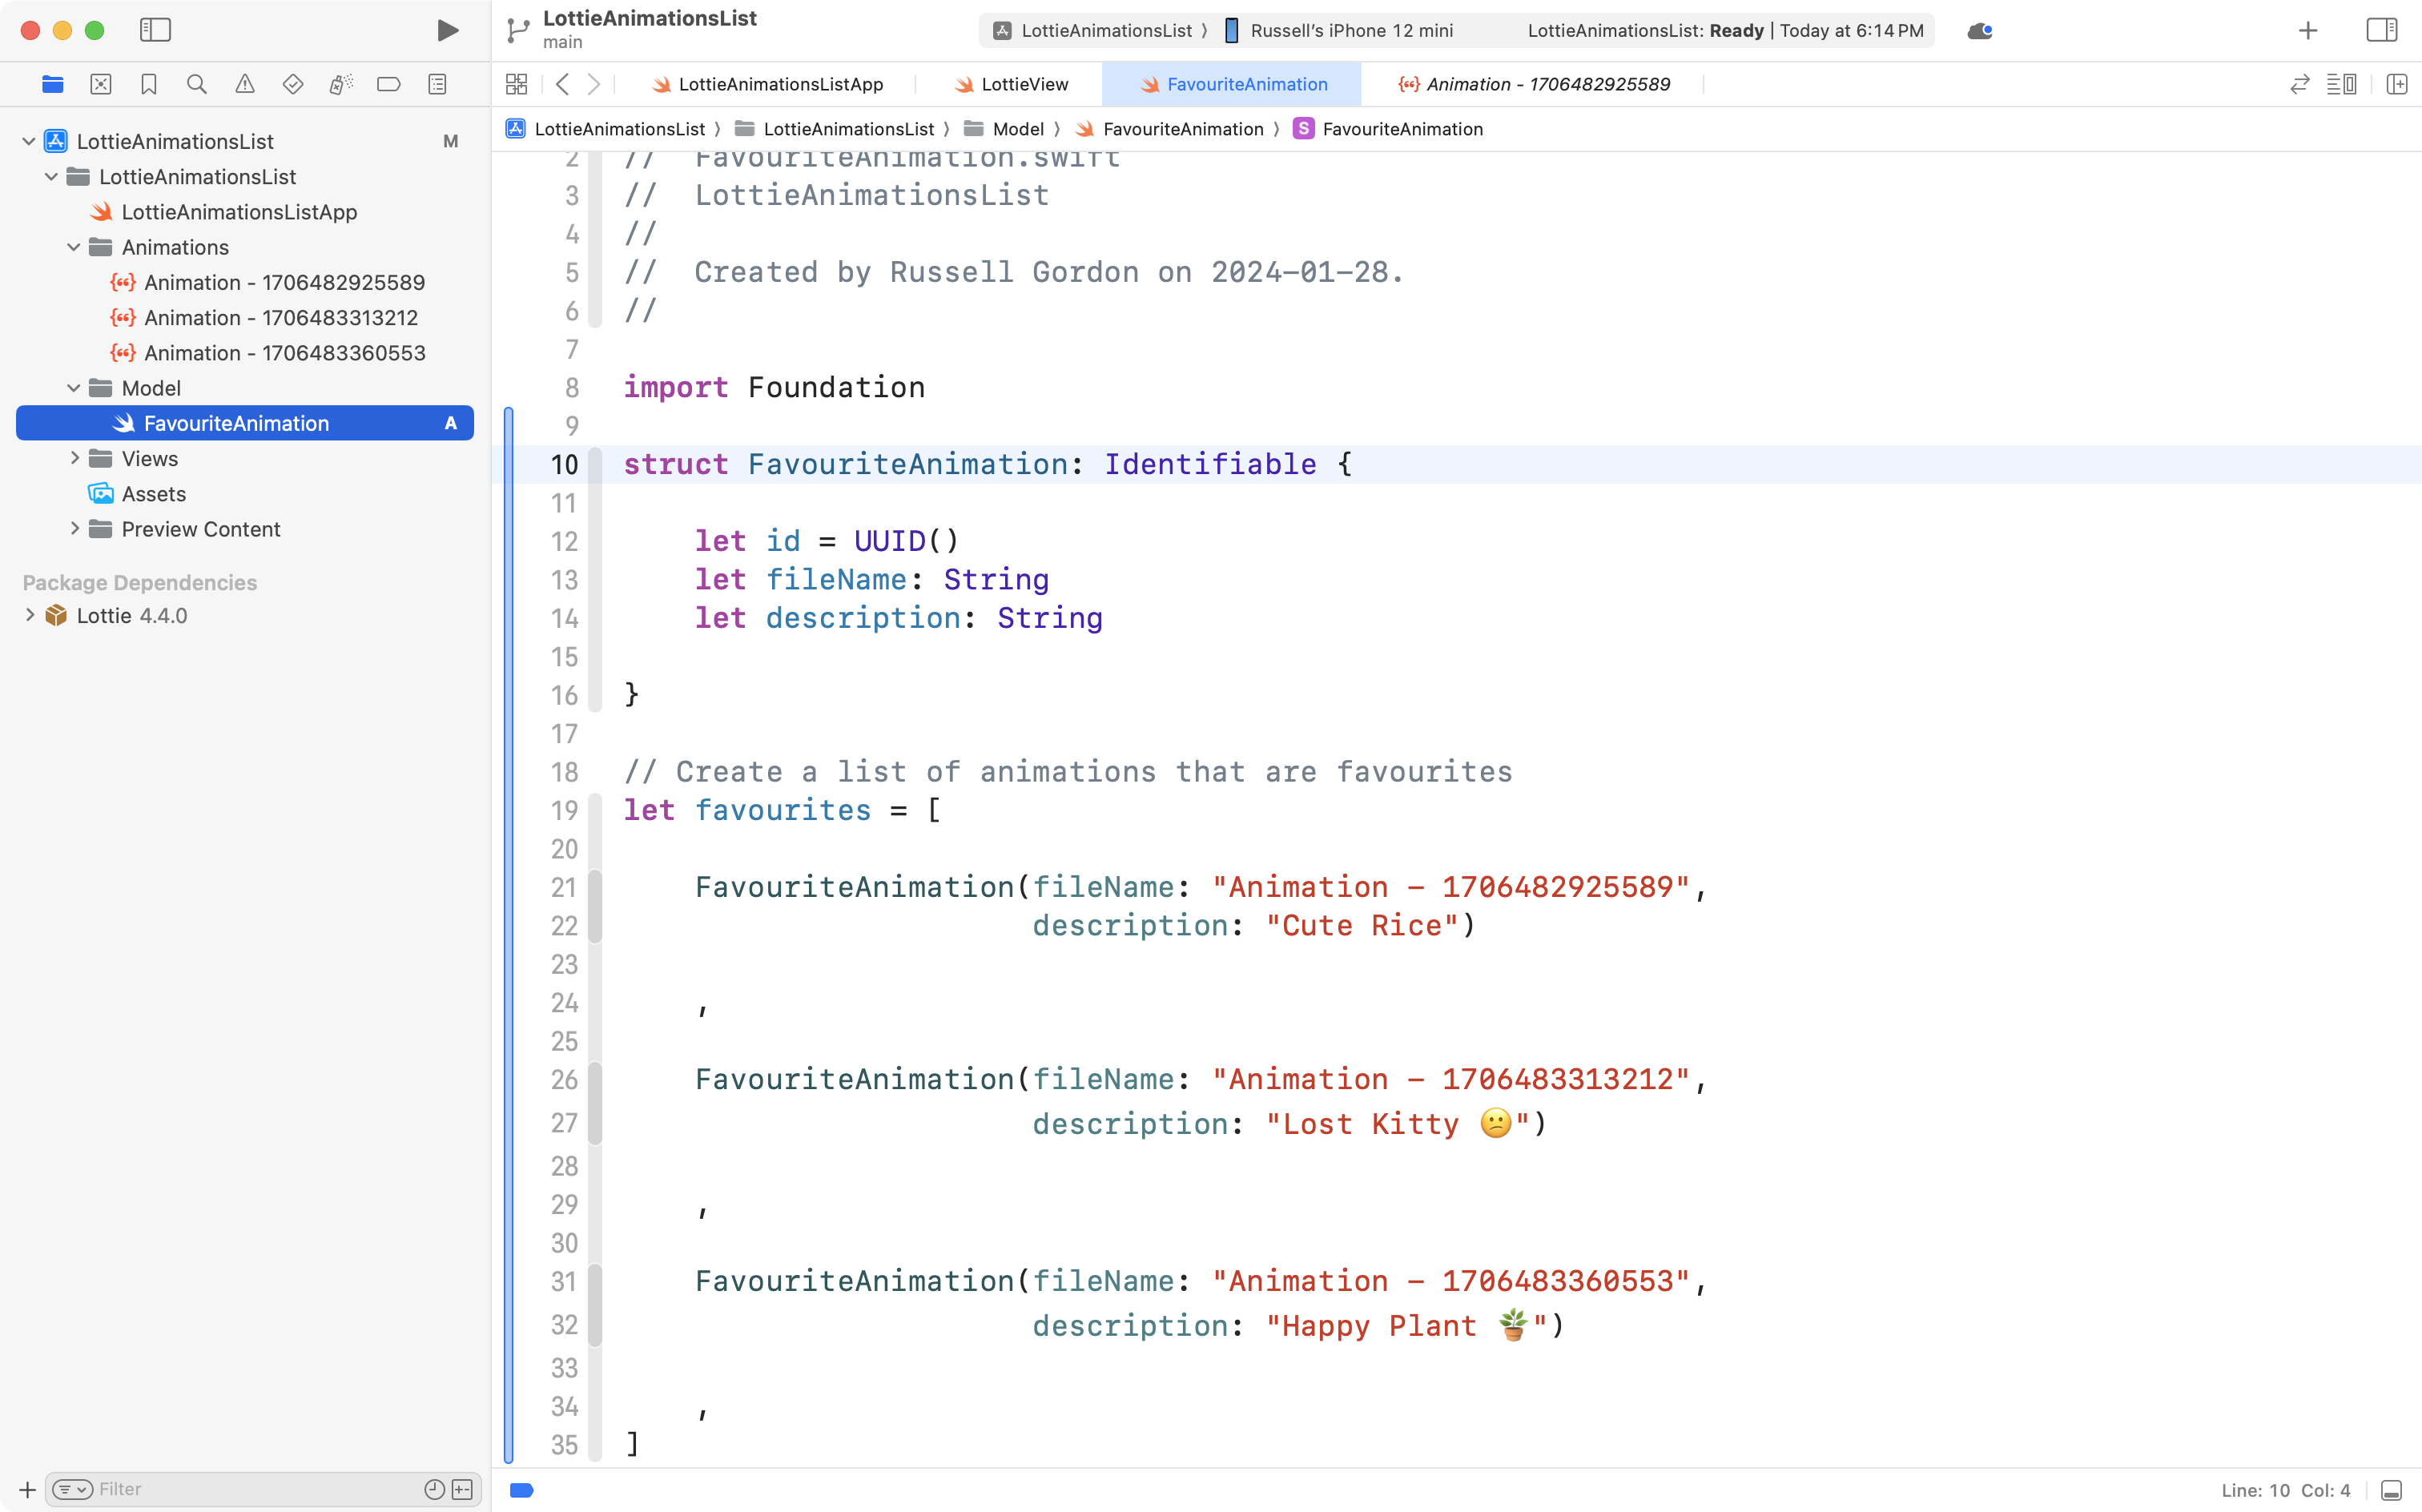
Please create a new Swift file in the Model group named FavouriteAnimation.
You are going to write a structure to describe a favourite animation.
The structure will include:
- a unique identifier, so instances can be used by SwiftUI to display a scrolling list
- a place to store the animation’s filename
- a place to store a brief description of the animation
You will then create a list that contains instances to describe your favourite animations.
This all might look like this:
If you wish, you can use this code as a starting point for your own.
At this point, commit and push your work to your remote, with the message:
Added a structure and an array to describe my favourite animations.
TIP
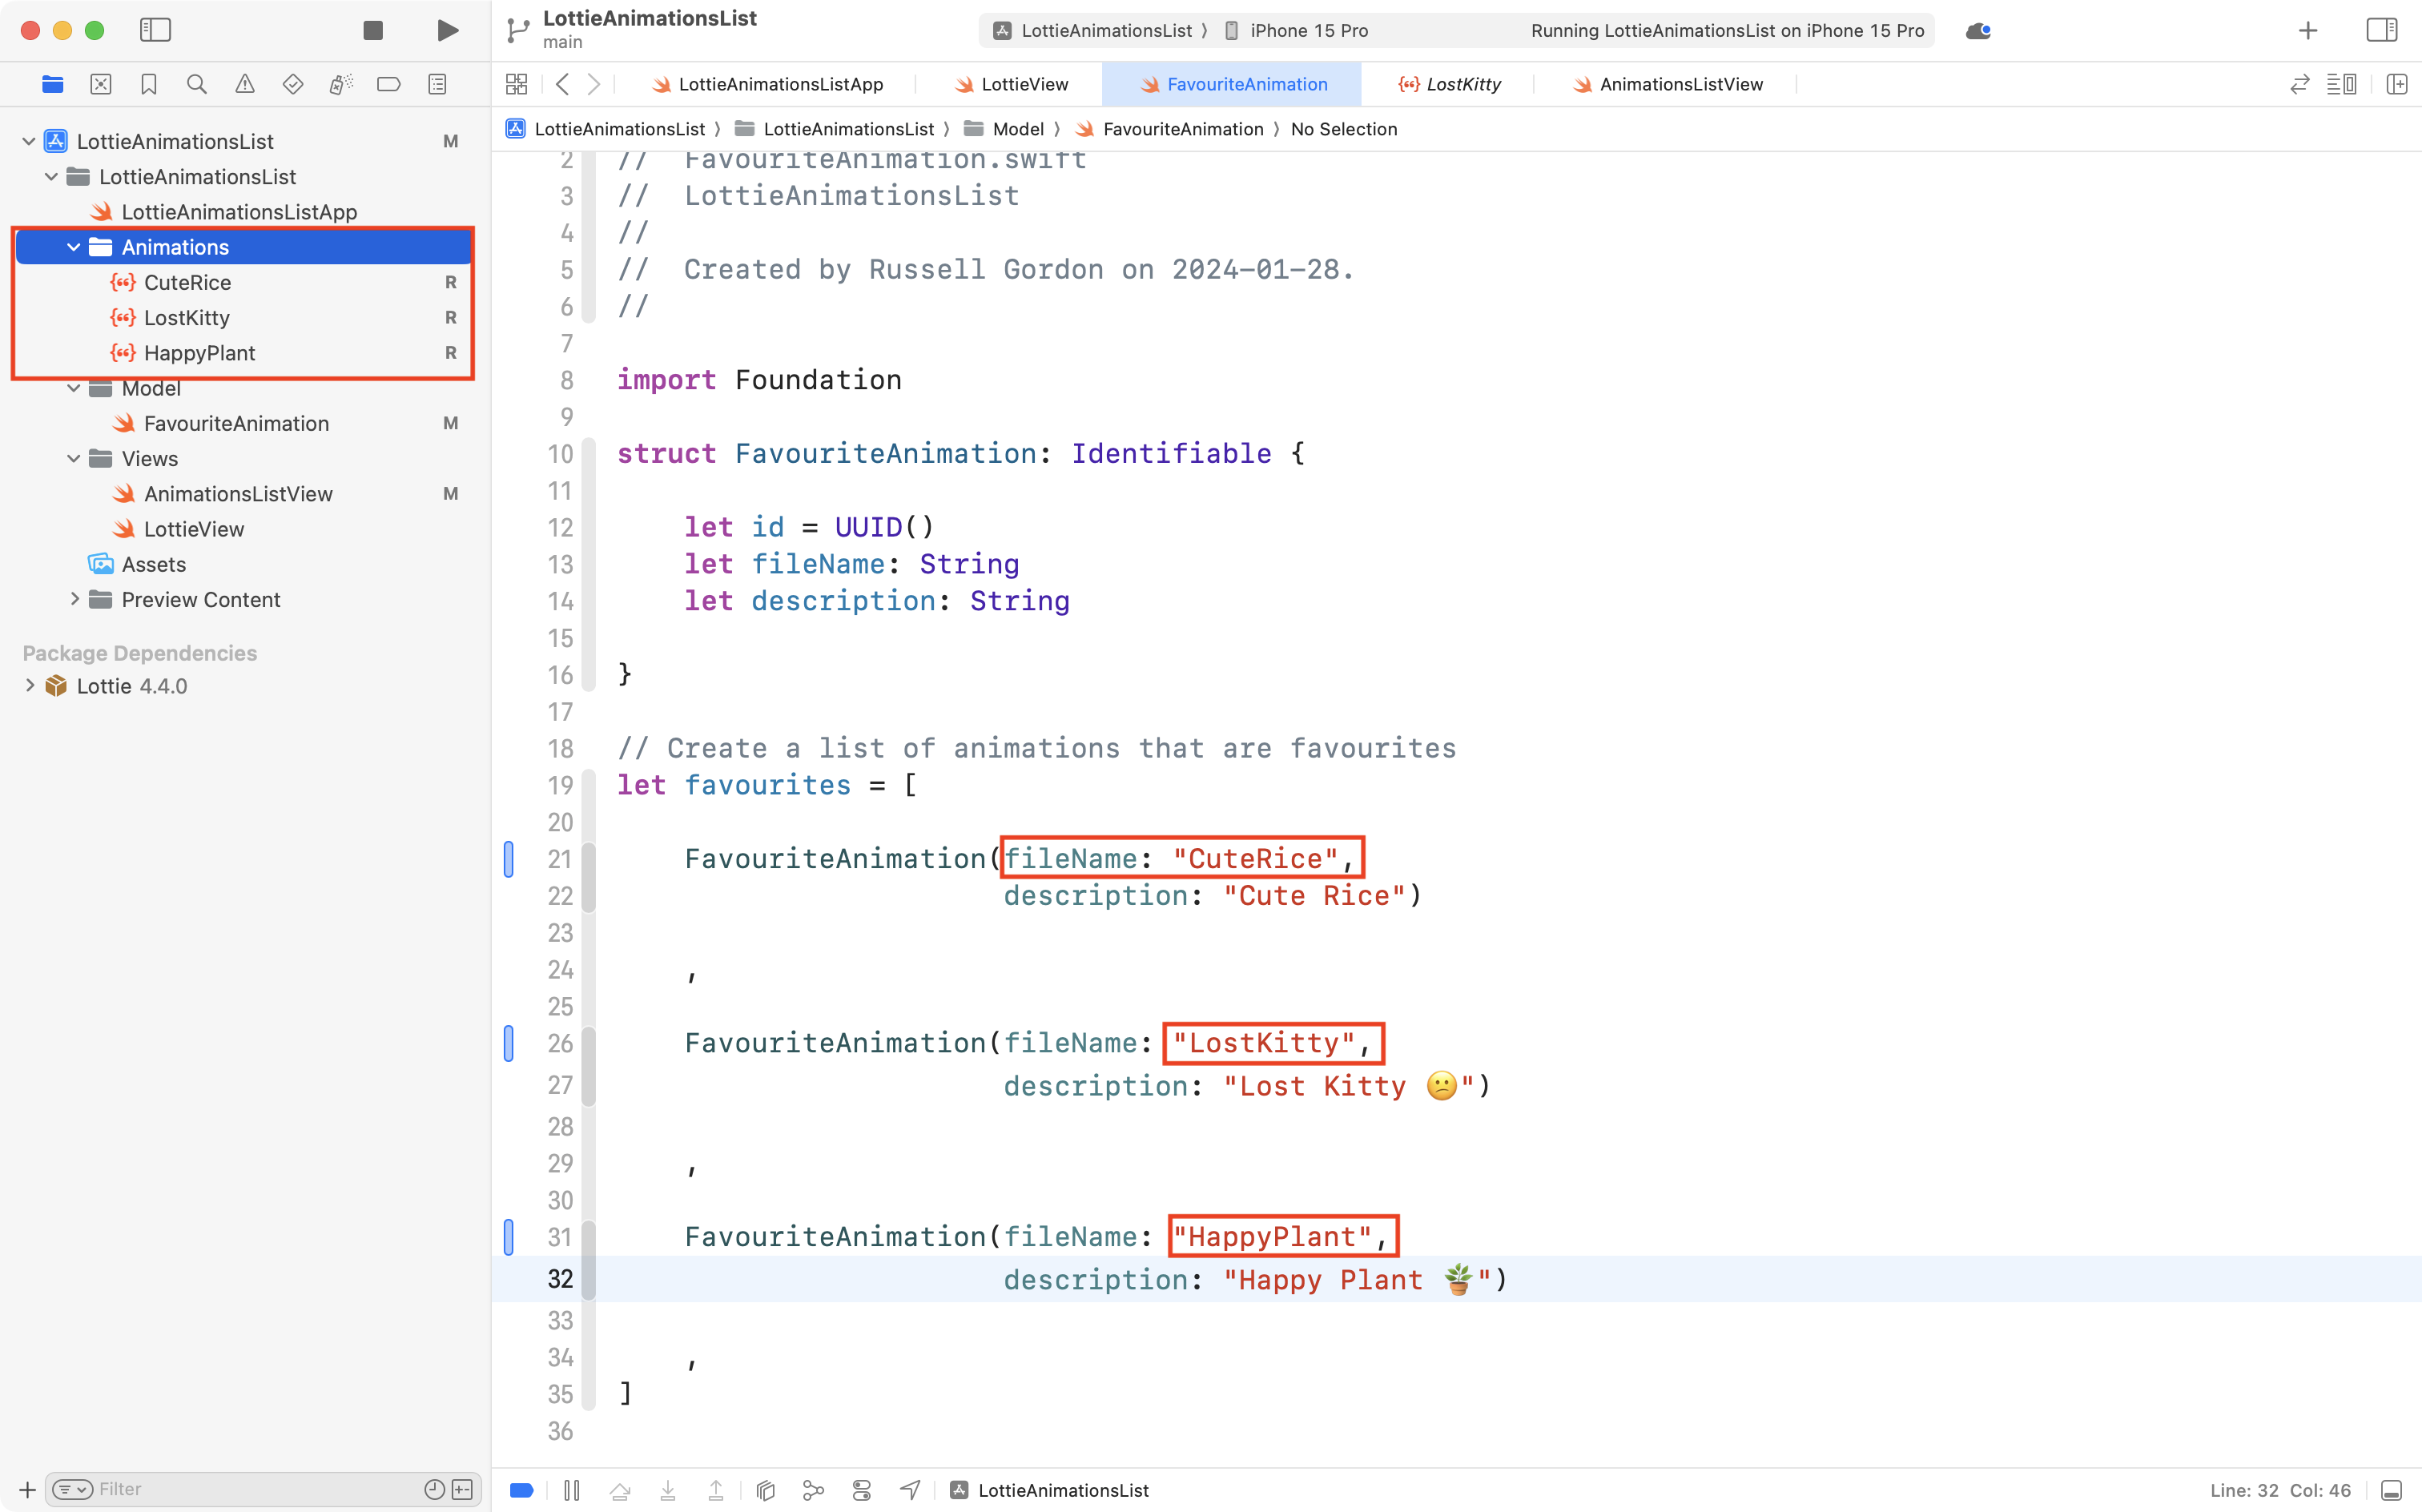
You might wish to rename animations as you add them into your project, as the random numbers assigned by the LottieFiles website are not very readable.
Allow for navigation with a list
Back on AnimationsListView, create a list that iterates over your array of favourite animations.
Each iteration over an element of the array creates a navigation link whose destination uses LottieView to show an animation that you downloaded from LottieFiles. The label shows your description:
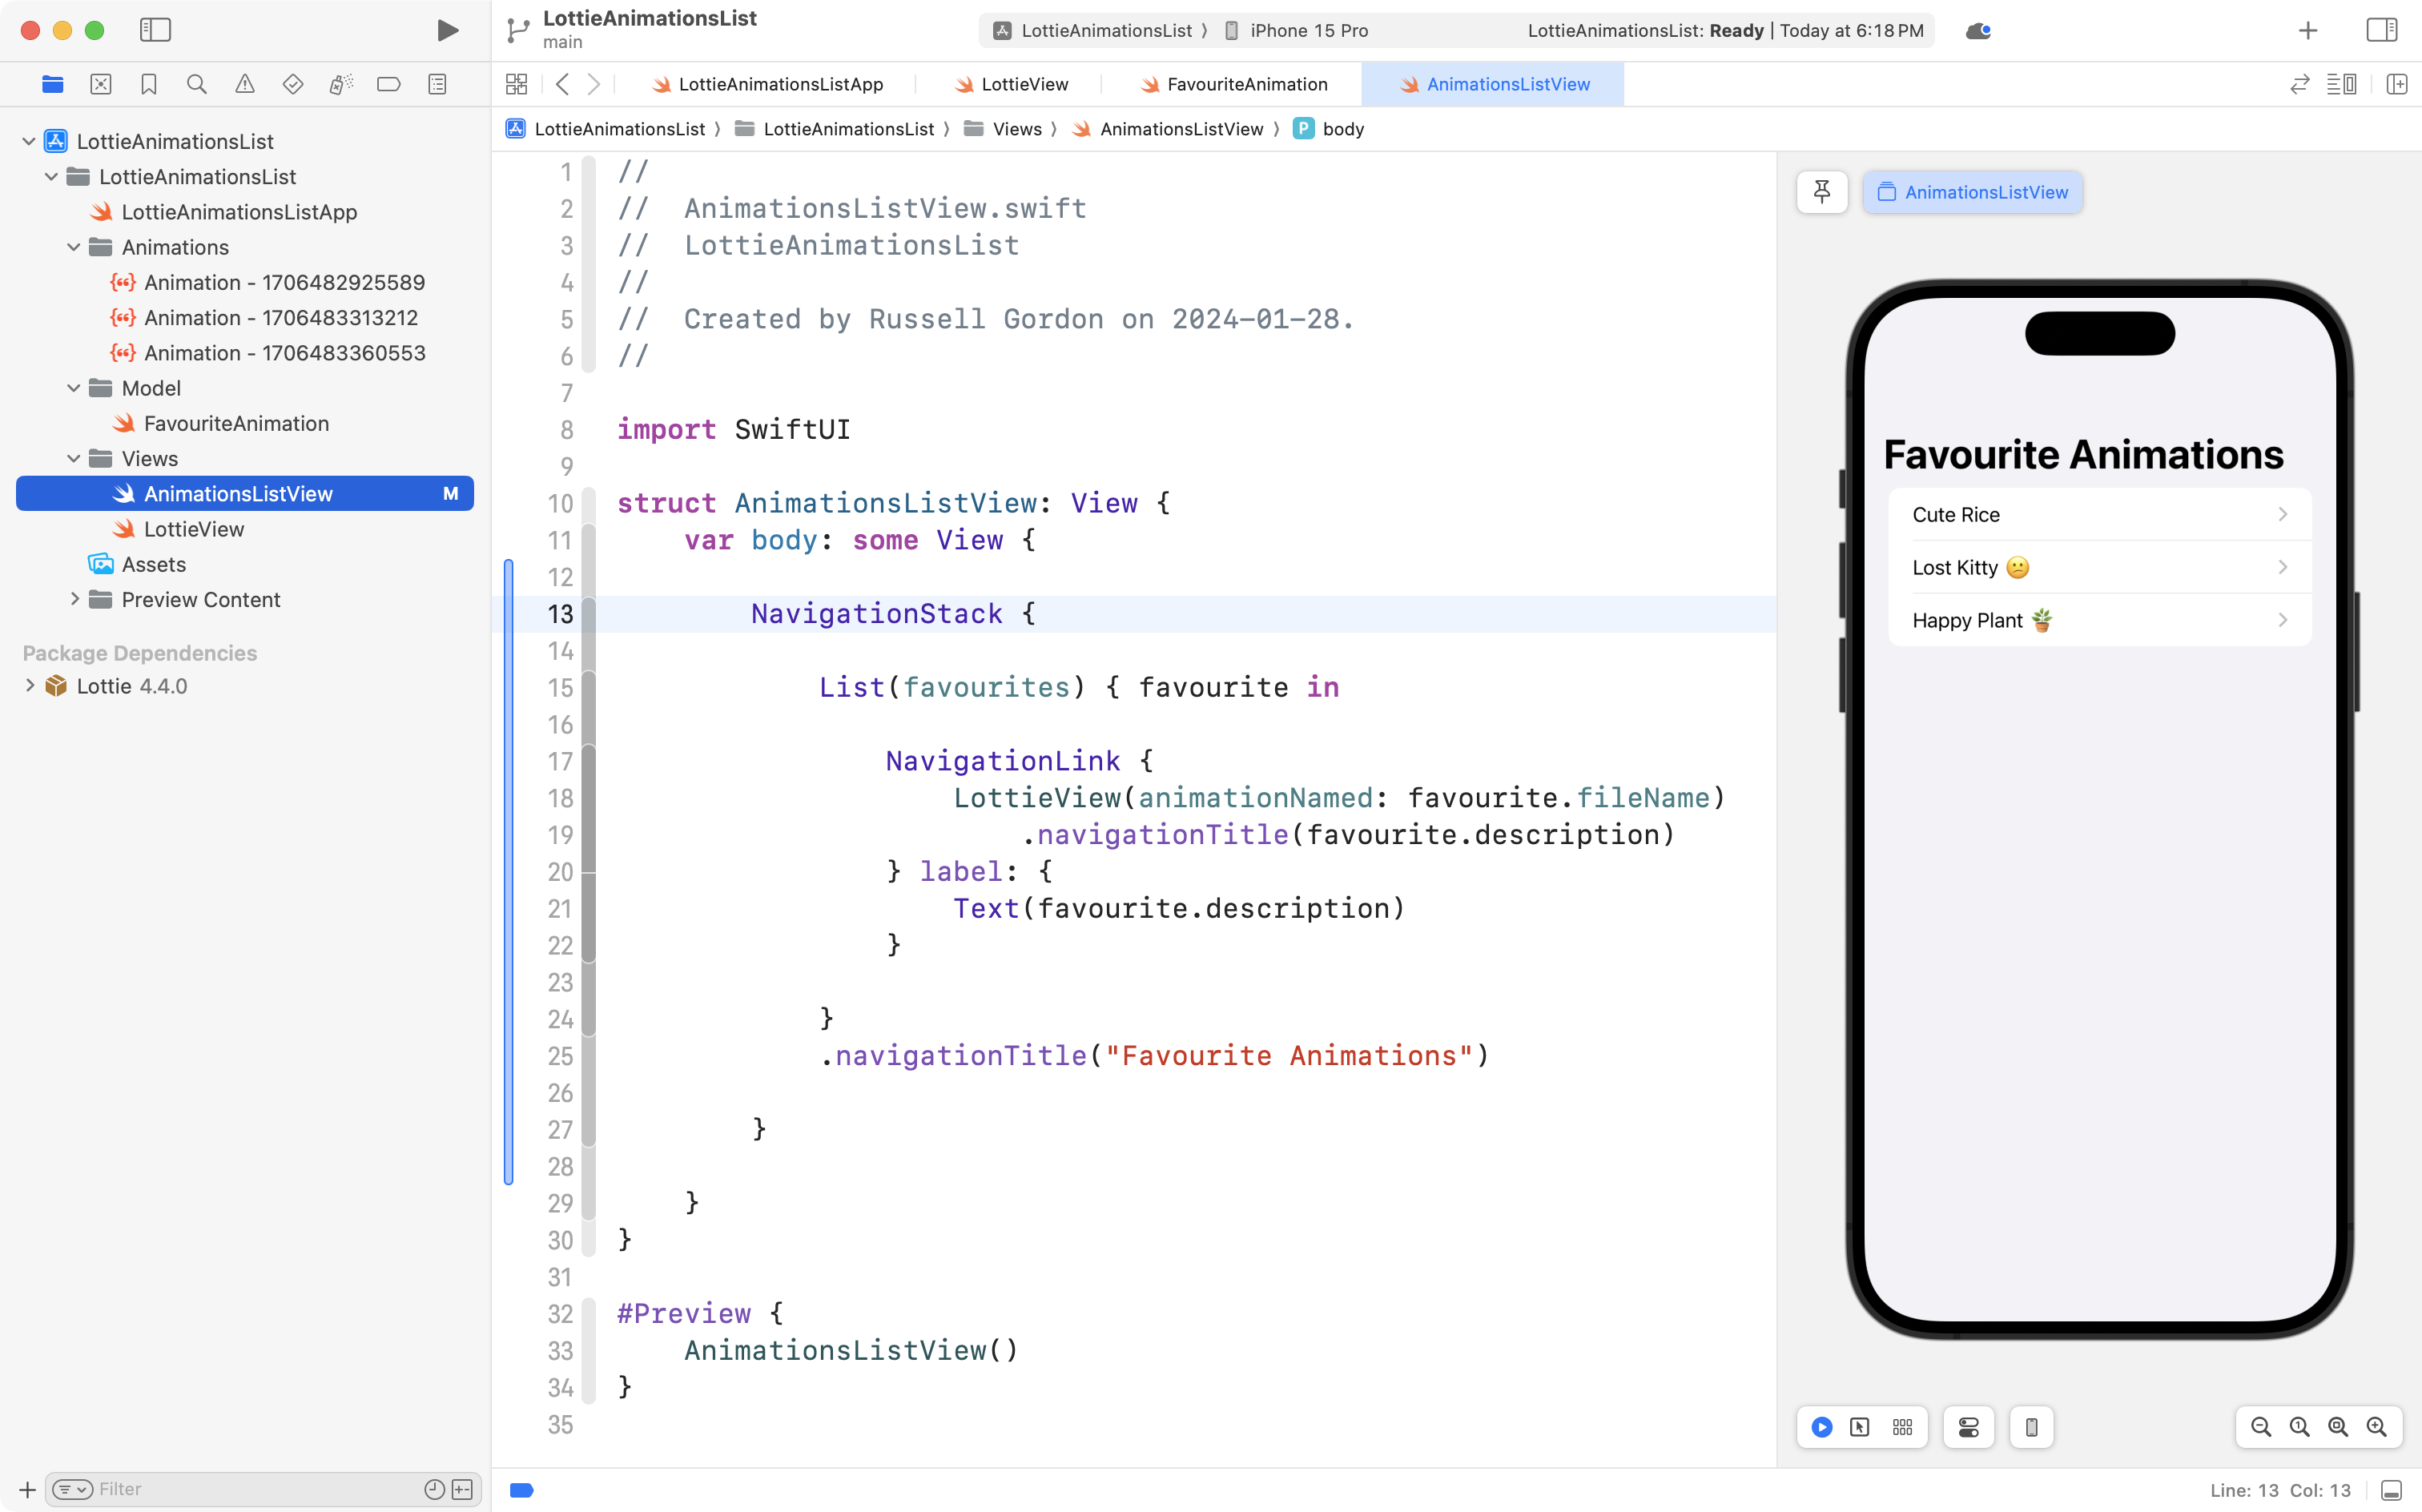
If you run your app, you should now be able to browse animations that you downloaded:
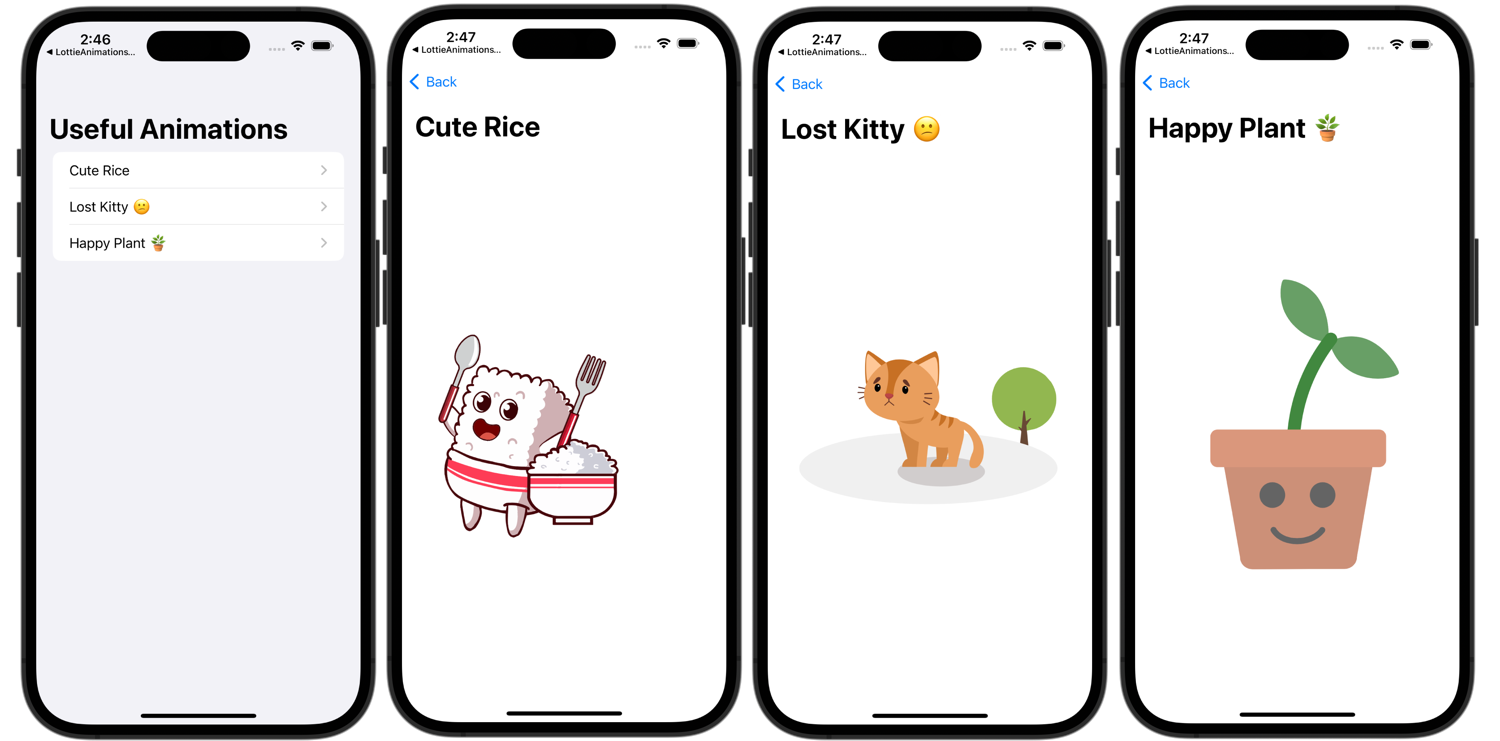
Keep this app around for future reference!
The selective use of animations are a great addition to almost any app.