As our apps grow in size and complexity, how code is organized within a project becomes more important.
This activity will introduce you to the difference between a view and a model.
It will show you, on a practical level, how keeping view code and model code separated makes our projects easier to understand as a software developer.
Views
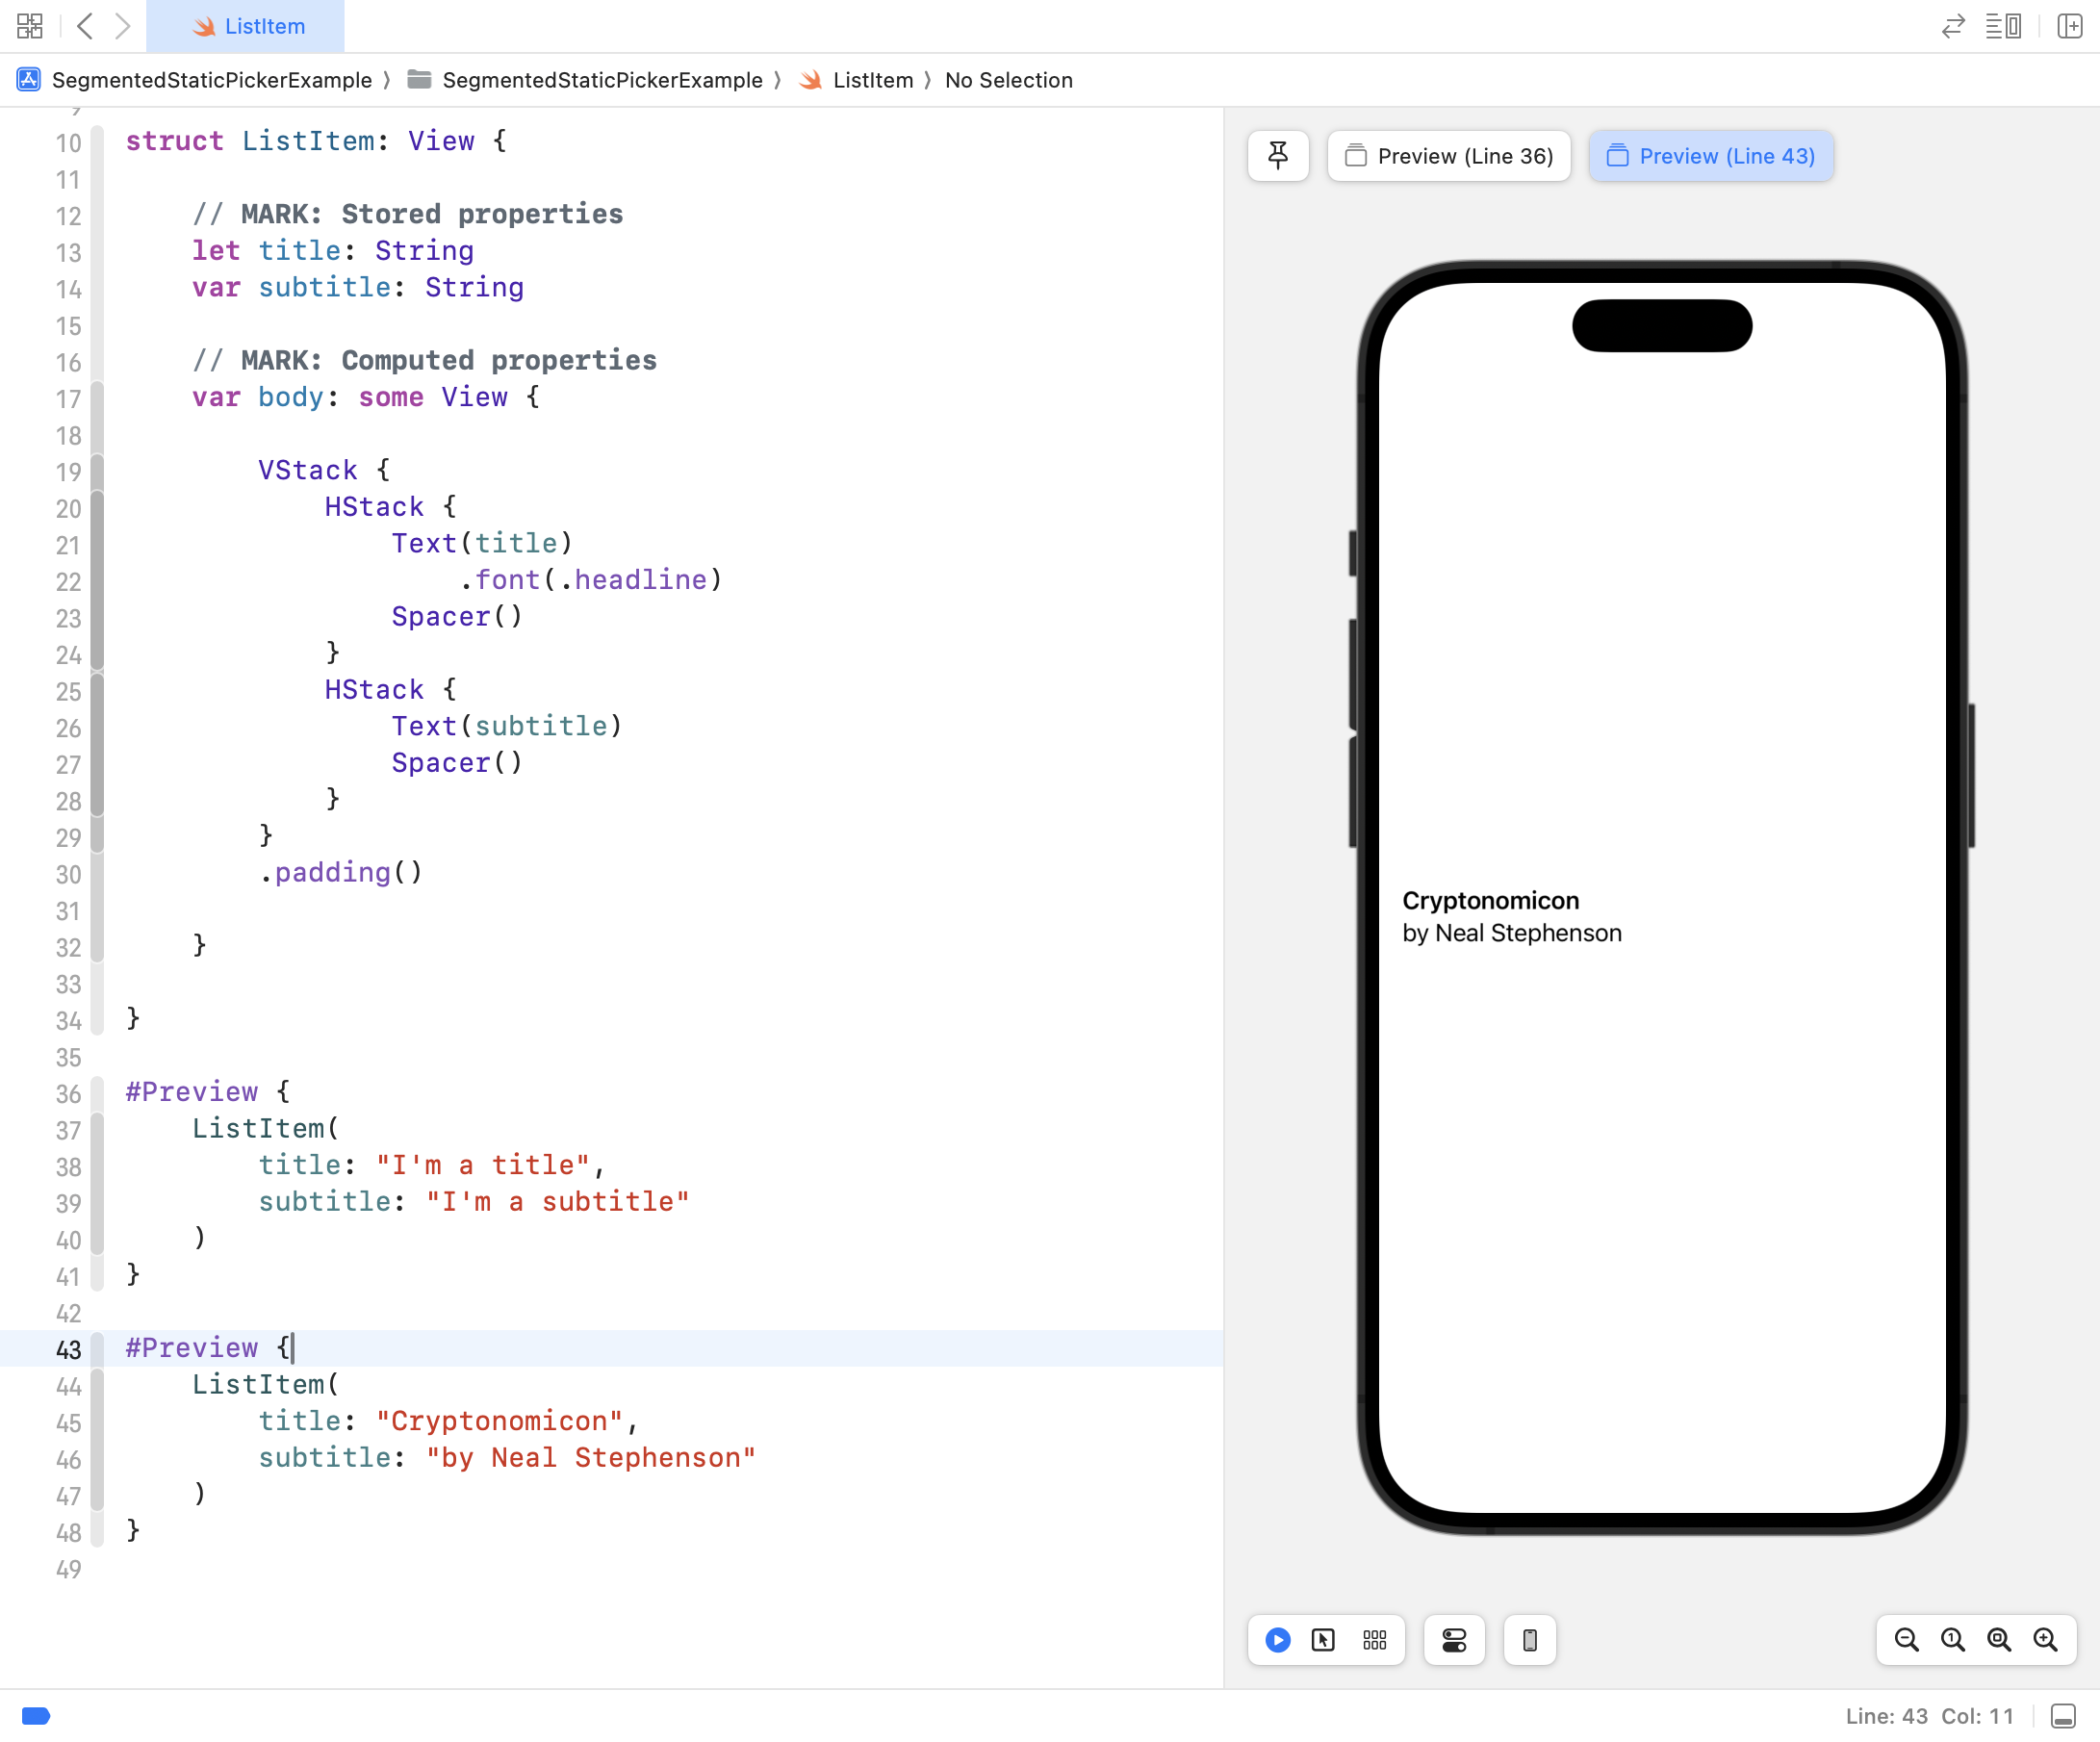
A view is anything the user sees within our apps or interacts with.
For example, in the Interactive Apps activity you considered this view – a structure designed to show a single item within a list – displaying a title and a subtitle:
You have already written many views while learning about layout and designing interfaces with SwiftUI. 🤩
Model
The model within an app stores the data and logic related to that data.
What does that mean?
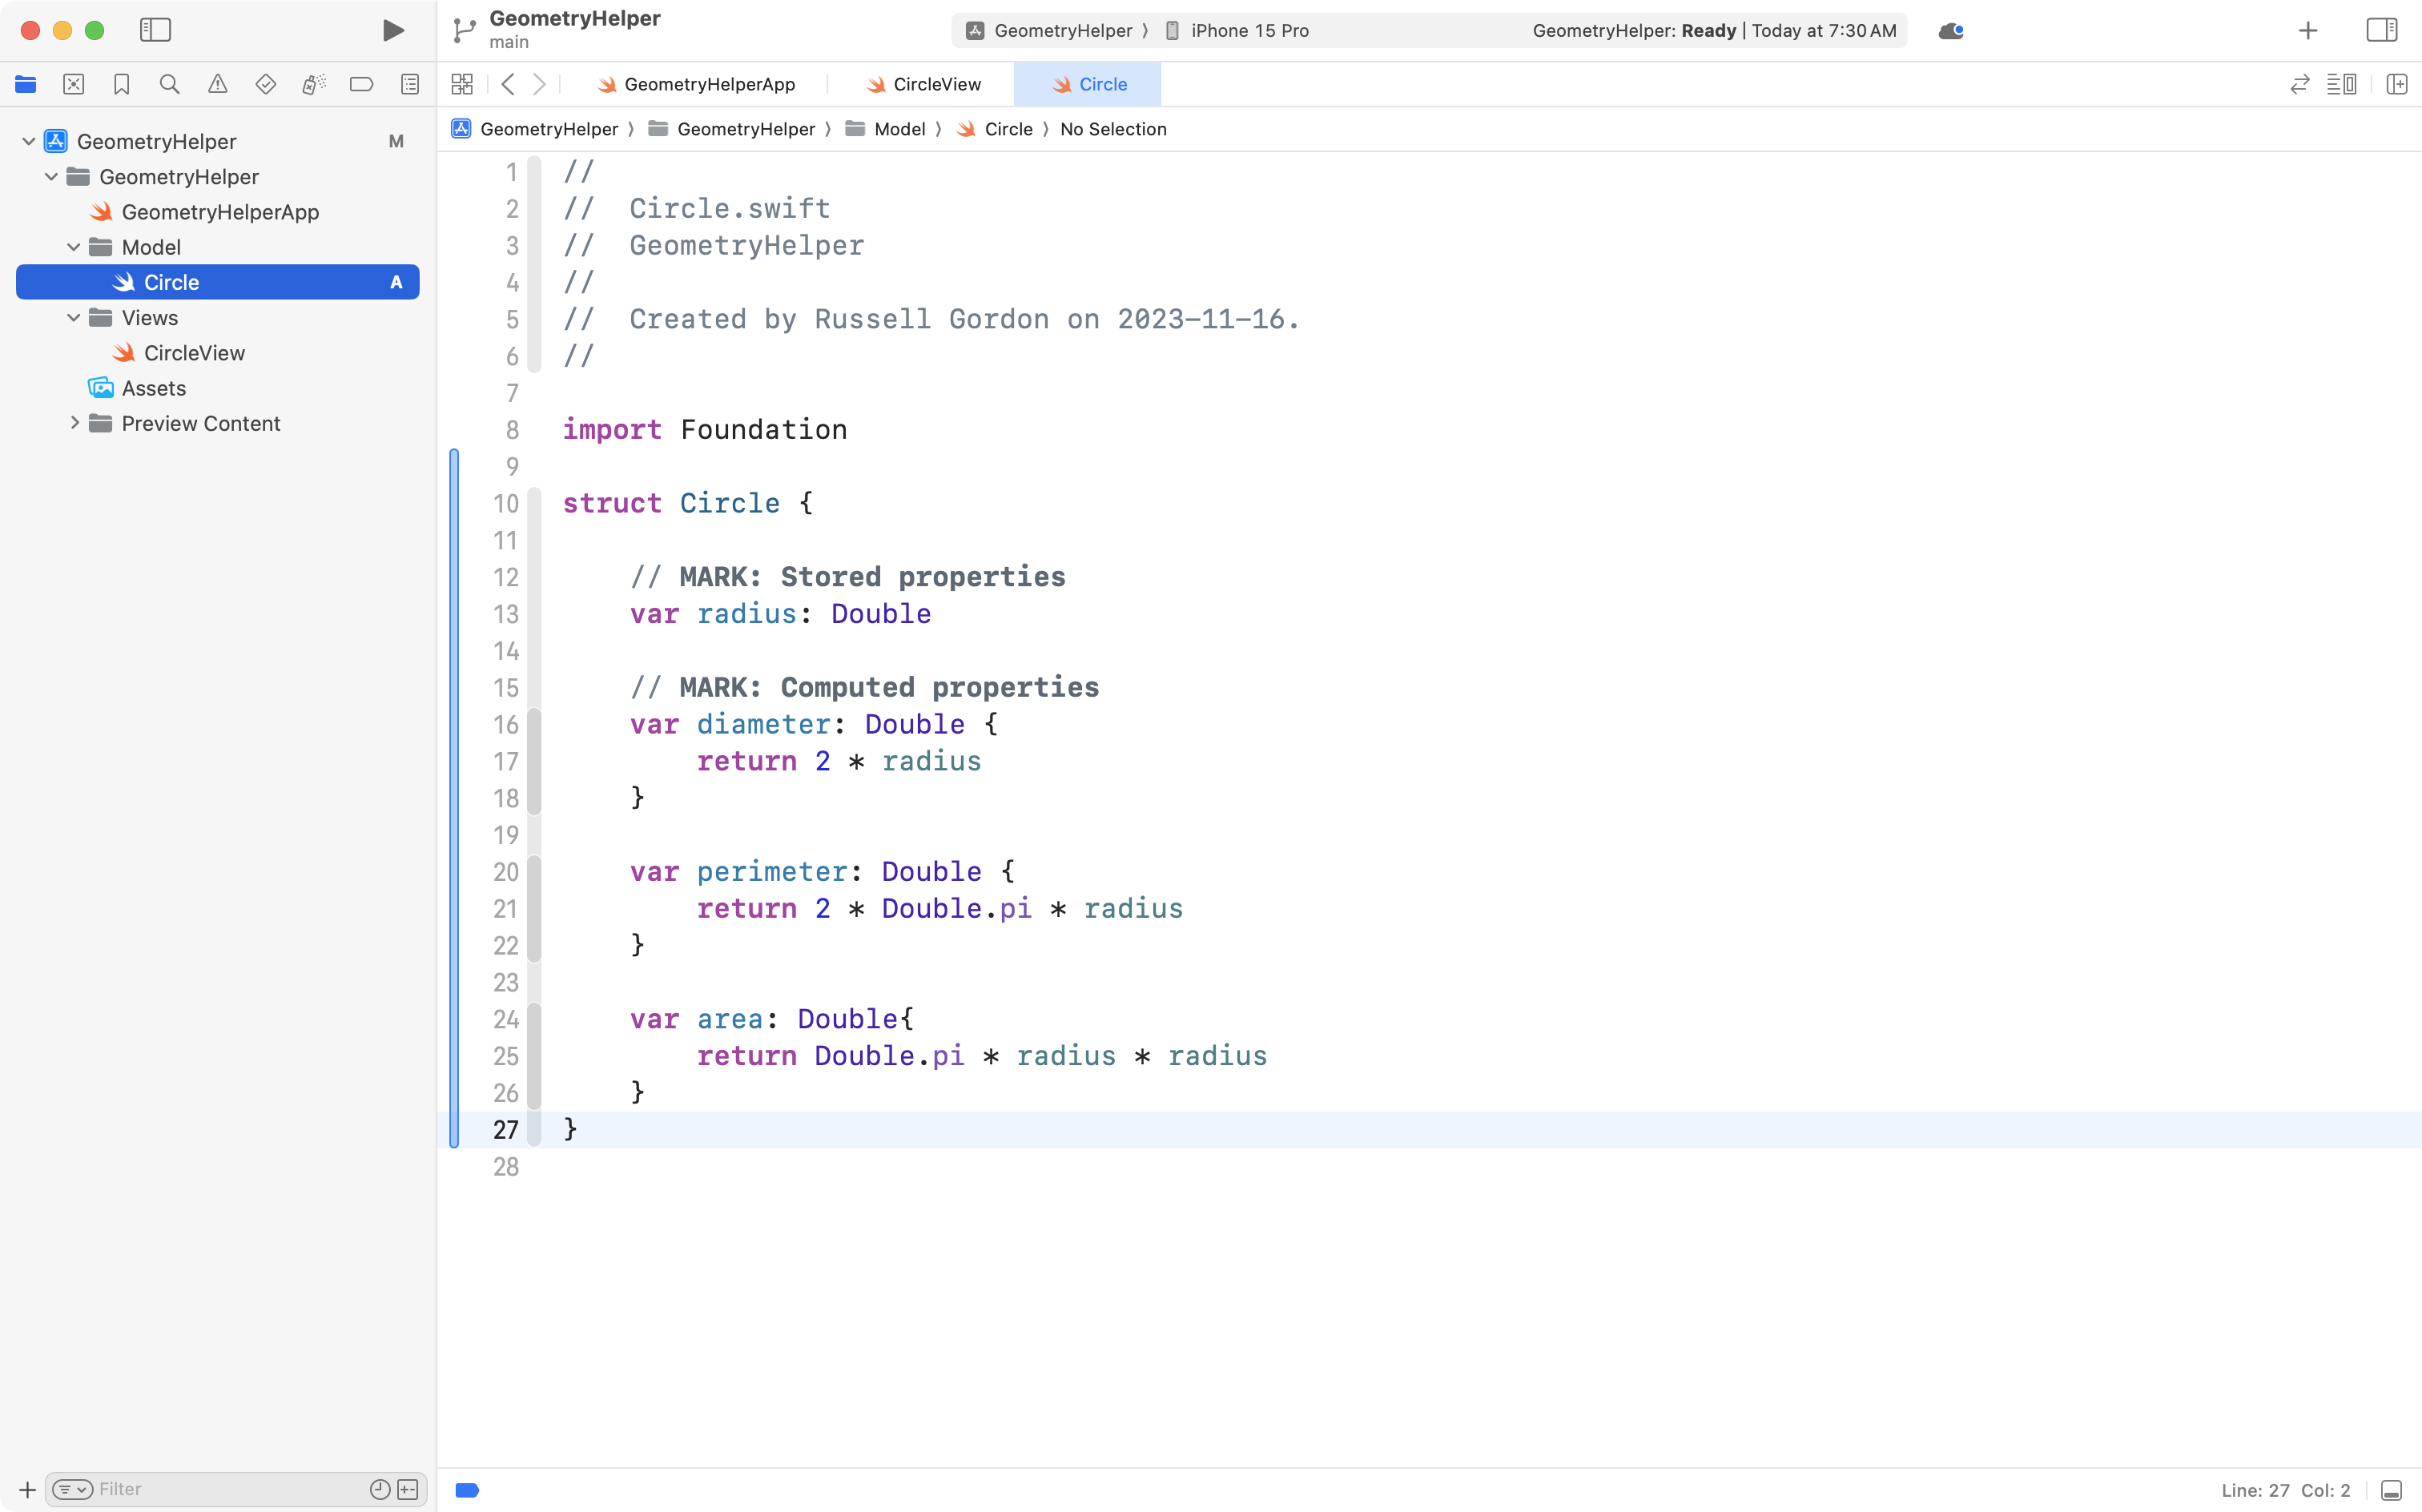
Let’s look at an example – here is a model for a circle:
struct Circle {

    // MARK: Stored properties
    var radius: Double

    // MARK: Computed properties
    var diameter: Double {
        return 2 * radius
    }

    var perimeter: Double {
        return 2 * Double.pi * radius
    }

    var area: Double{
        return Double.pi * radius * radius
    }
}
When we write a structure to serve as part of the model for our app, we consider:
- What data it needs to store – these become stored properties.
- What logic it should offer – what useful information it could provide – these become computed properties .
So: the term model is new to you, but it is something you’ve already been doing.
You have already created many models when authoring Swift structures to describe shapes, hockey cards, report cards, book listings… 🚀
Example: Geometry Helper
Let’s now put it all together and apply the concept of separation of concerns.
We will write an app named Geometry Helper and it’s job will be to:
- accept input that describes the dimensions of a 2D or 3D figure
- produce output that provides the:
- area and perimeter (for 2D figures)
- surface area and volume (for 3D figures)
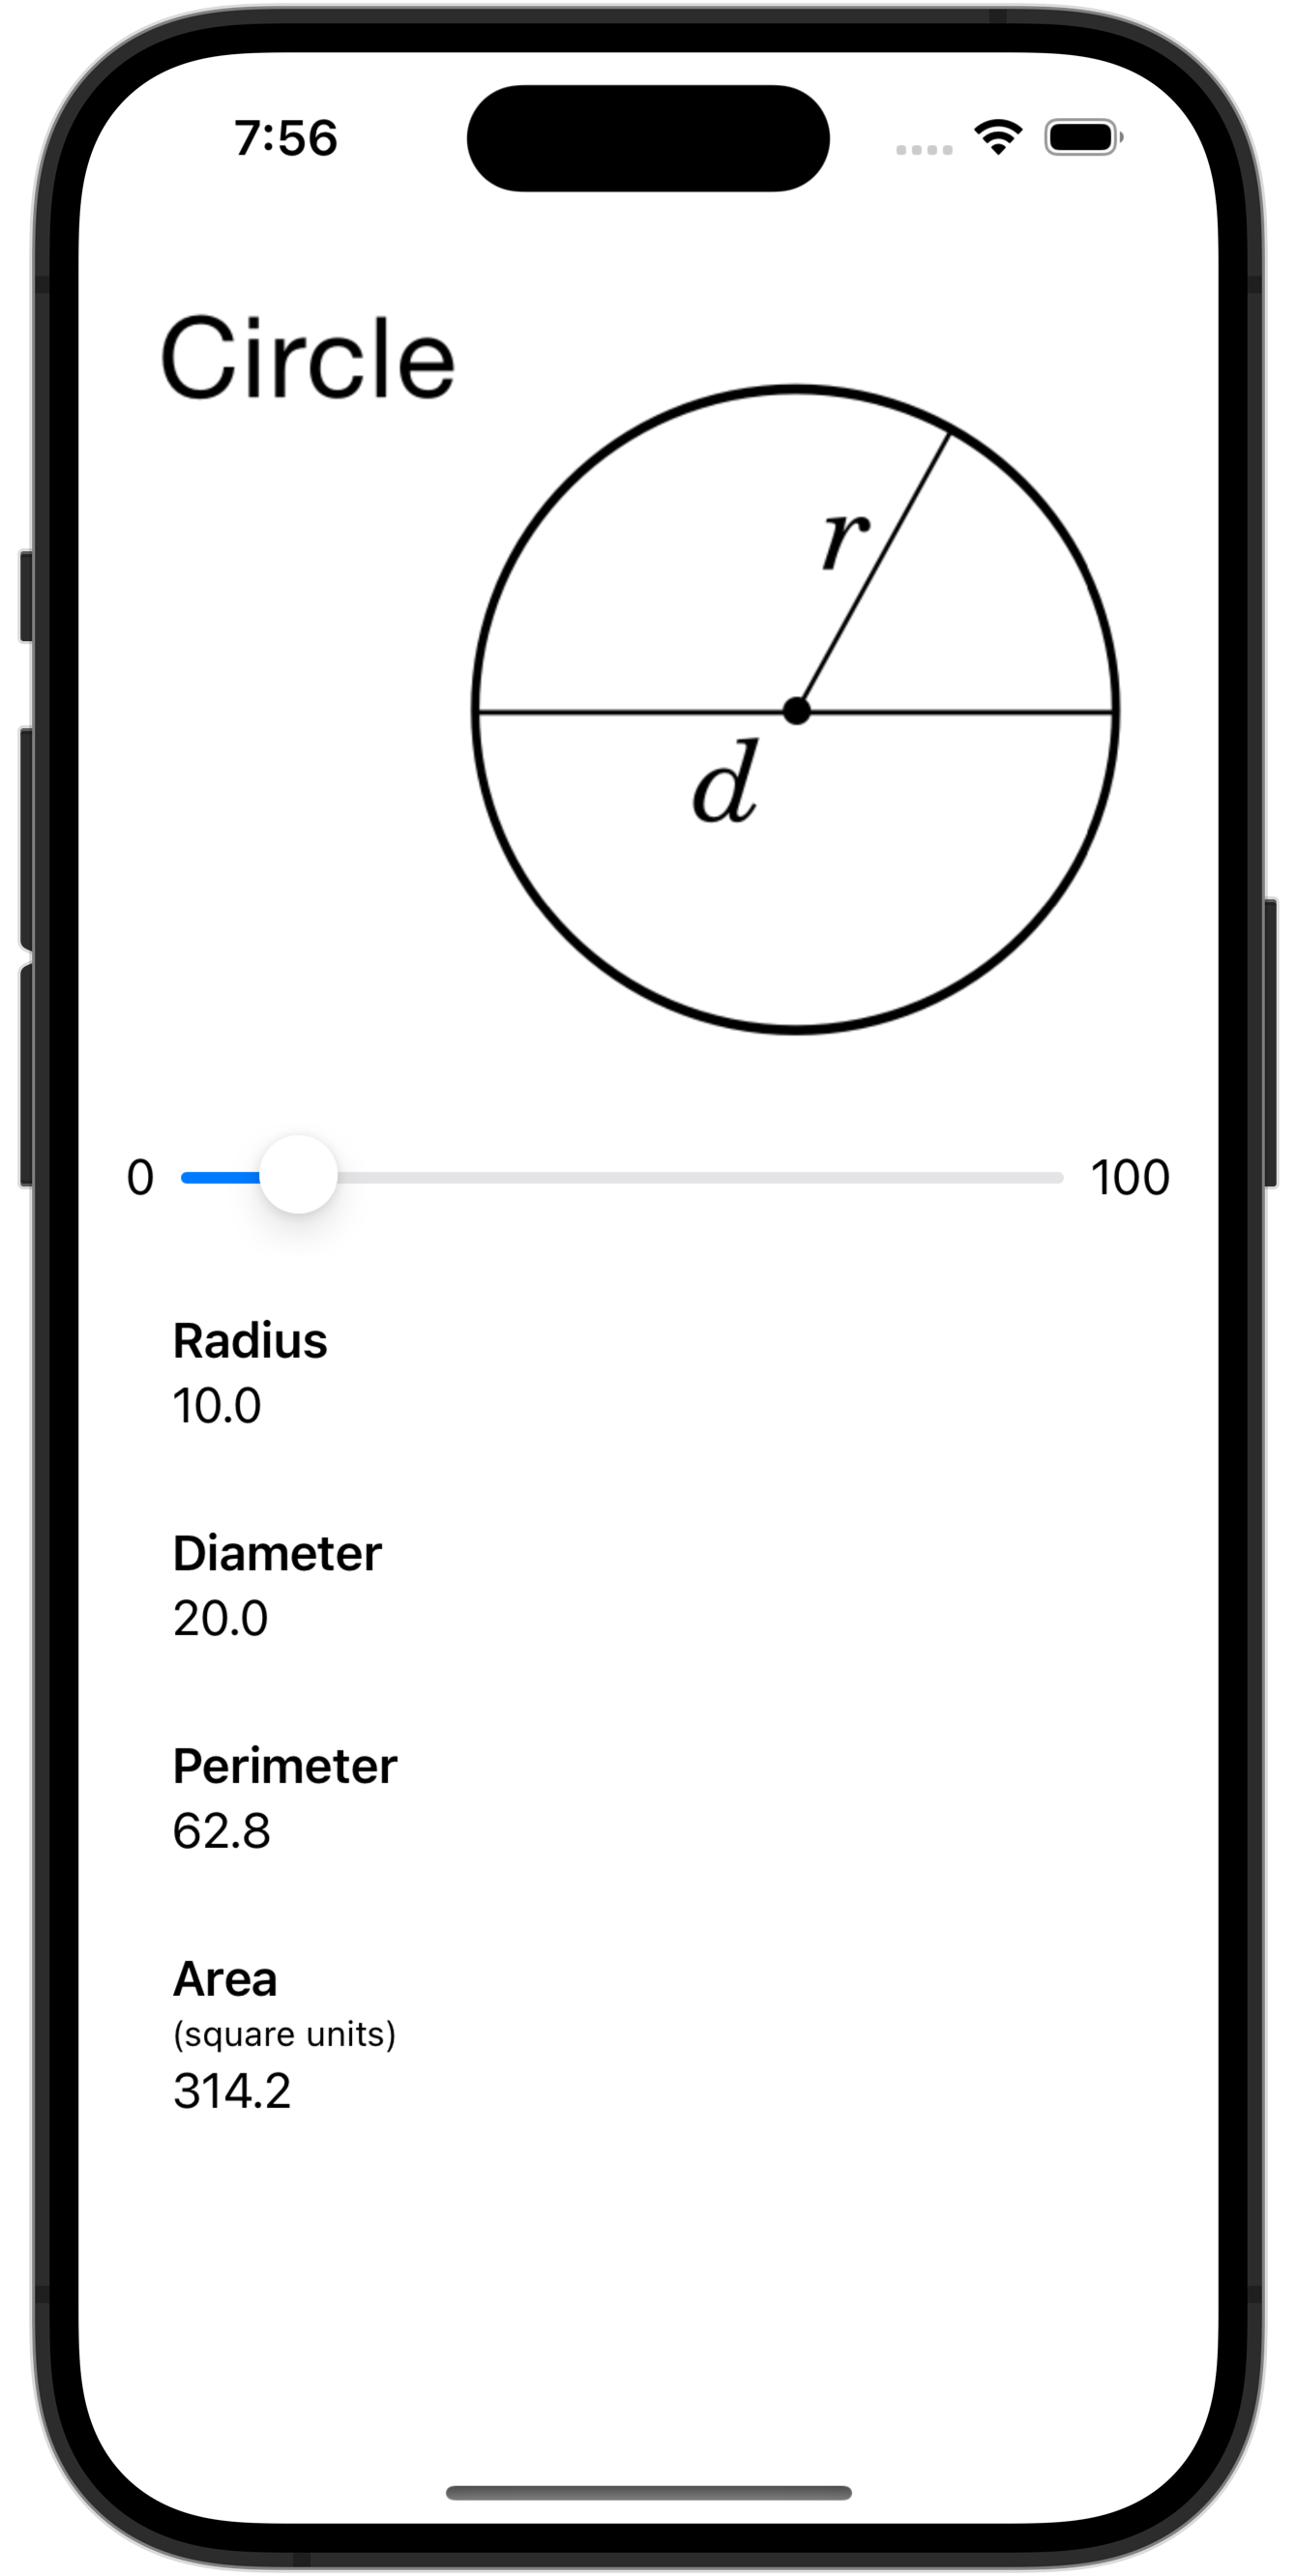
When the first page of our app is complete, it will look something like this:
In this case, the user uses a slider control to provide input which is the radius of a circle.
Output includes the:
- diameter
- area
- perimeter
Create the project
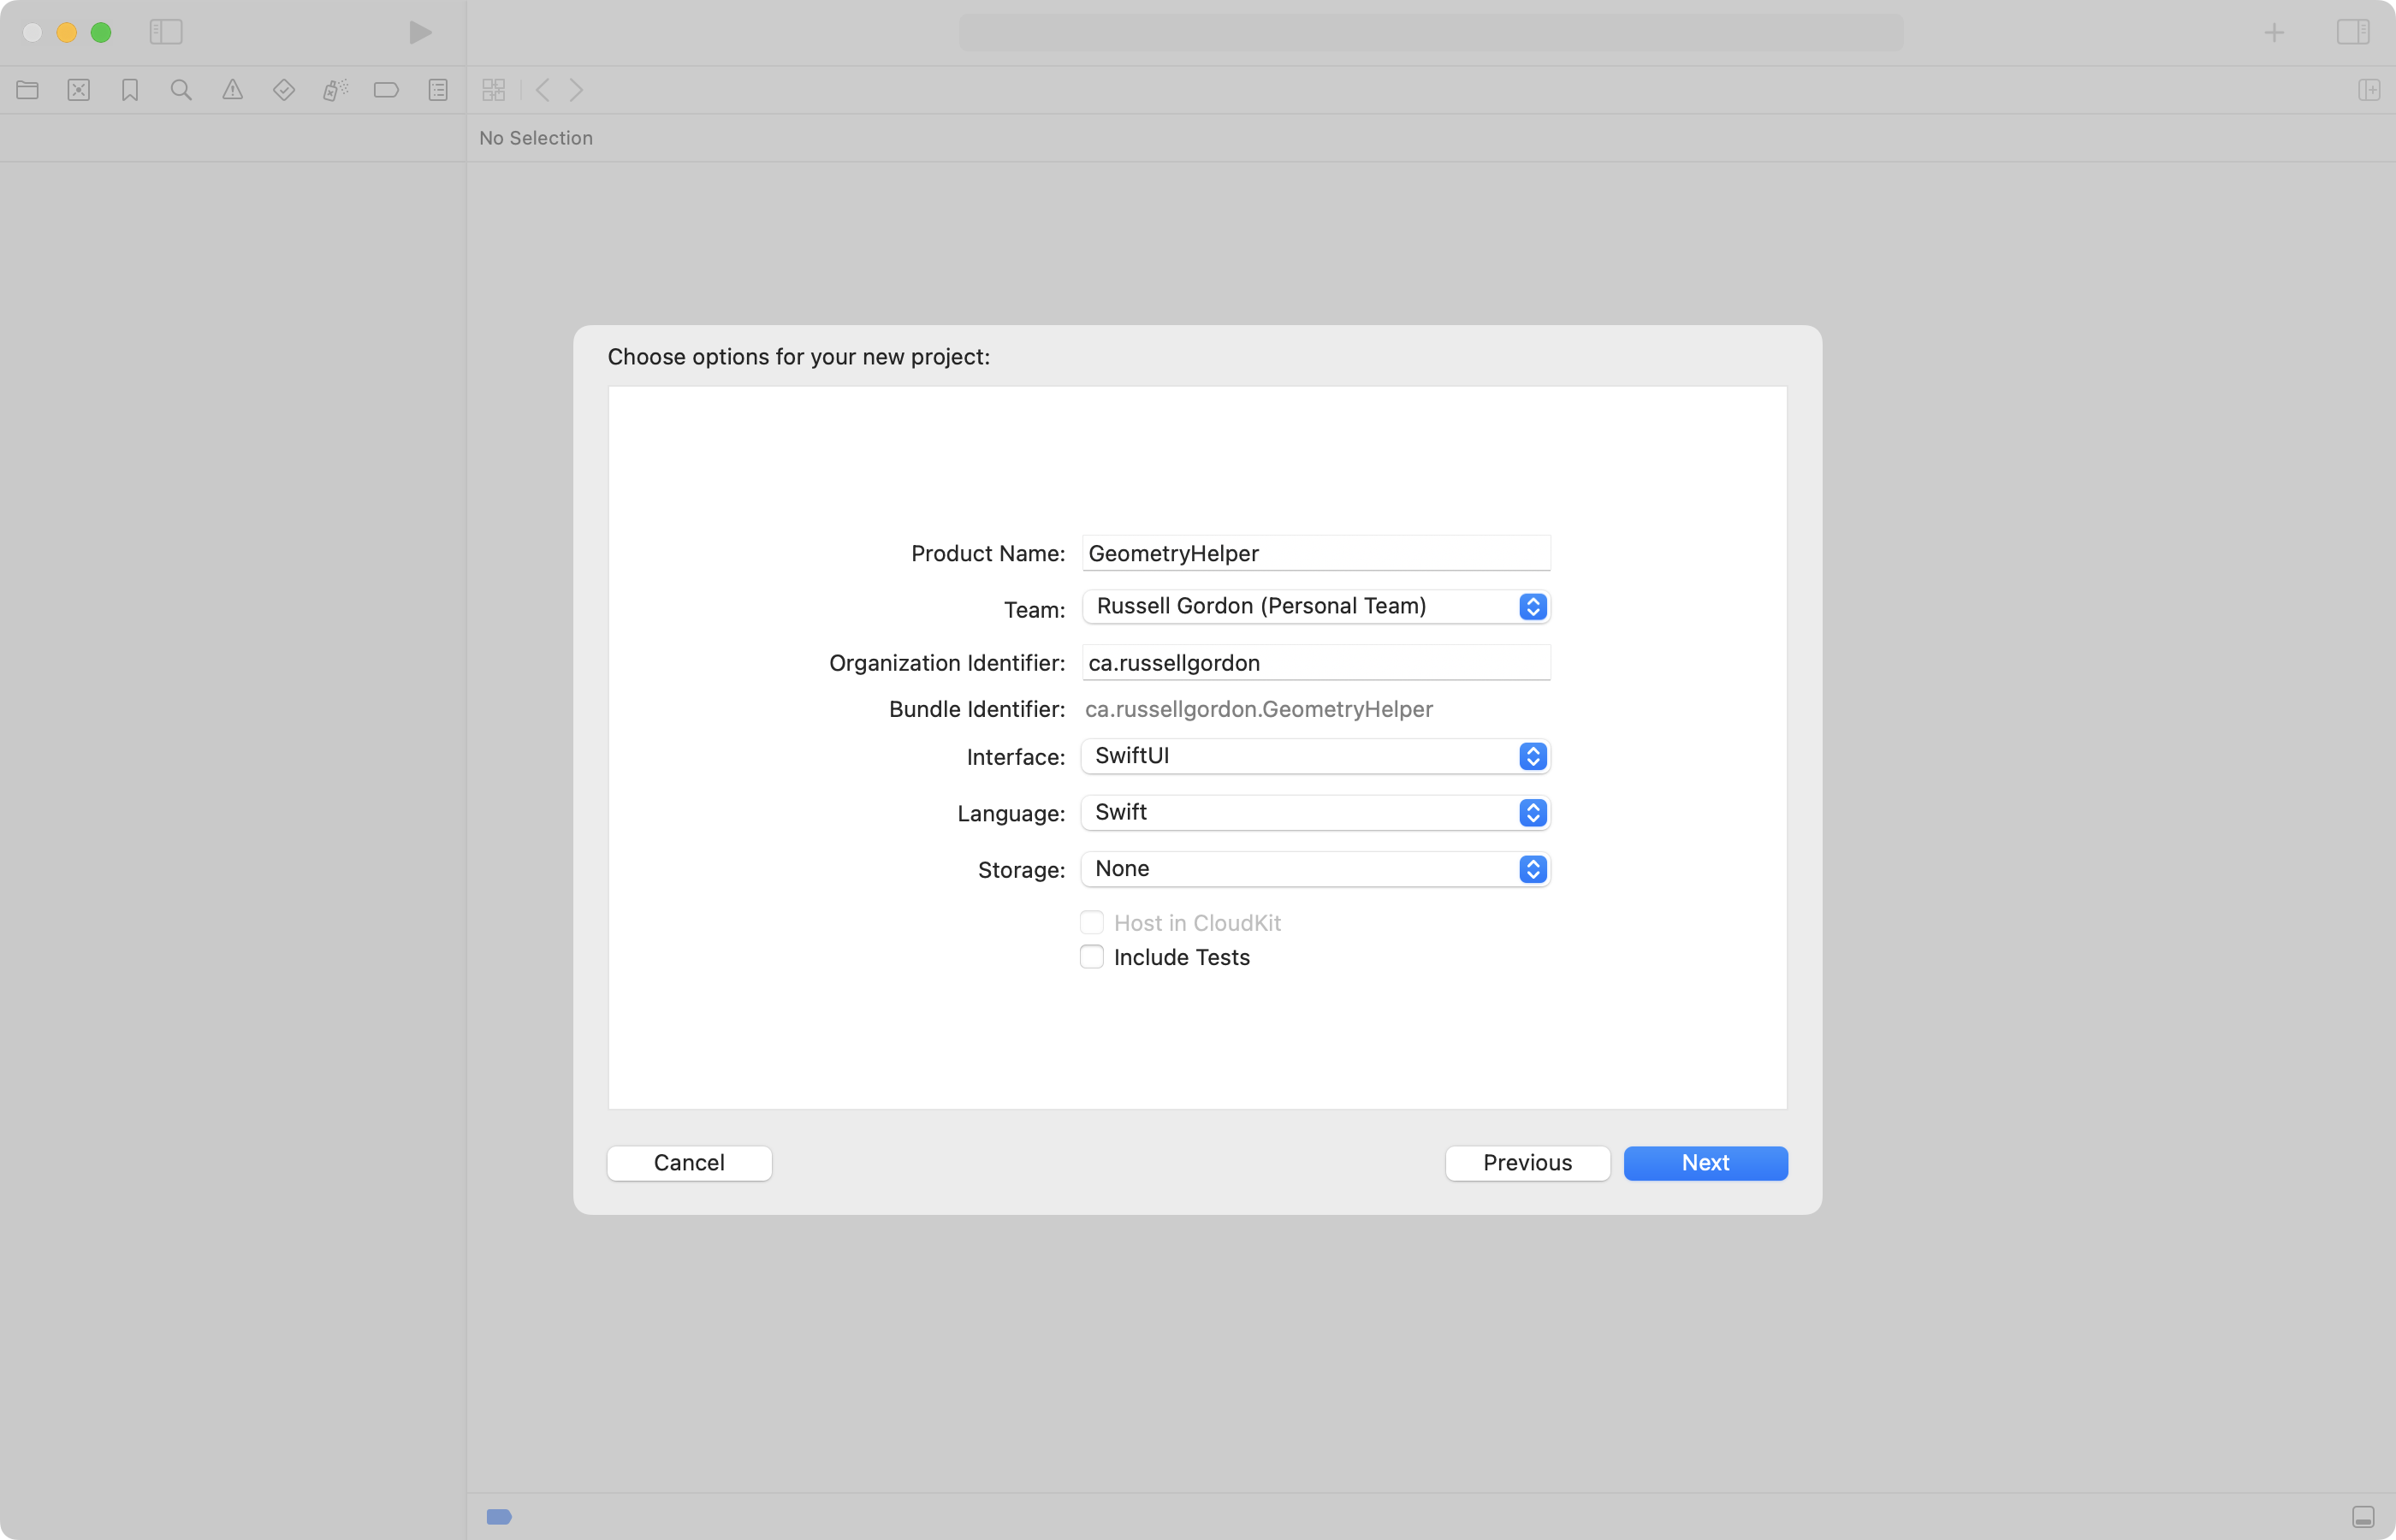
To get started, create a [[iOS Projects|new iOS project named GeometryHelper]]:
Source control
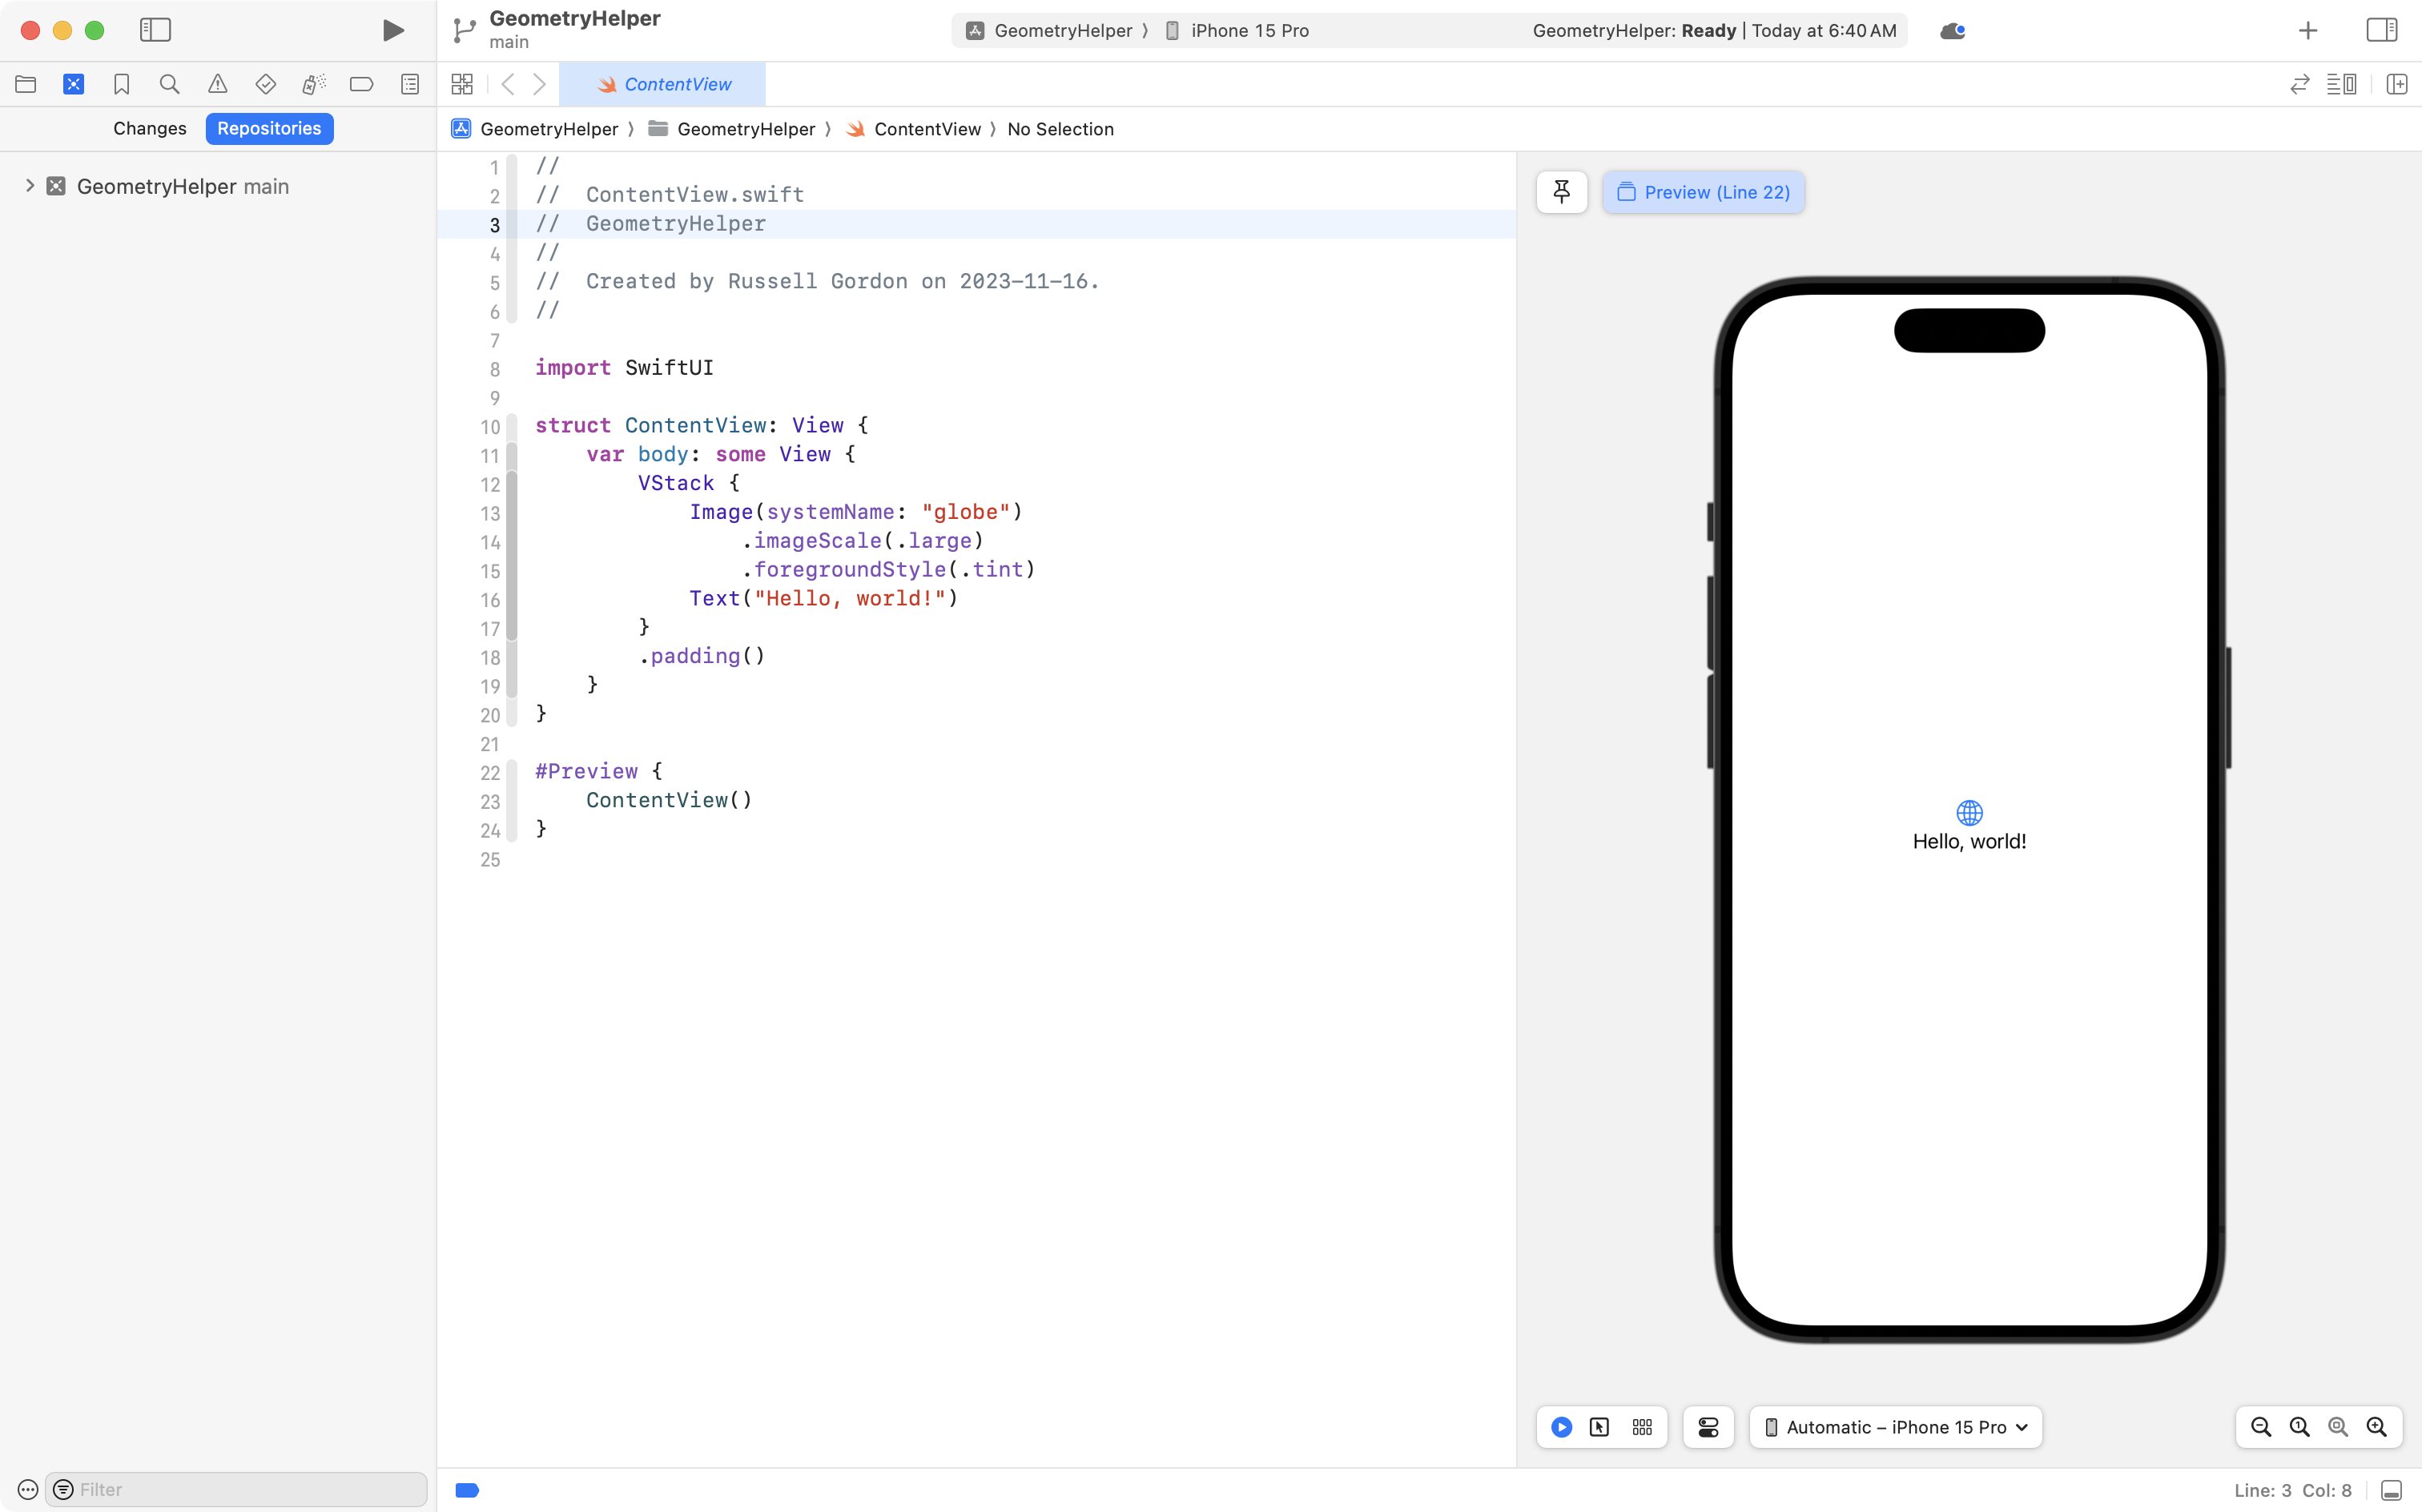
After creating the project:

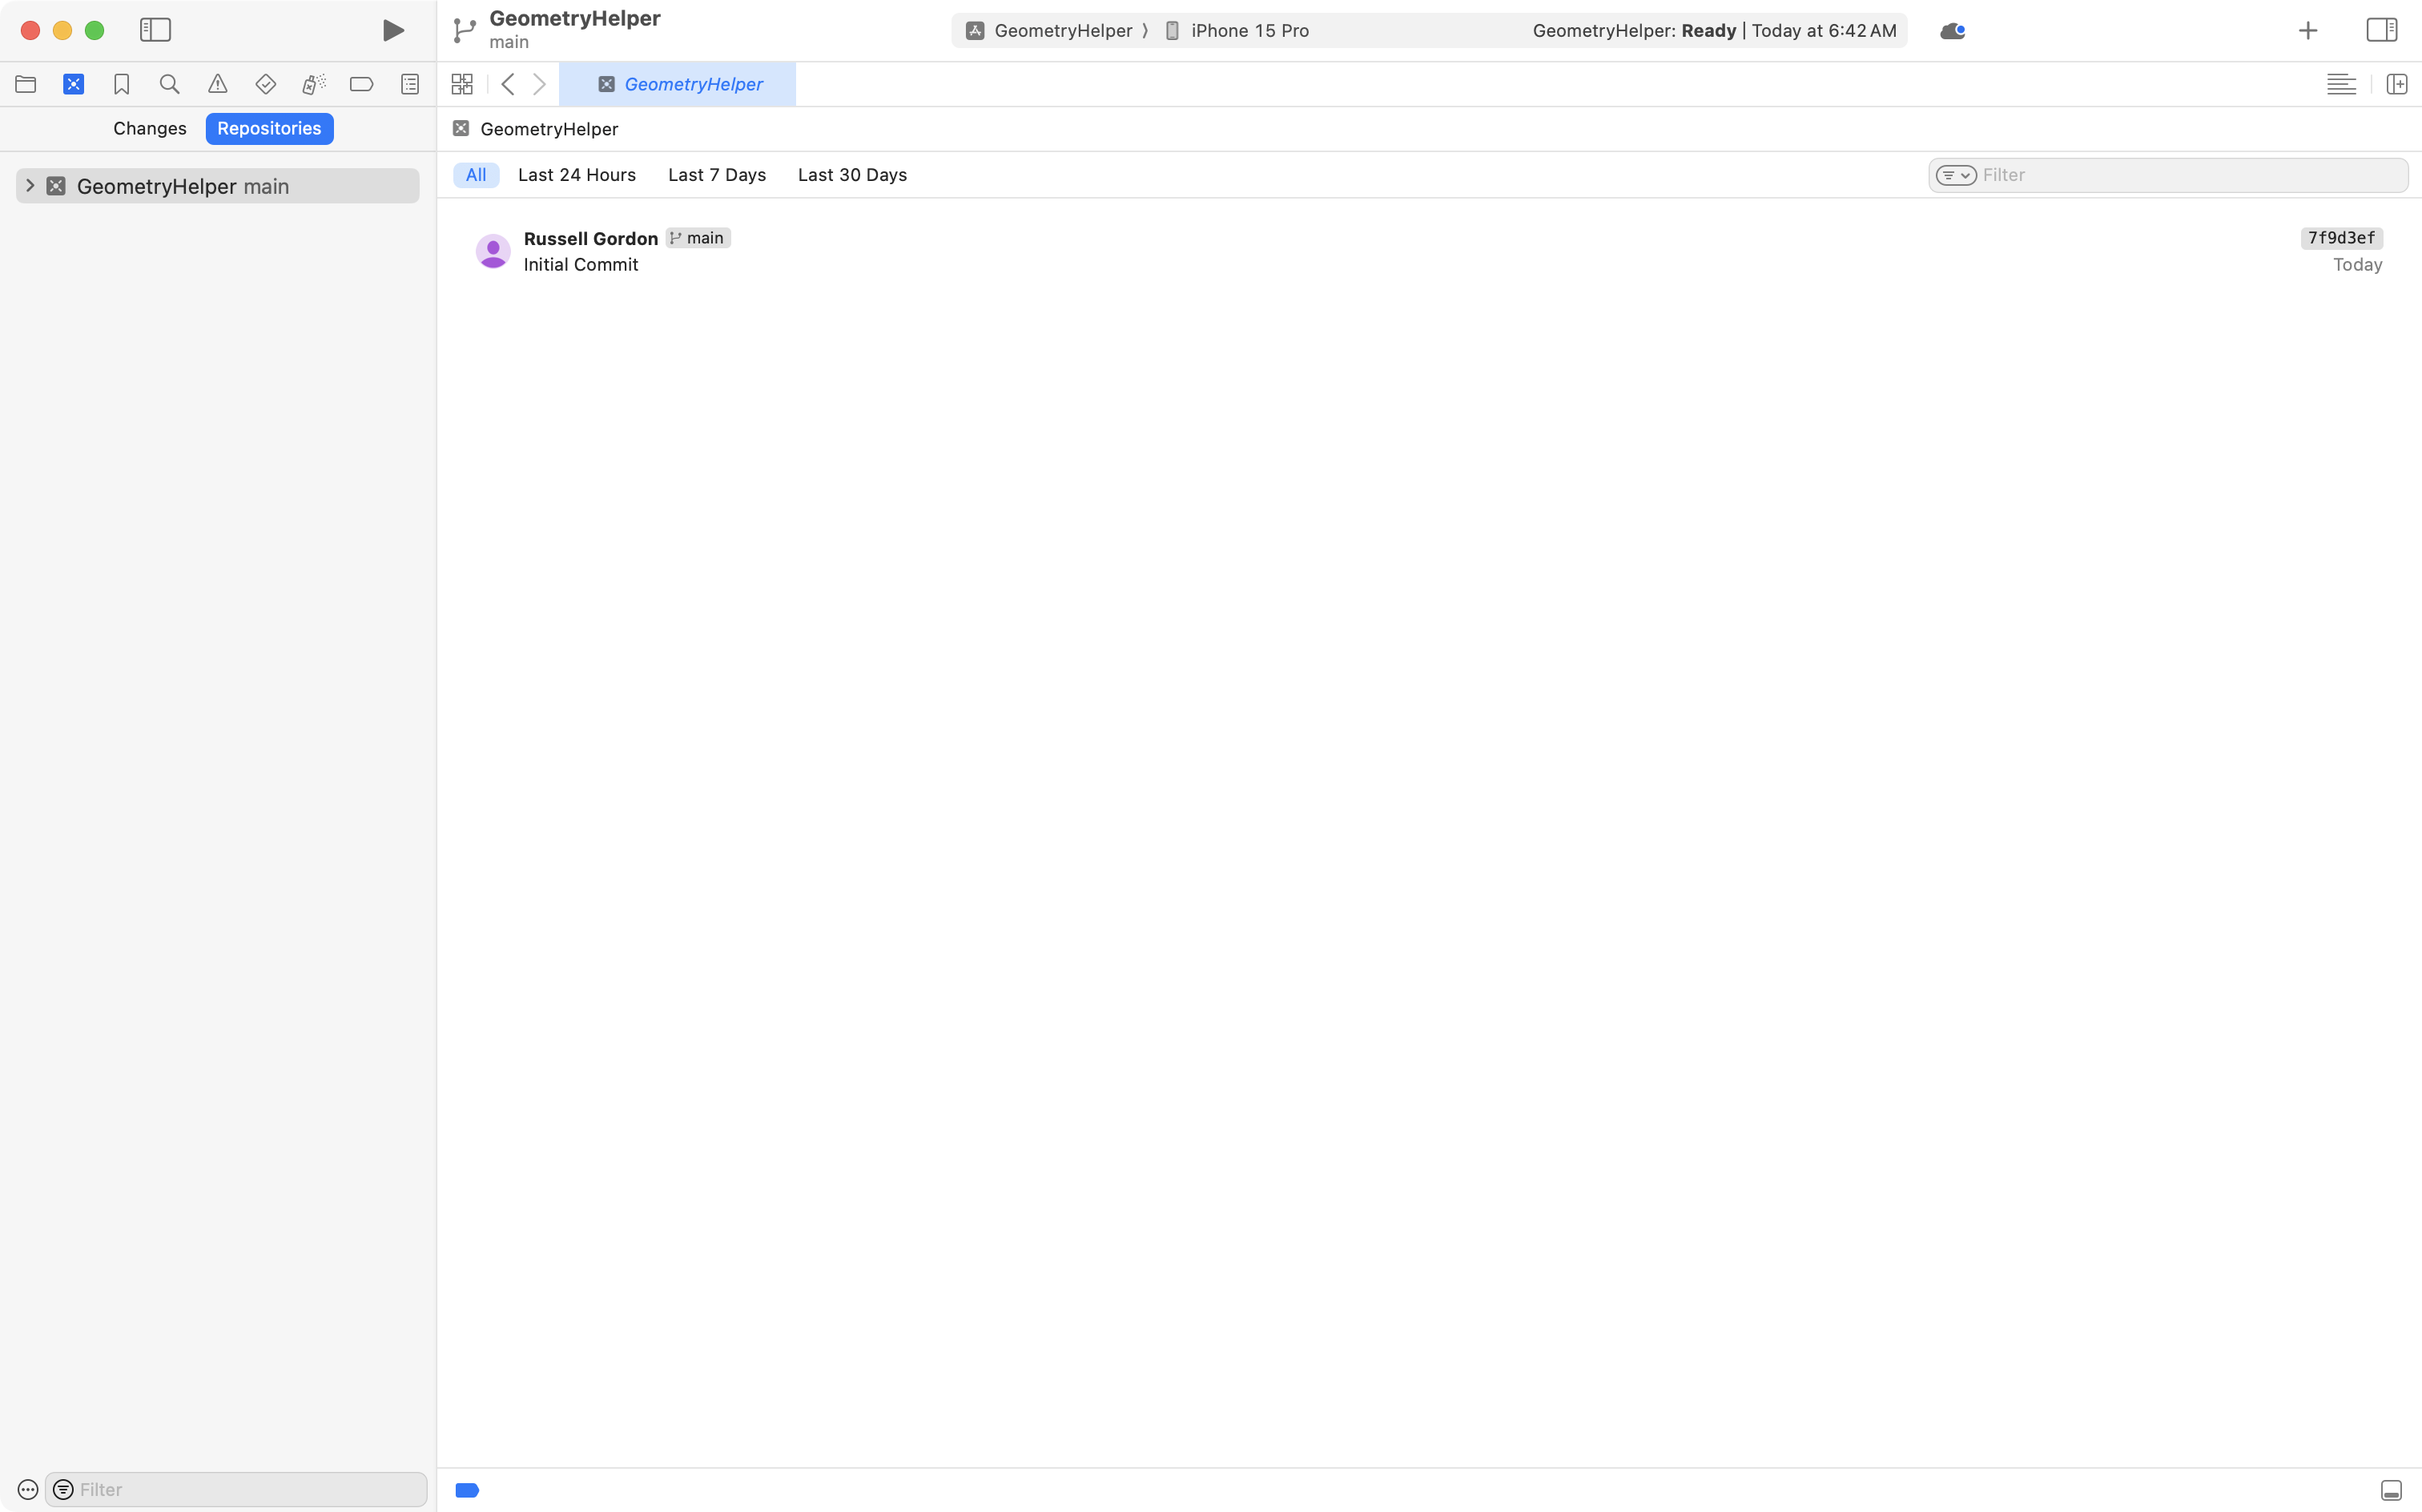
… switch to the Source Control navigator using the Command-2 keyboard shortcut, then select Repositories:
Select the GeometryHelper entry and you will see the list of commits, which has only one since the project was just created:
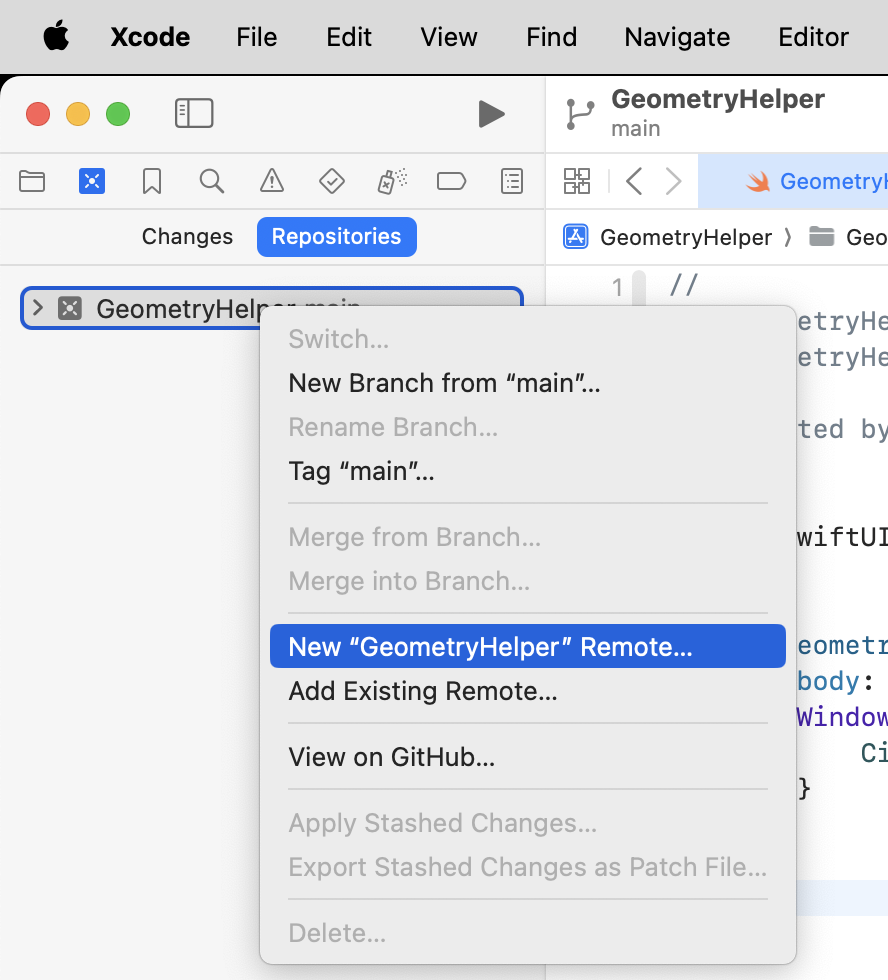
Now two-finger tap on the GeometryHelper entry and create a remote:
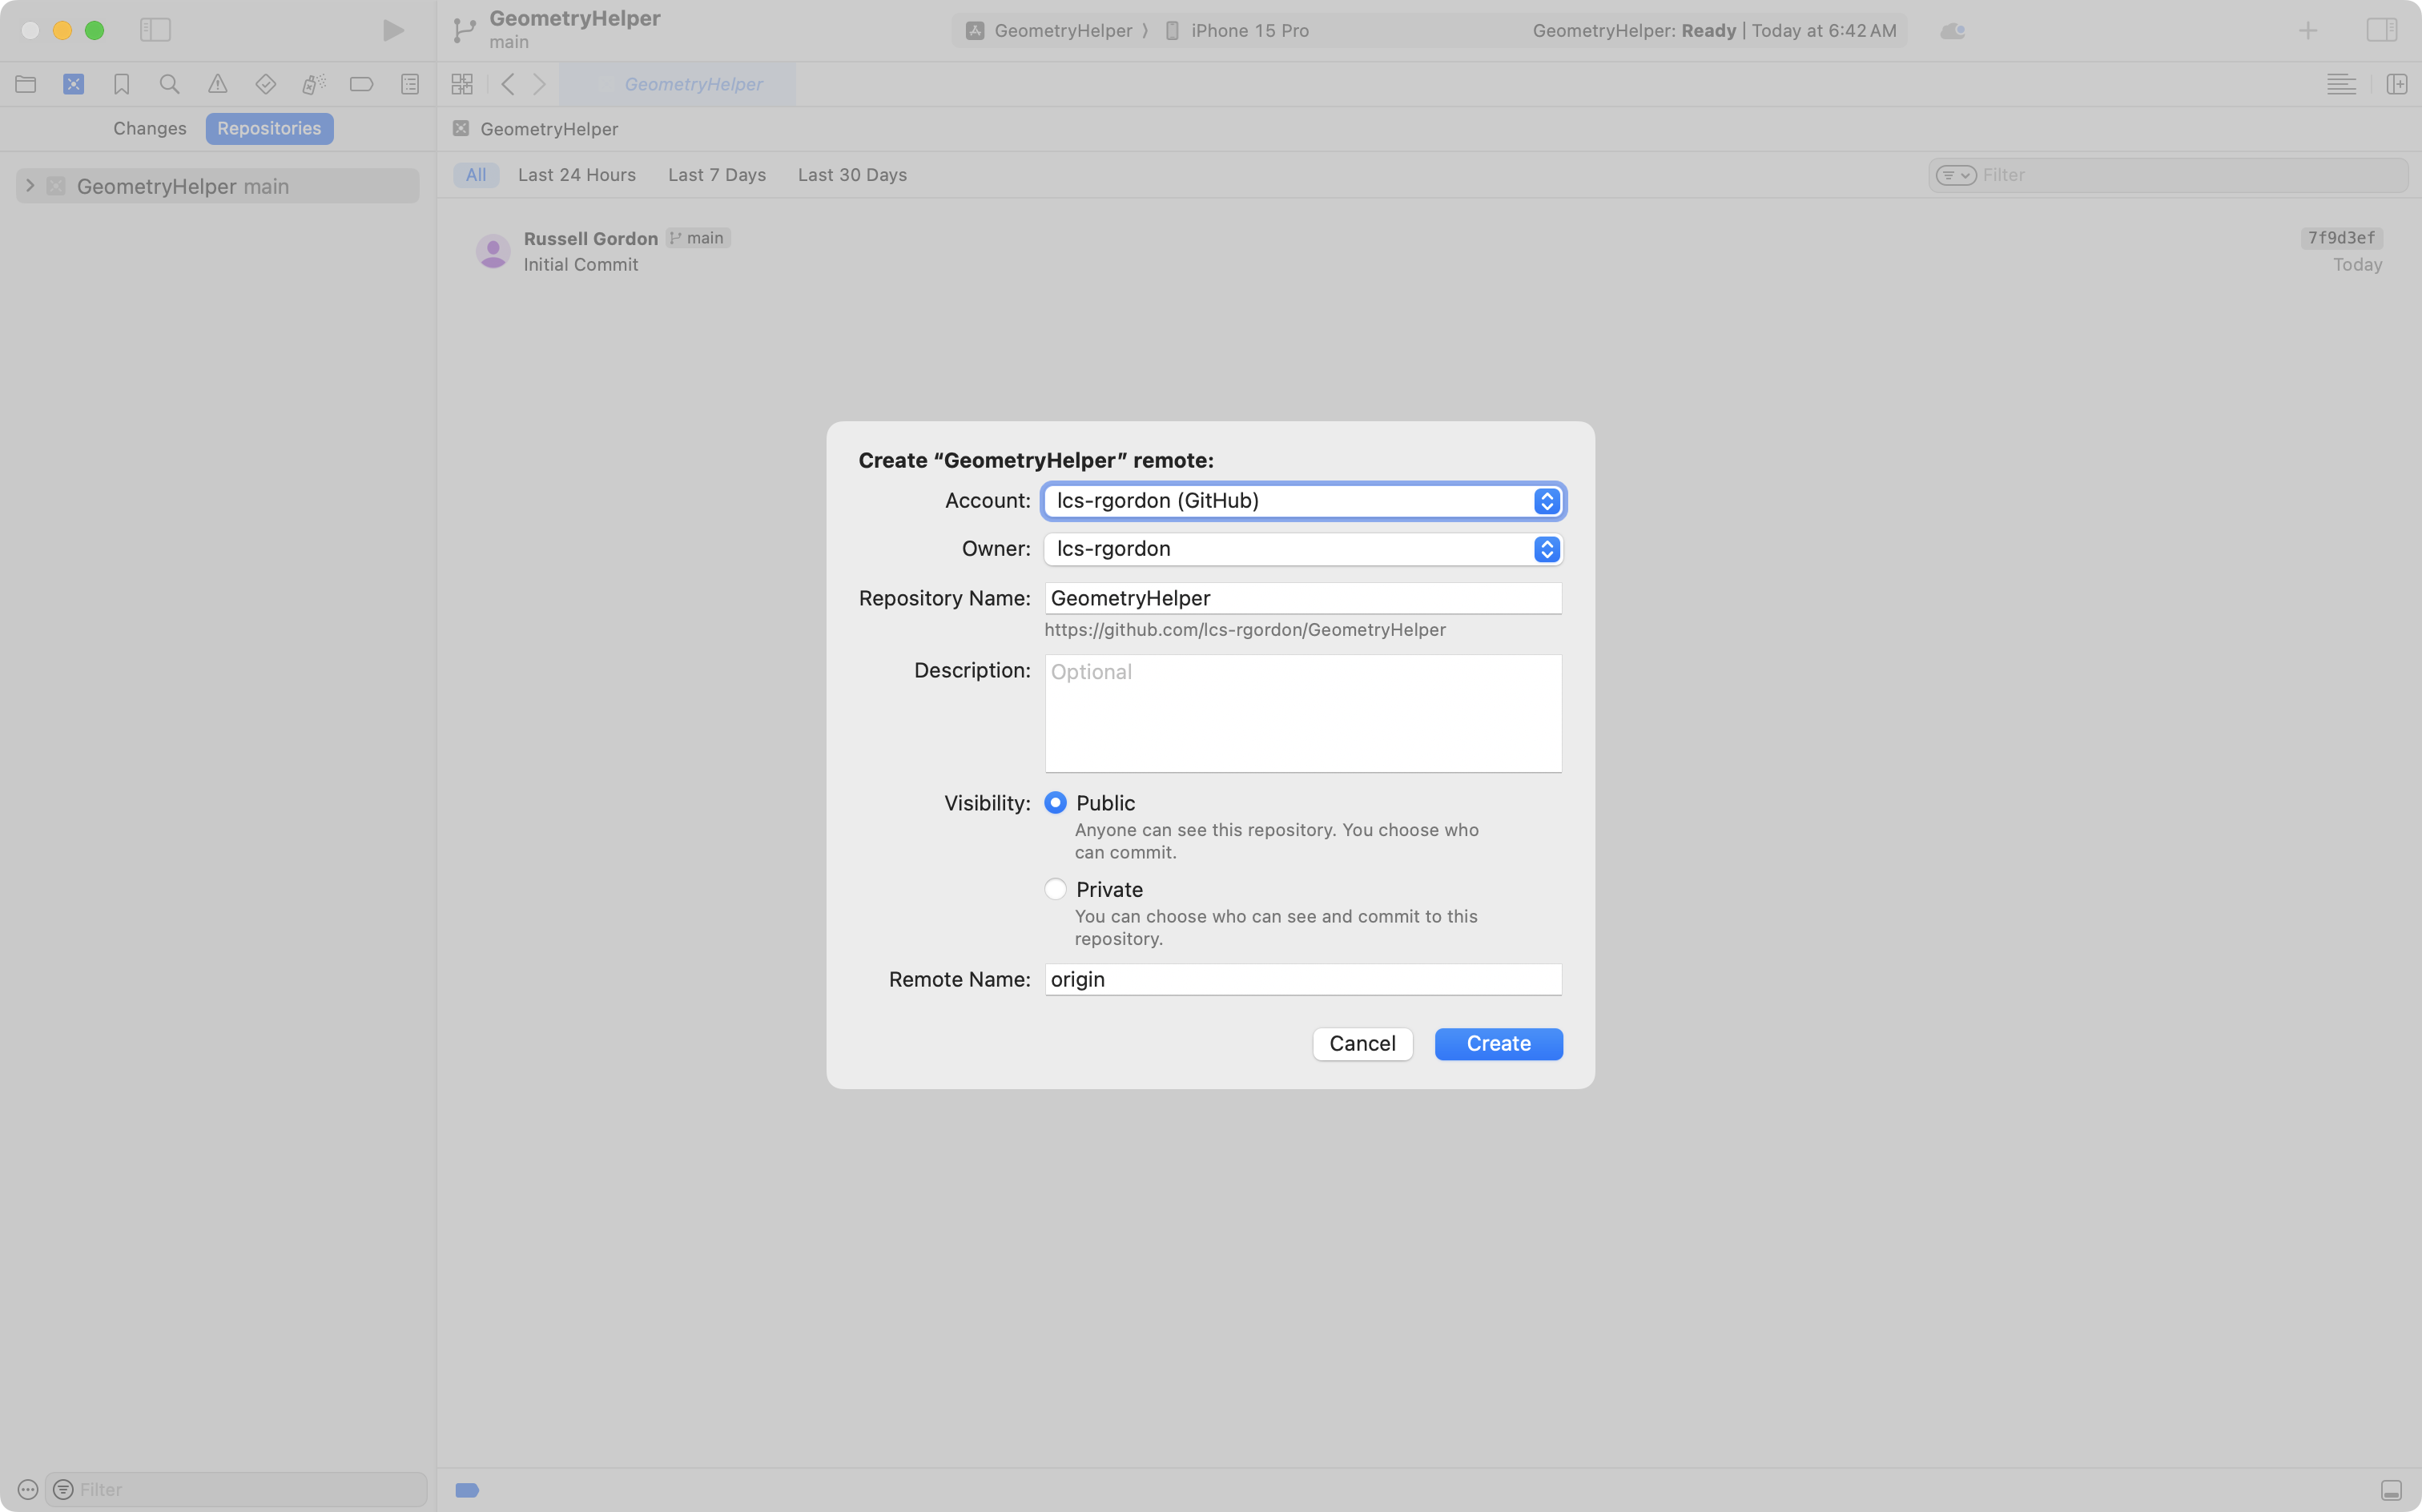
Press Create on this dialog:
After creating the remote, you will see two small badges in the list of commits:

Right now, both the local copy of our code, and the remote copy of our code, are at the same position (have the same commits).
As a general rule, we try to keep these copies synchronized.
If the remote repository origin/main ever falls behind the local repository origin then we can fix this by pushing all local commits up to the remote, using the menu sequence Integrate > Push….
Project organization
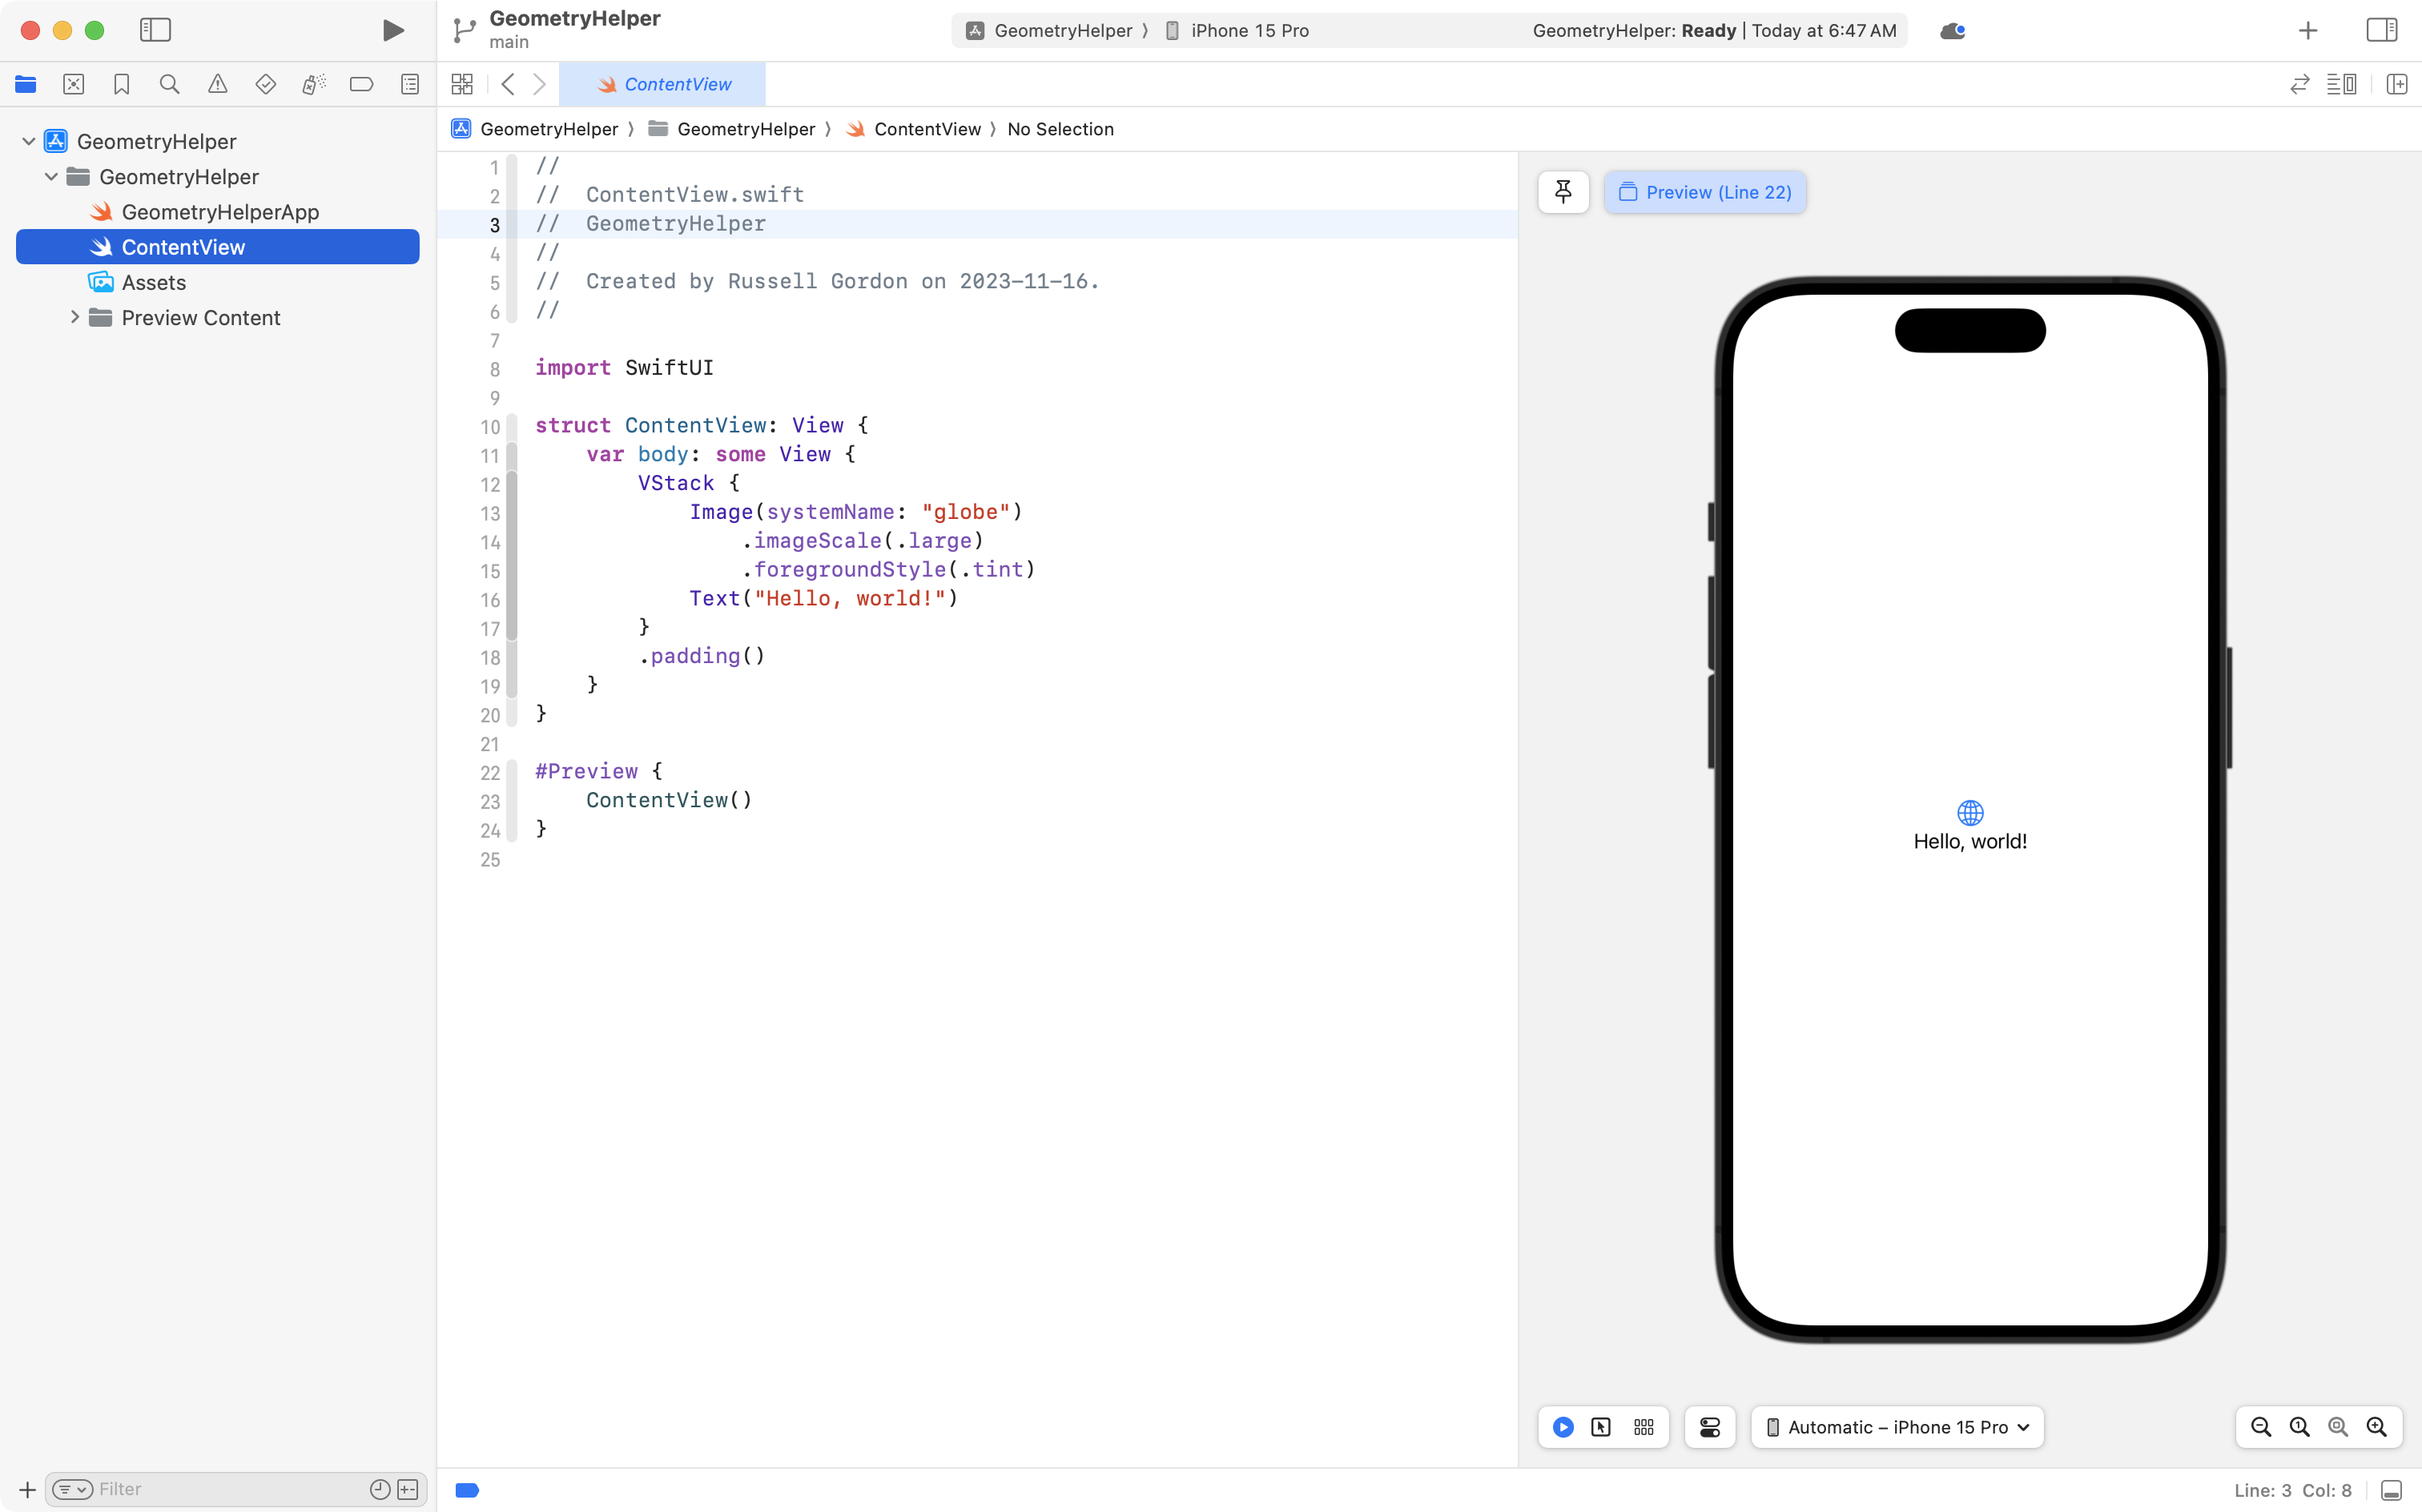
Press Command-1 to return to the project navigator:
To keep things organized, we will create groups – essentially folders – to keep our view code and model code separated.
Create a group named Views now:

Then create a second group named Model:

We want to be deliberate with naming choices when we write software, so that code is as readable as possible.
So, we are now going to delete ContentView:

And create a new view, inside the Views group, named CircleView:

Finally, as you learned in the Running Your Code tutorial, the app entry point file controls what view is shown when the app is run in the Simulator or on a physical device.
We need to update this file so that it creates an instance of CircleView, rather than ContentView (which we just deleted).
Let’s do that now:

Finally, by convention, the app entry point file should be the first file listed in our project.
Drag and drop that file so that it is above the Model group:

After completing all of this organization, please commit and push your work using this message:
Organized project by adding Views and Model groups and a new view file named CircleView.
Here is a quick recap of how to commit and push your work:

Build the interface
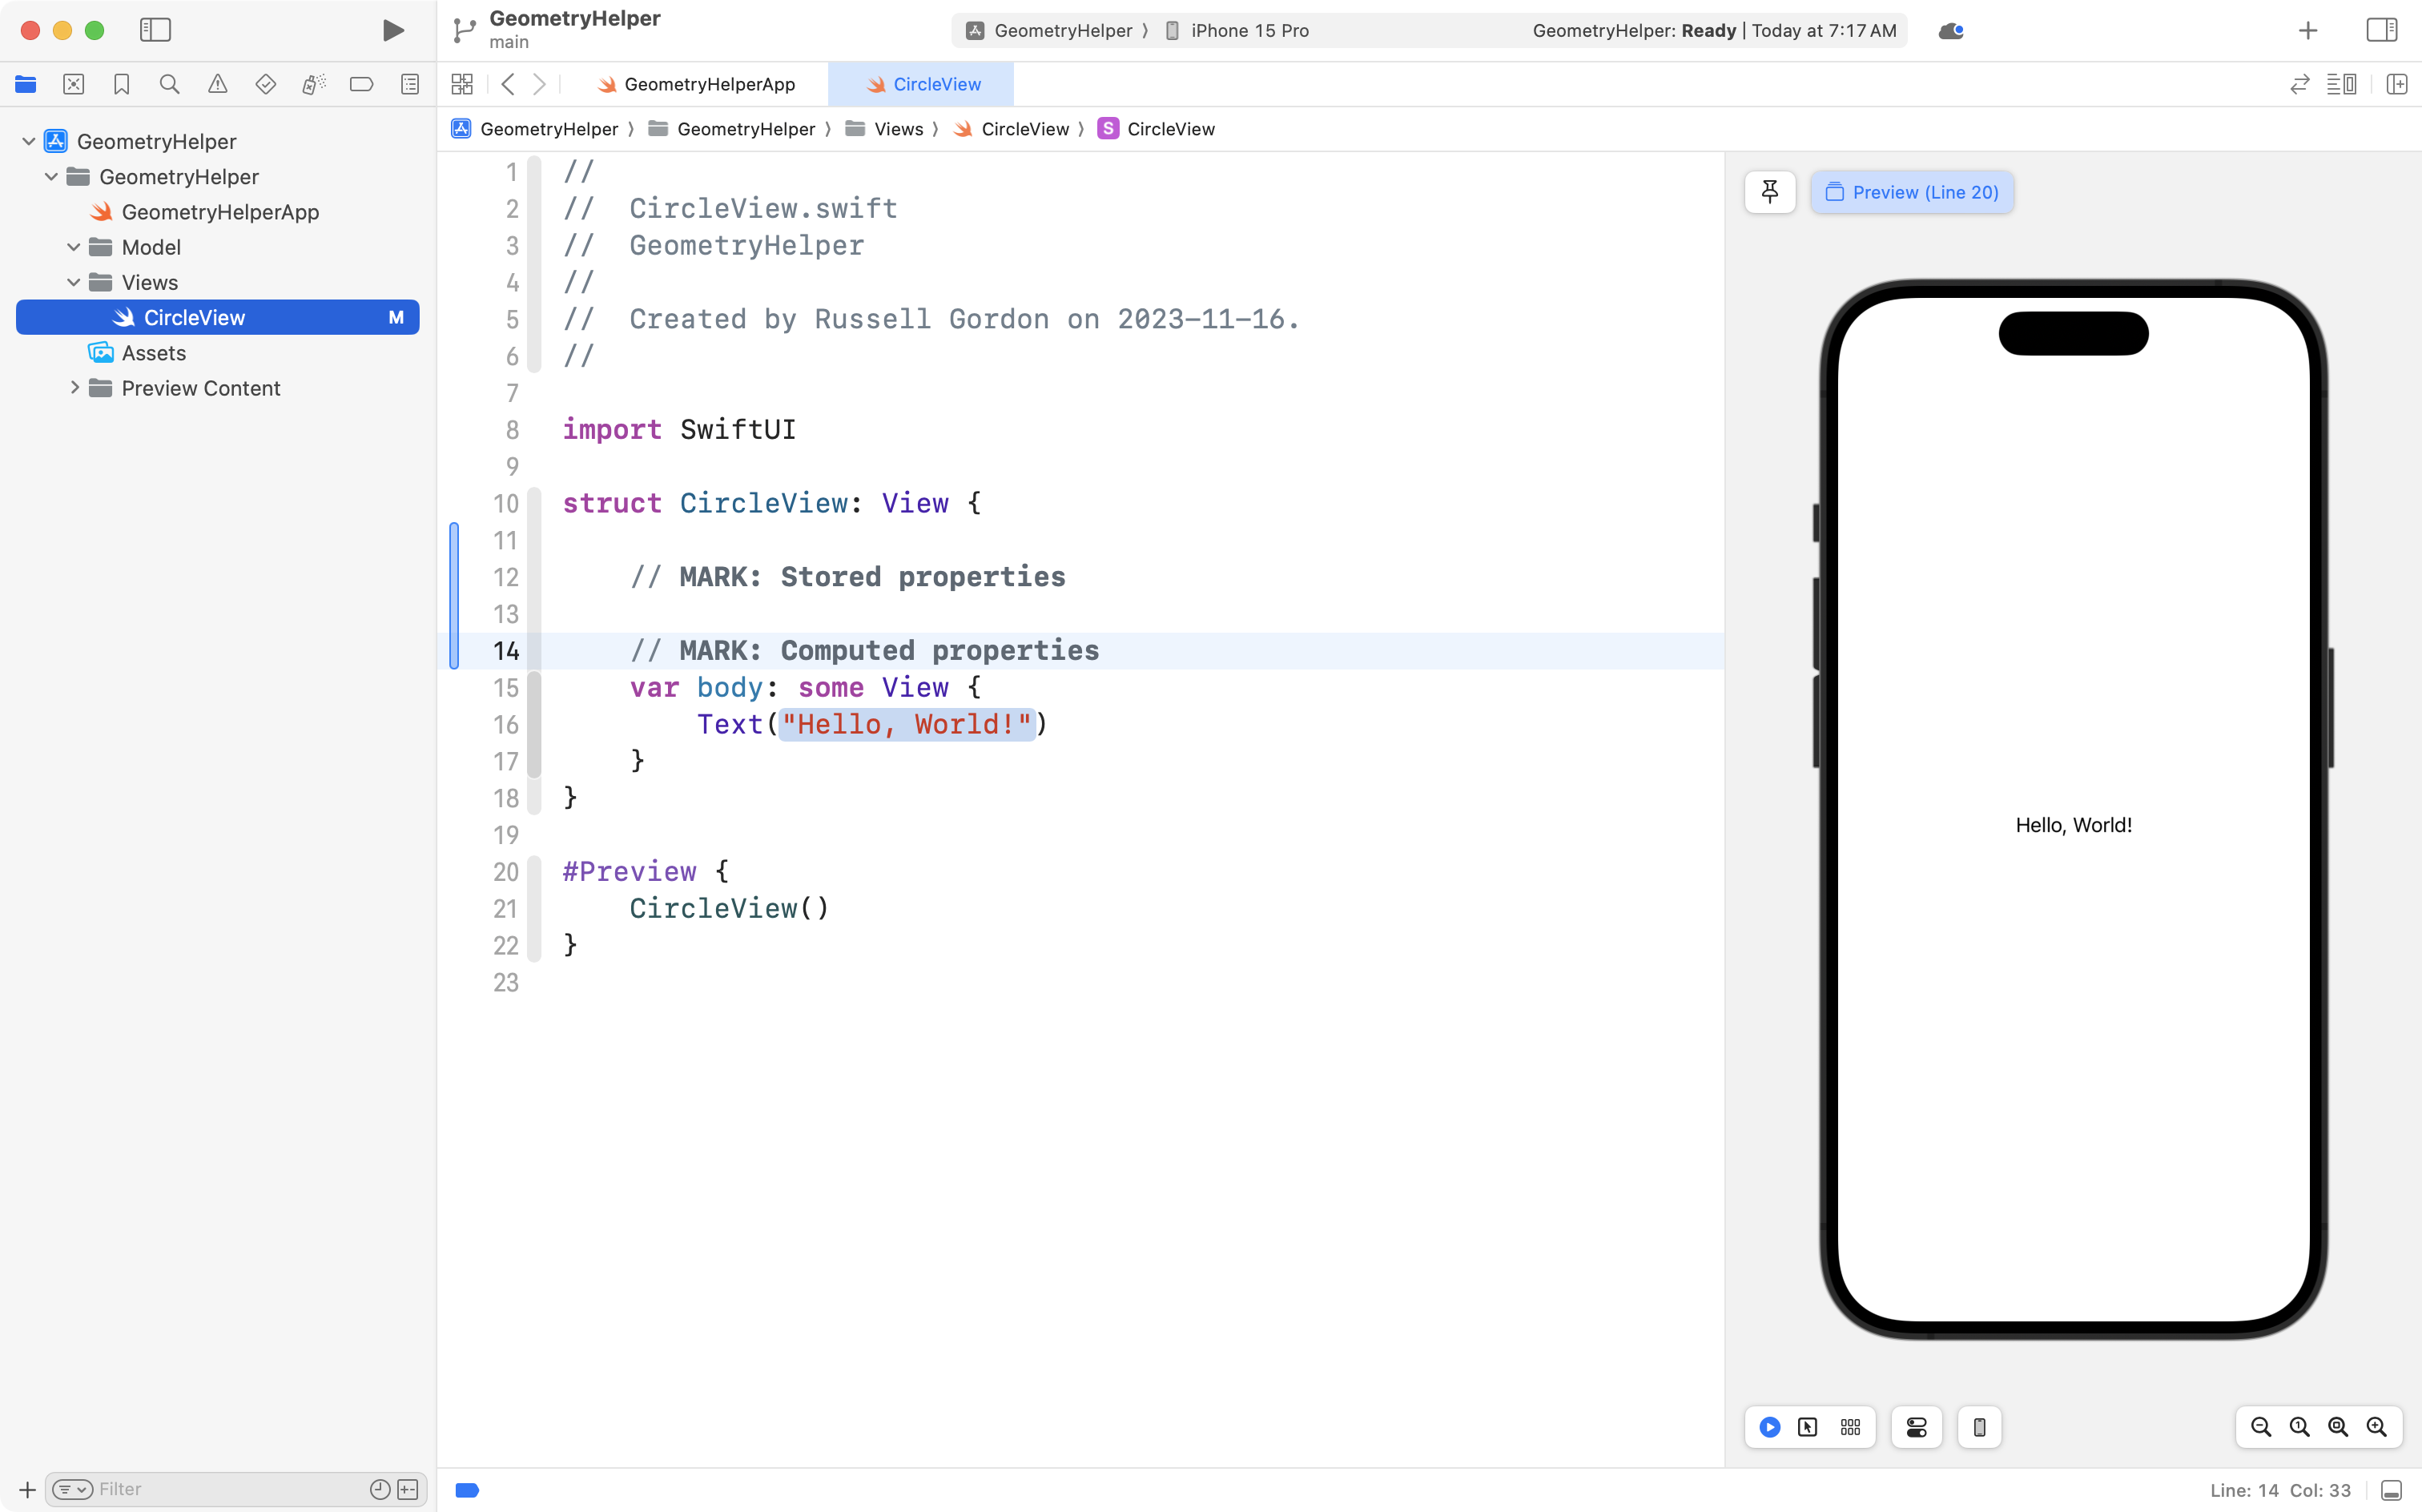
Open the Model and Views groups and click on the CircleView file:

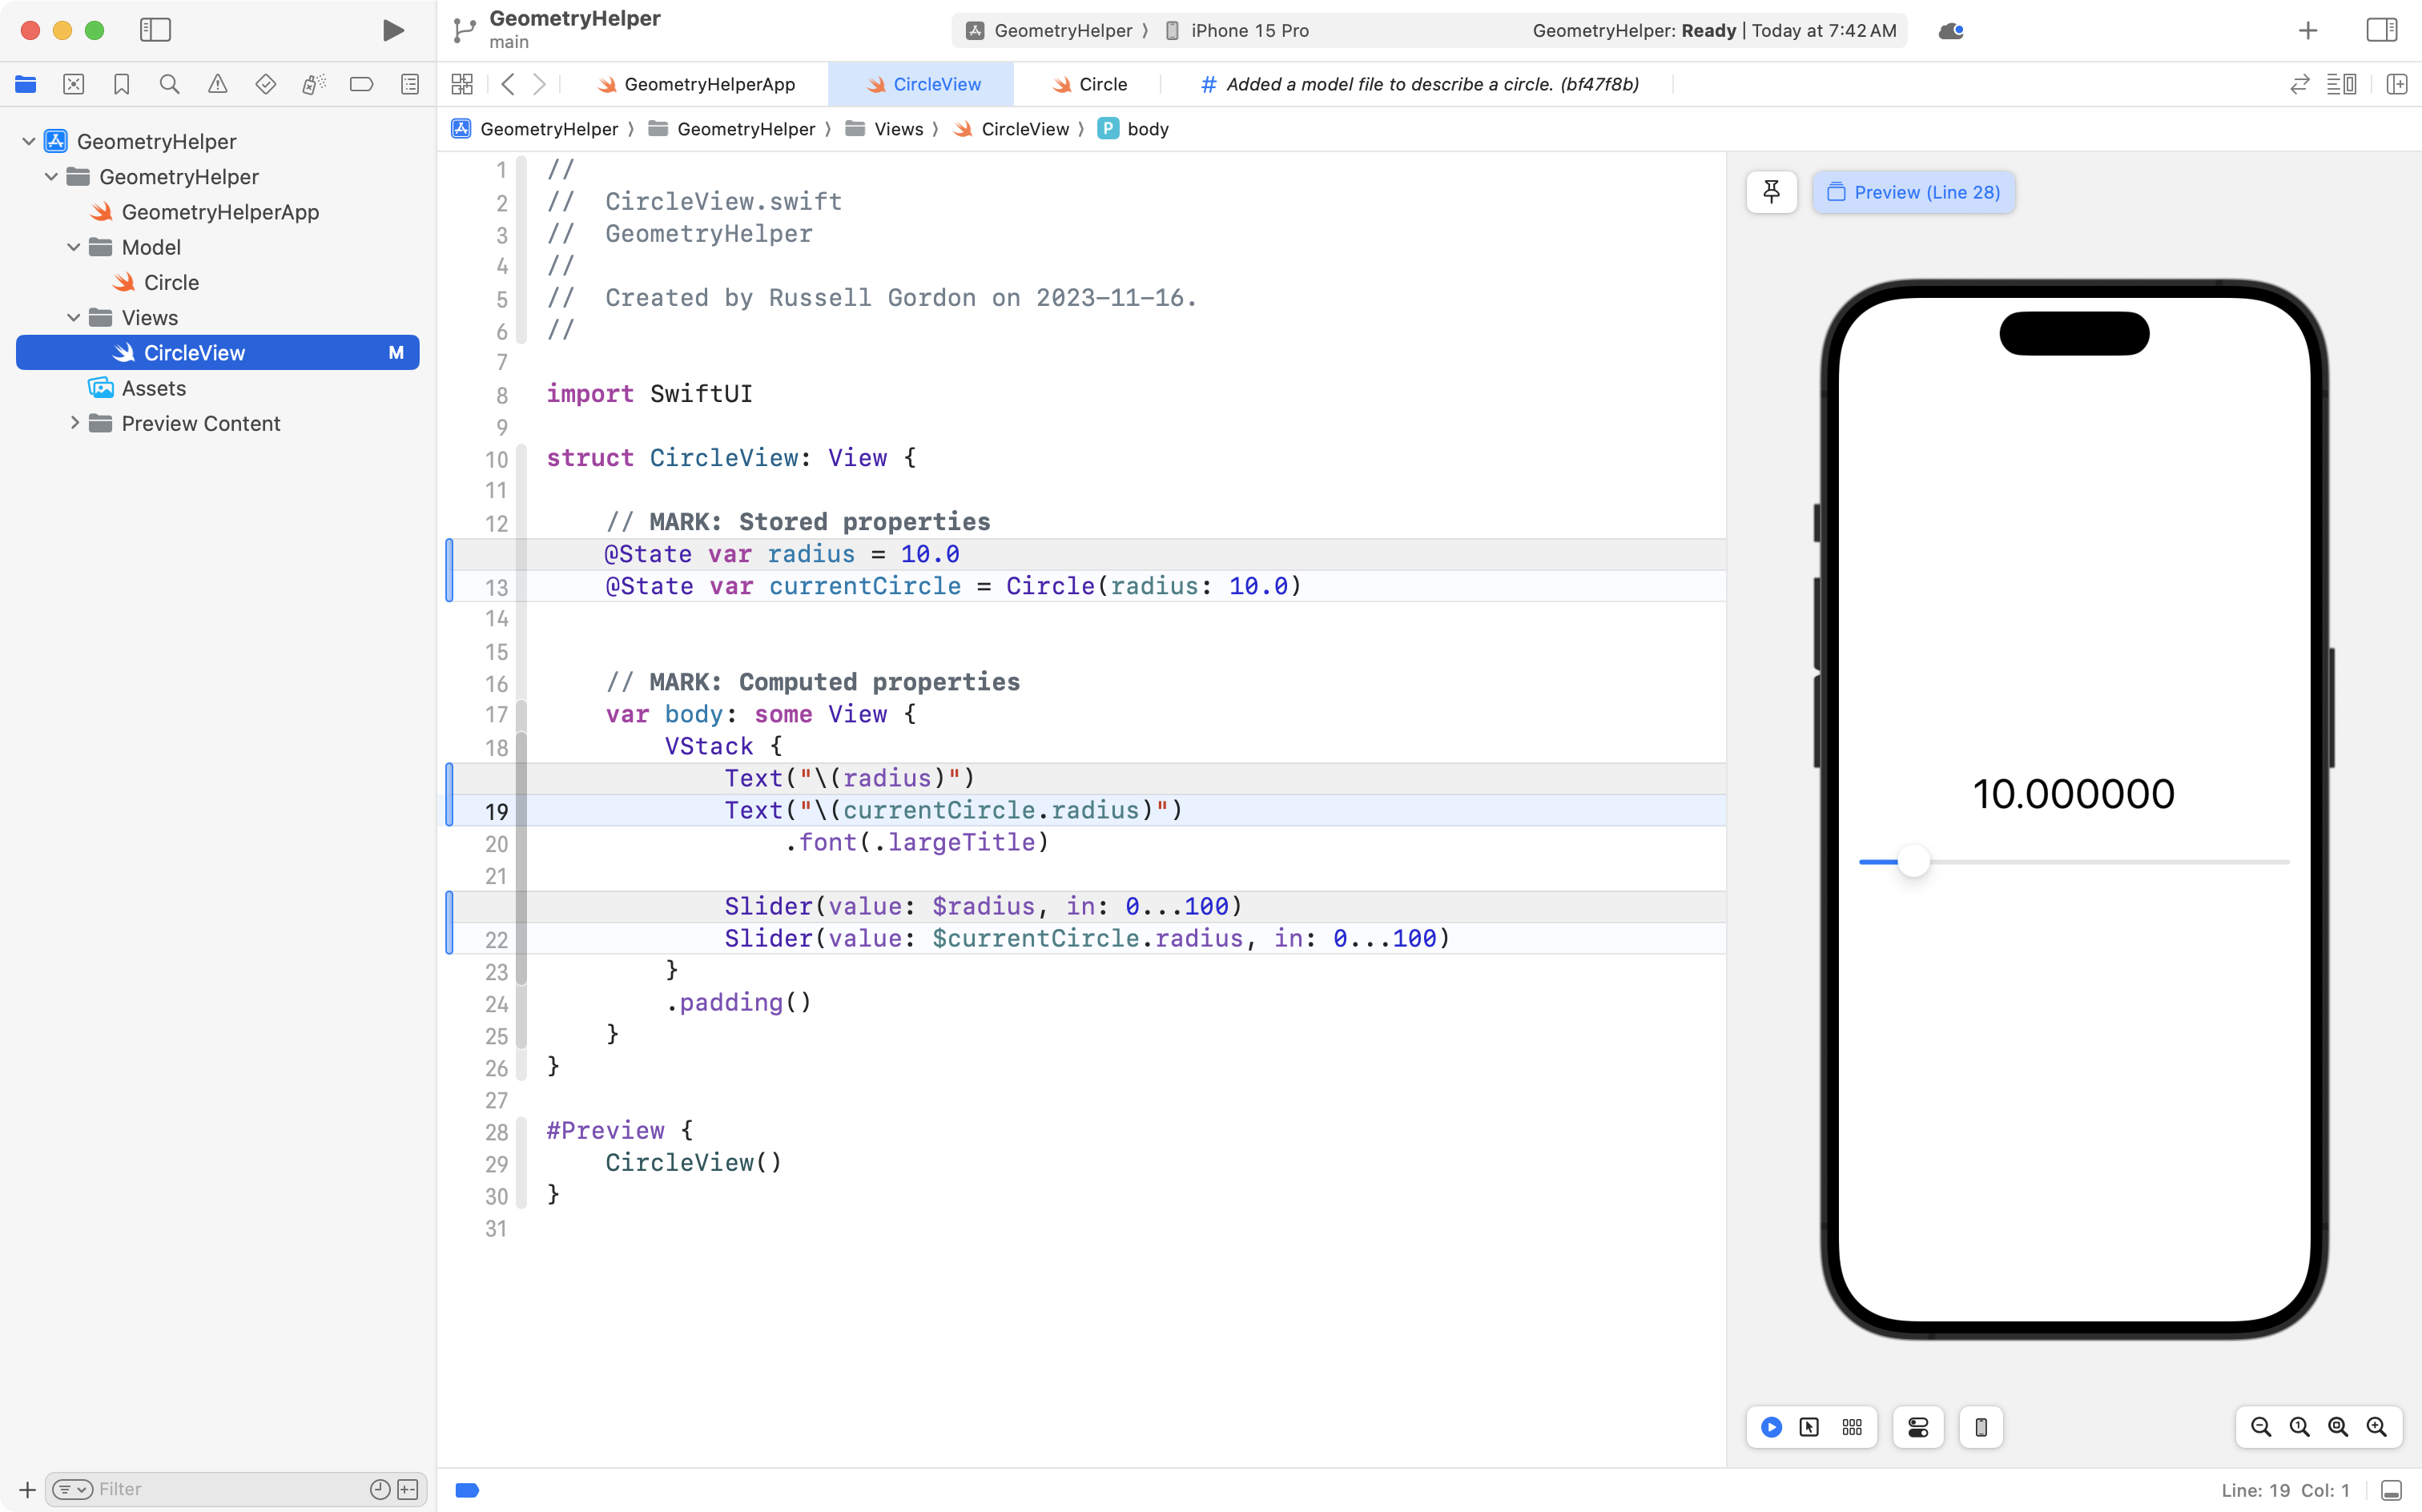
Inside CircleView add comments to mark stored and computed properties:
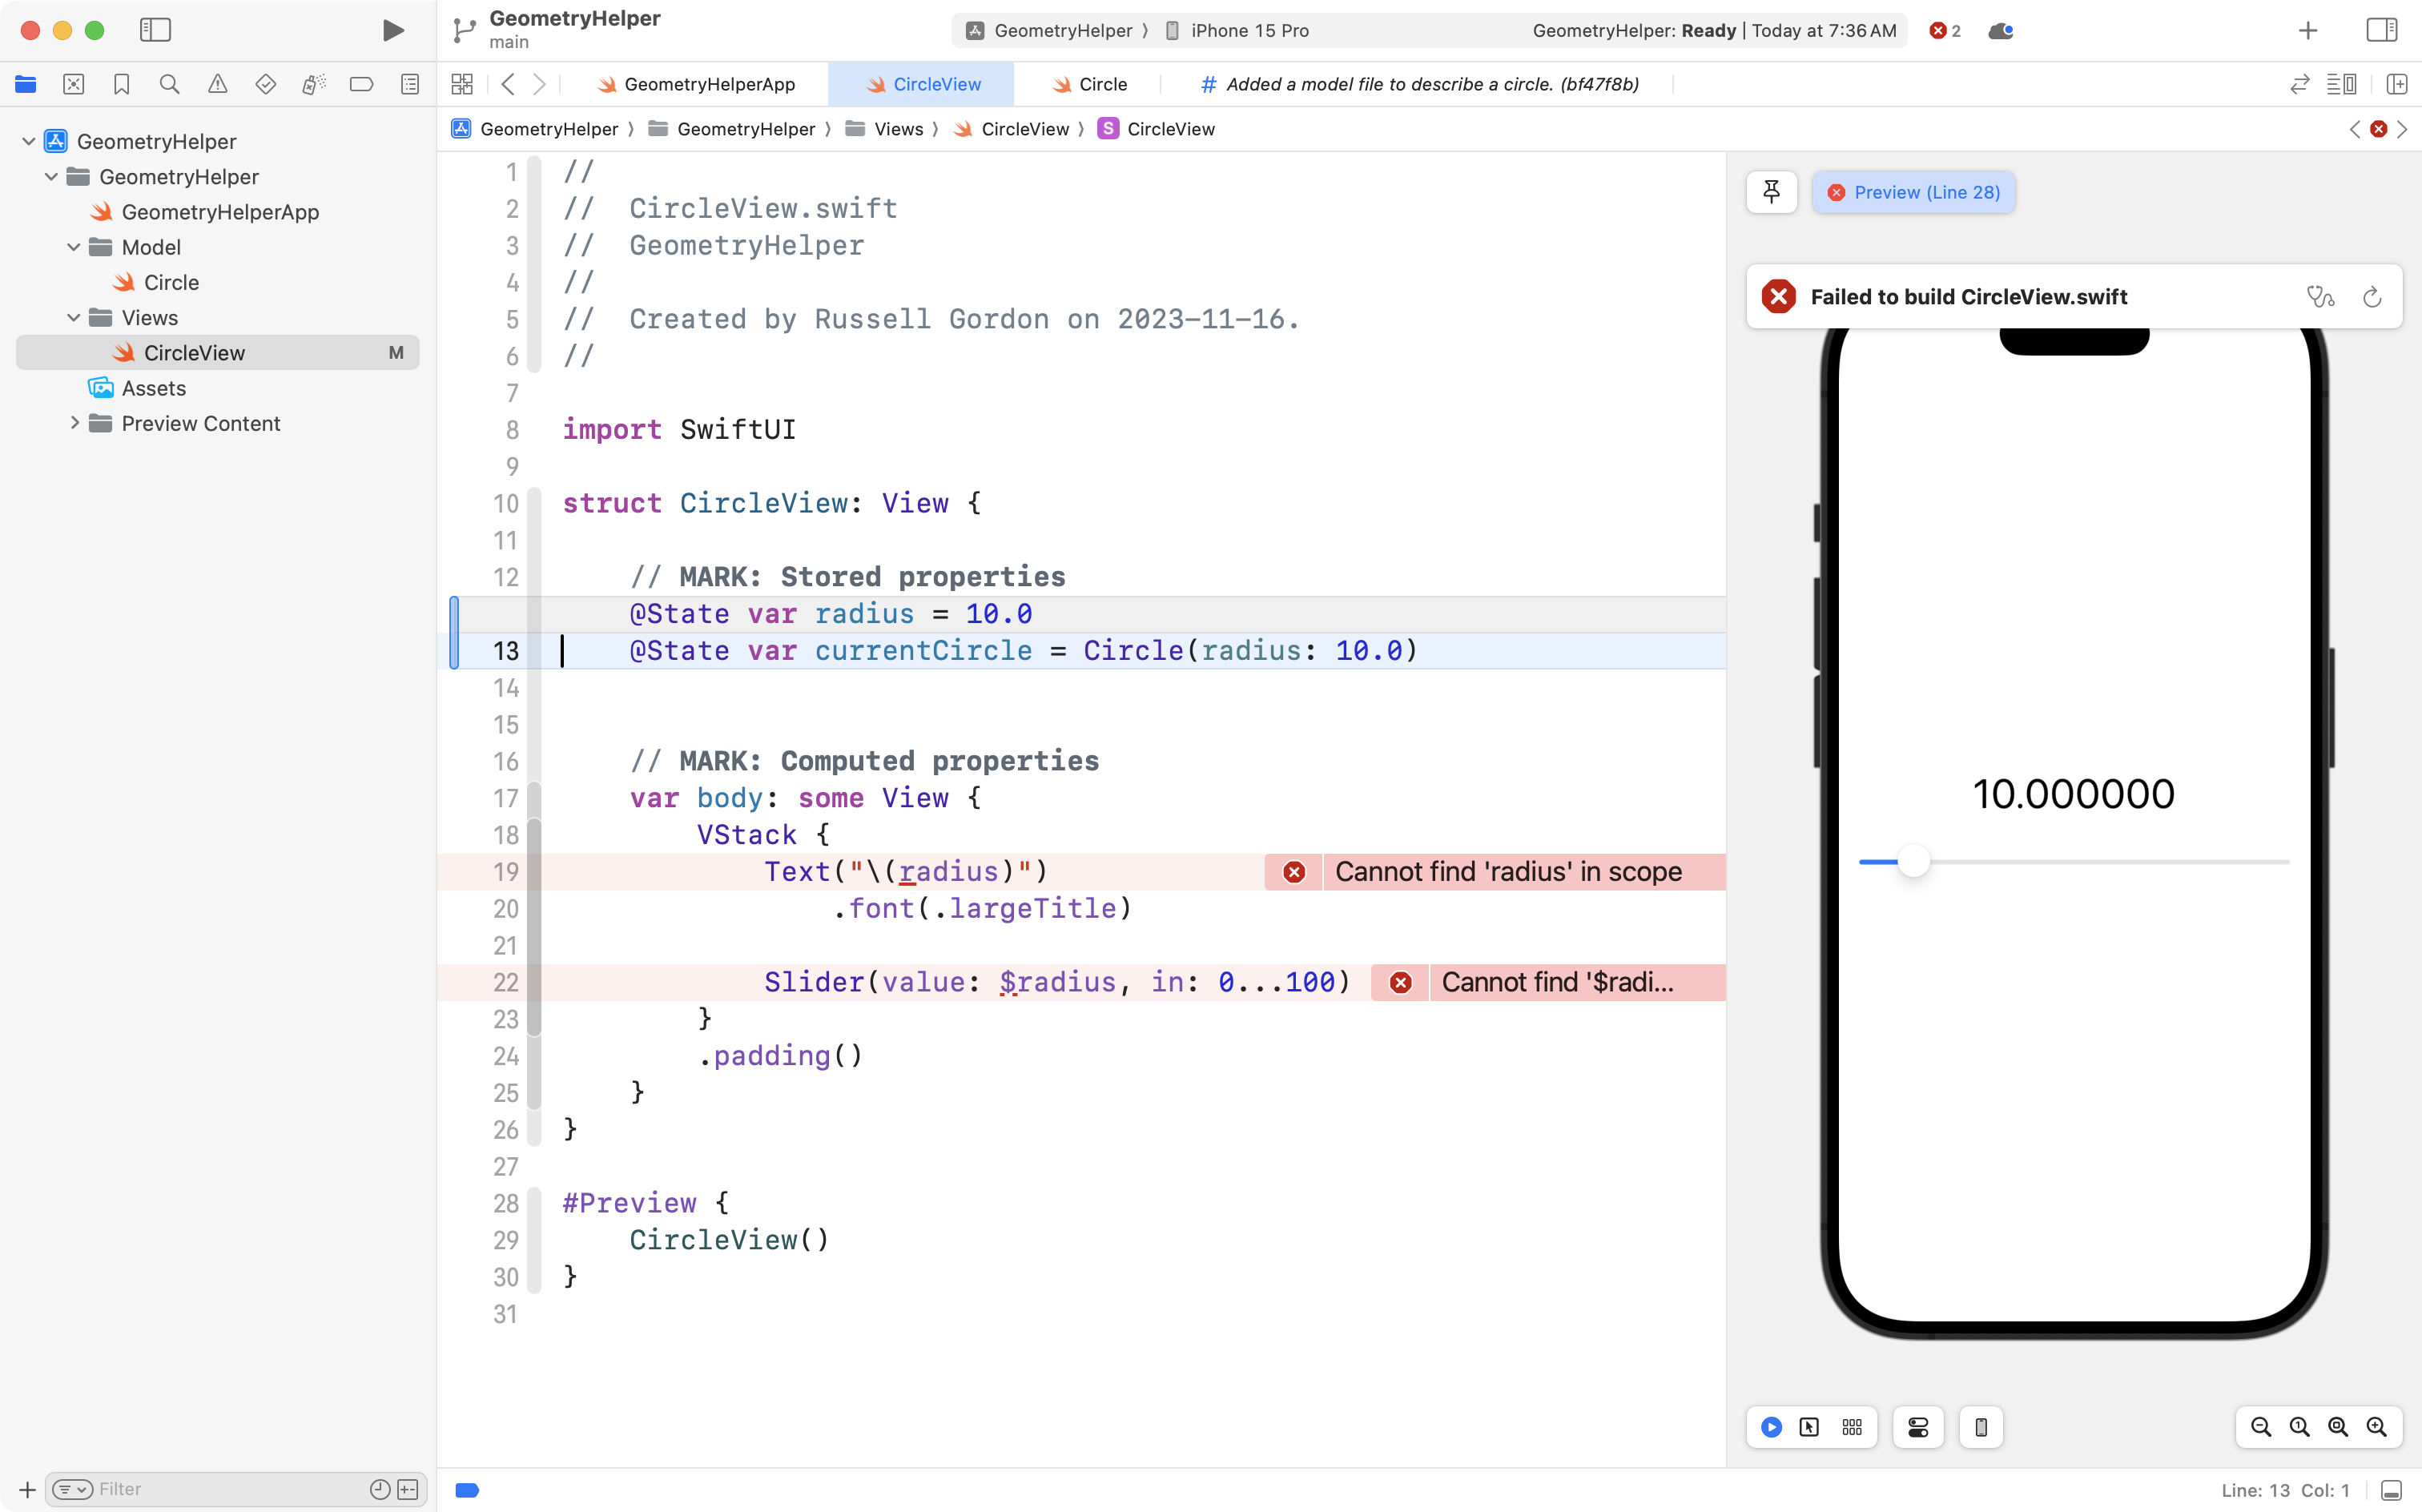
First we will create a stored property to keep track of the radius for a circle – make the following addition to your code:
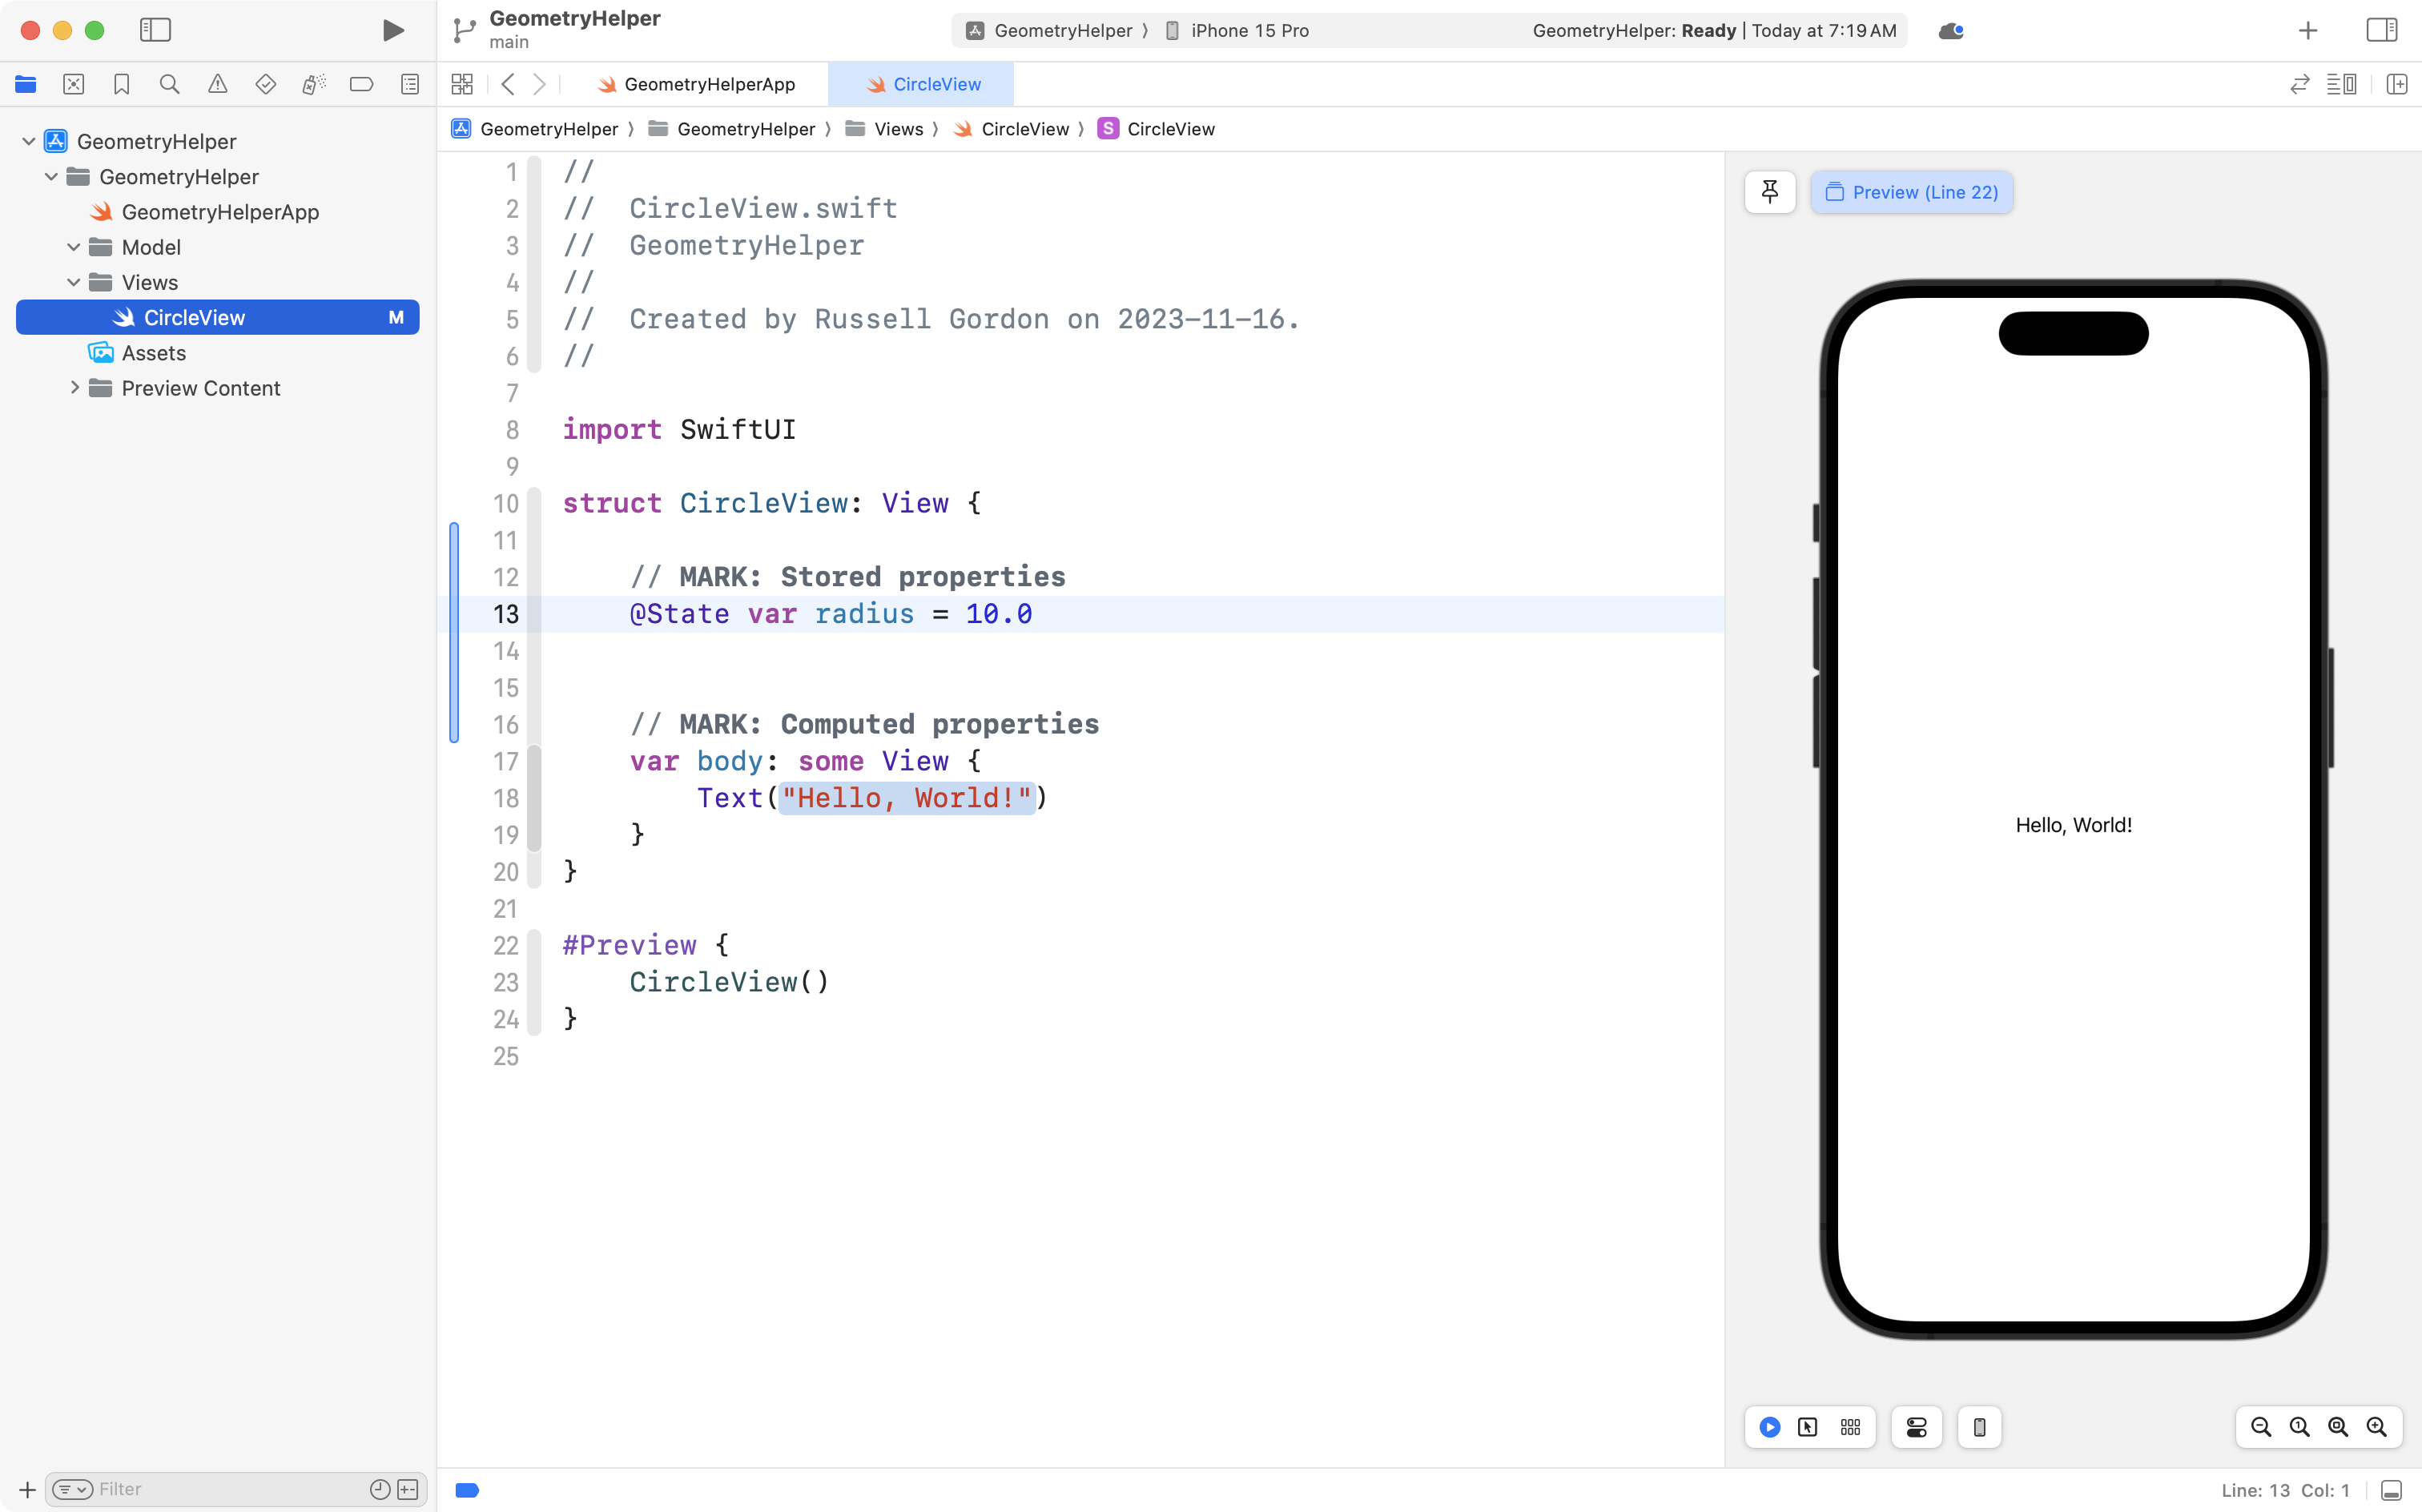
NOTE
As you learned in the Interactive Apps, we mark the property with the
@Stateproperty wrapper. This means that when the stored property changes, SwiftUI will update the user interface for us.
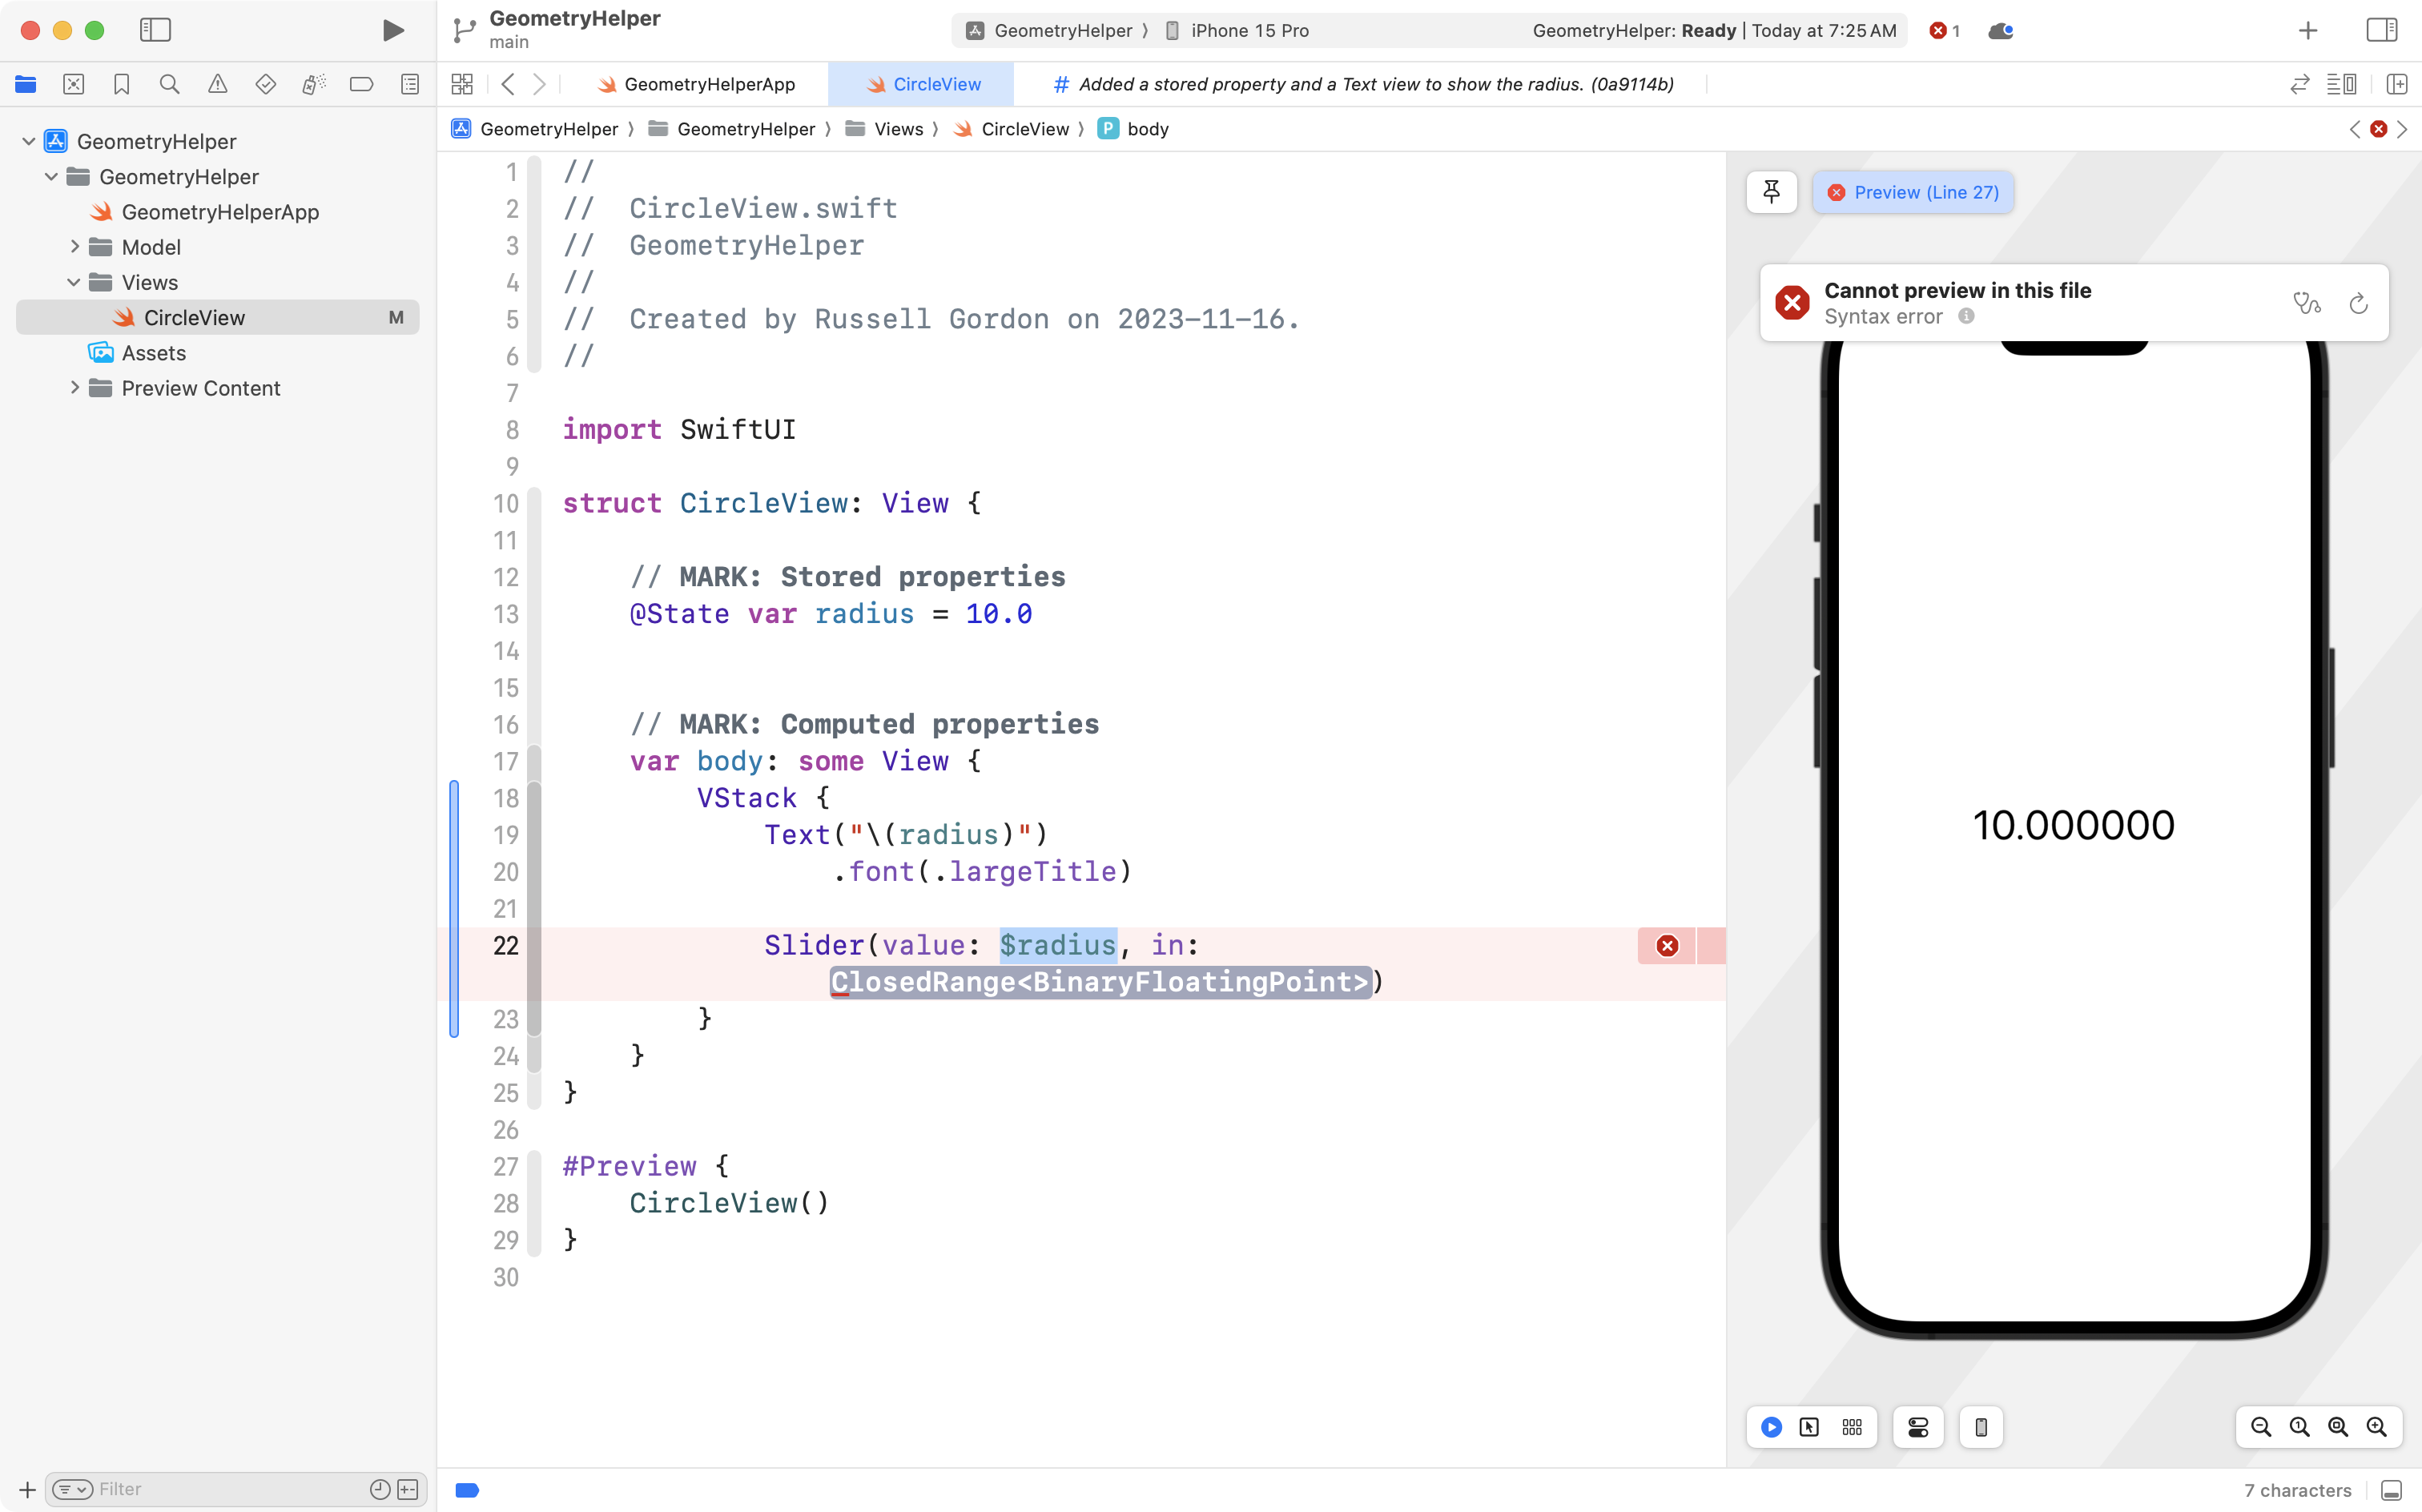
Next we will add a Text view to show the contents of the radius property:
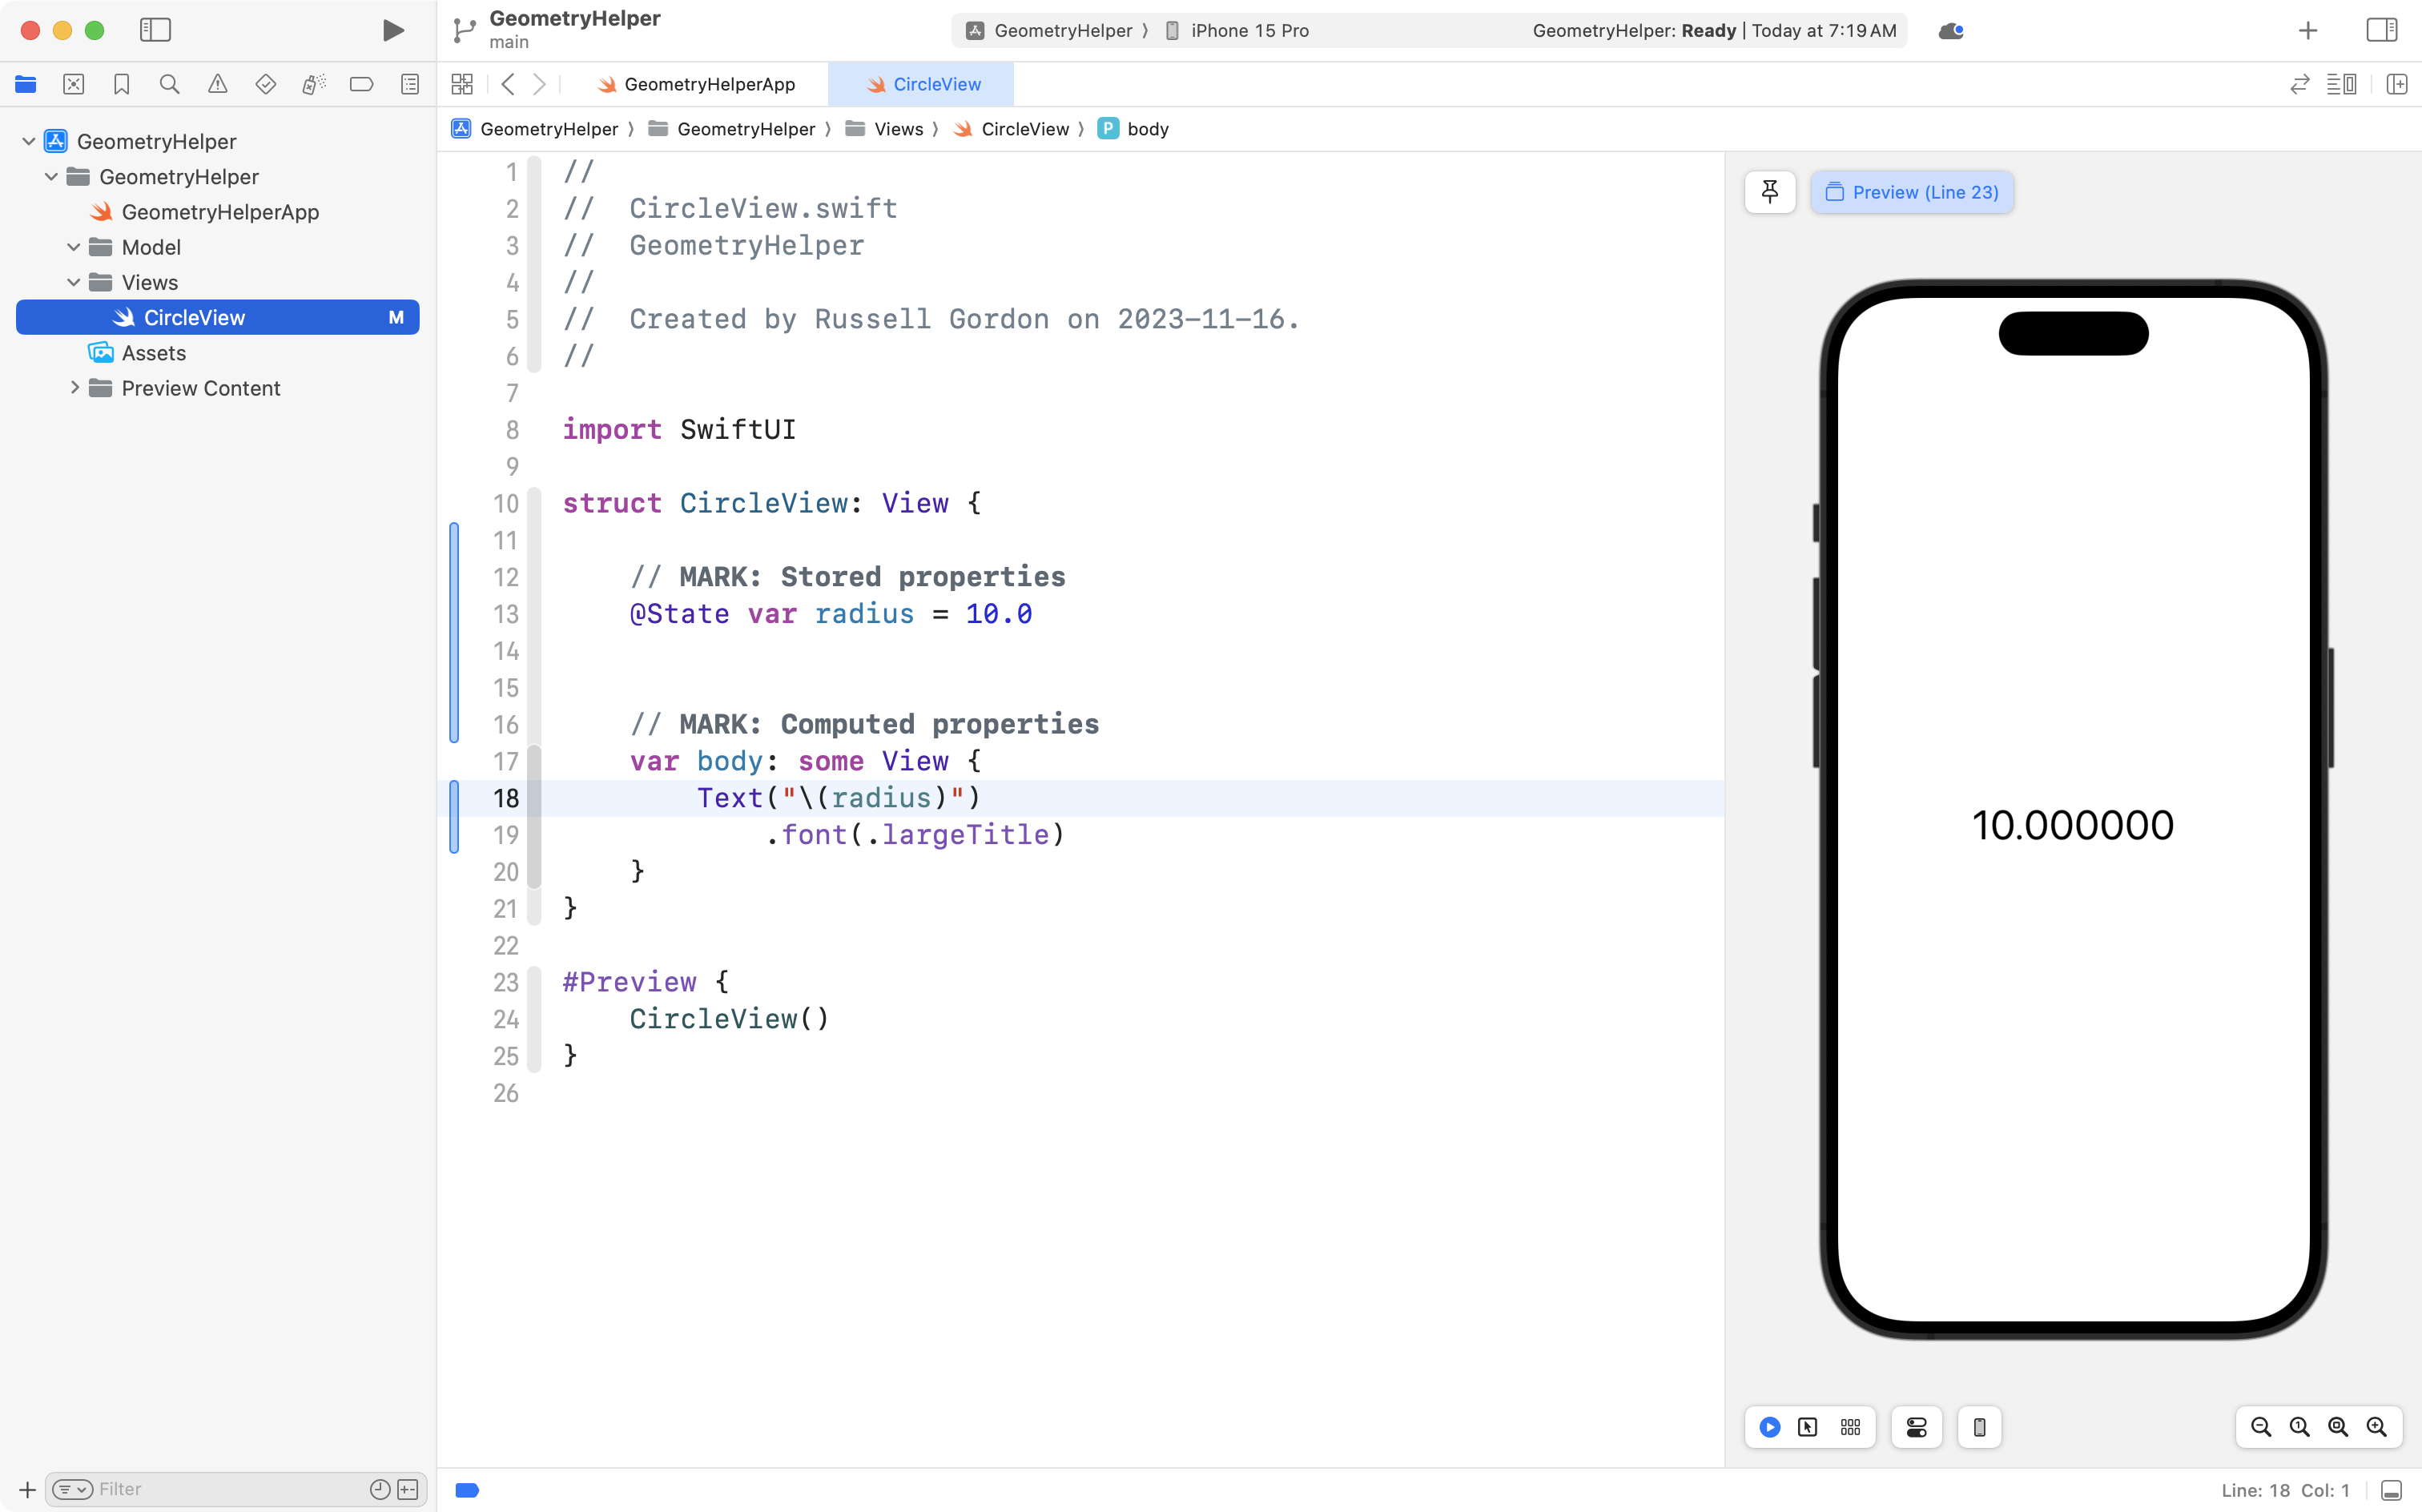
NOTE
As you learned in Interactive Apps, the syntax
\( )represents string interpolation and in this case:
\(radius)… is converting the numeric data, the radius, into a string so that it can be displayed by the
Textview.
This is good progress that we don’t want to lose, so please commit and push your work now with this message:
Added a stored property and a Text view to show the radius.
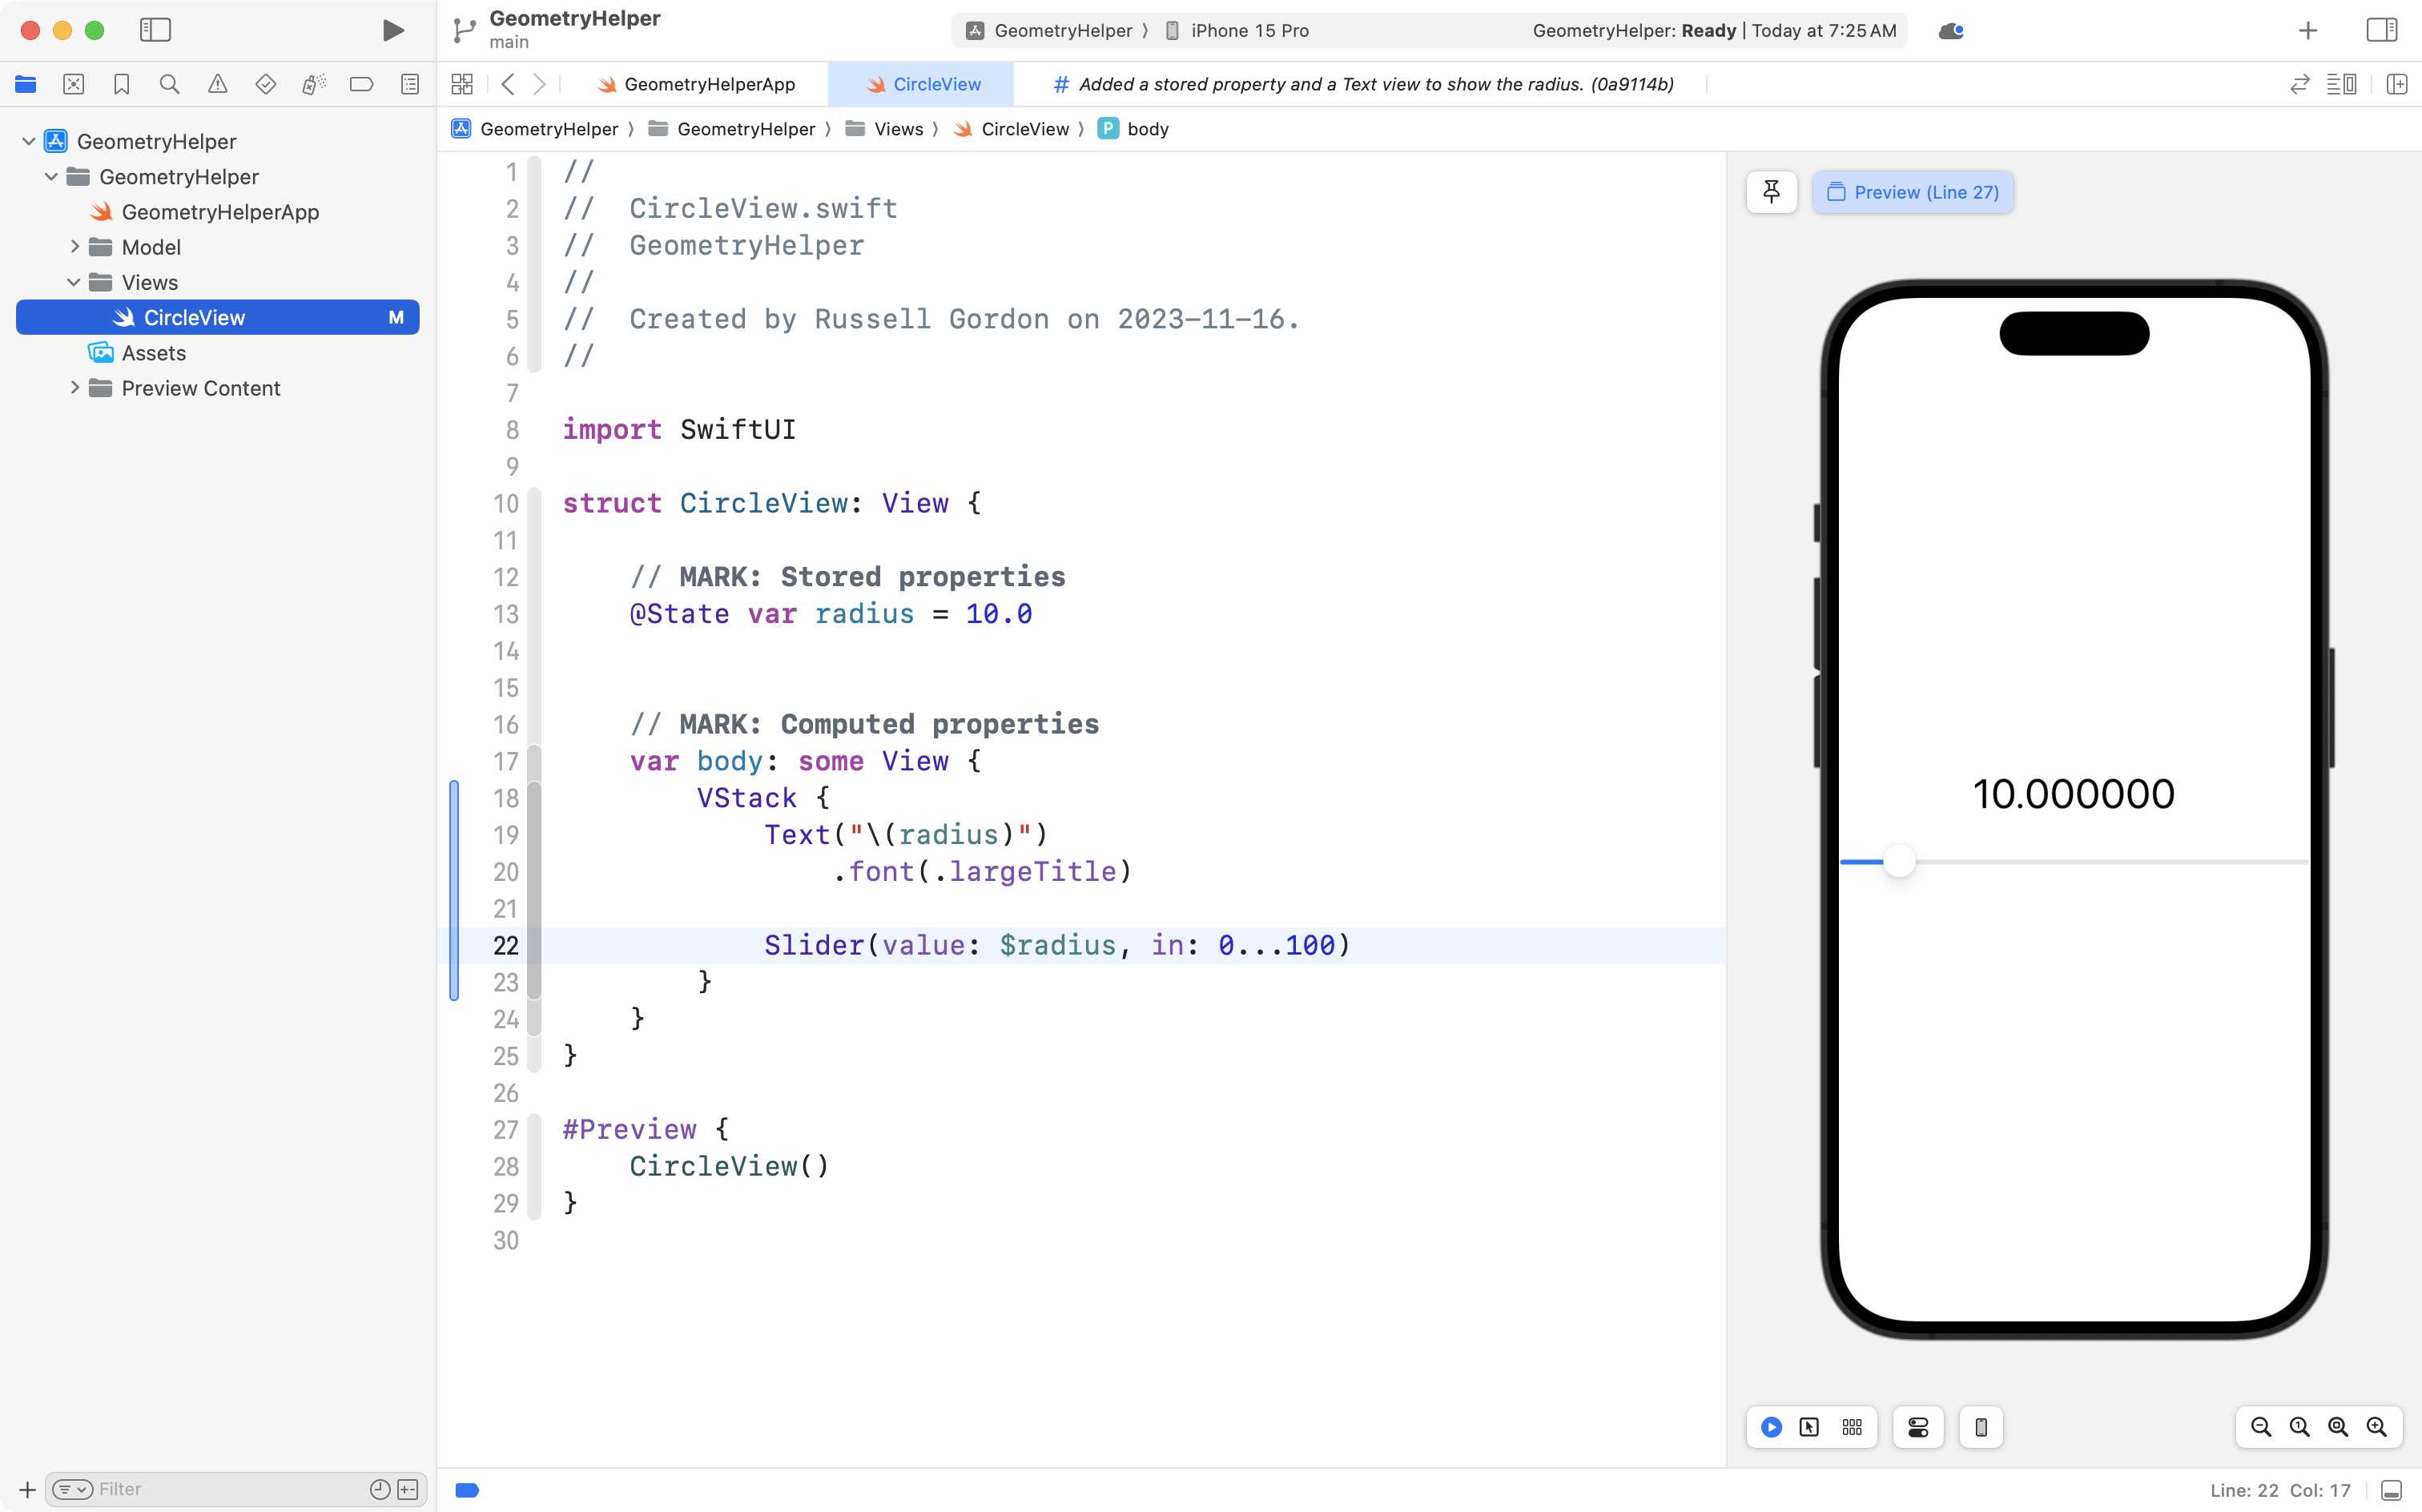
Finally, we will add a Slider control that has a binding to the stored property, inside of a VStack:
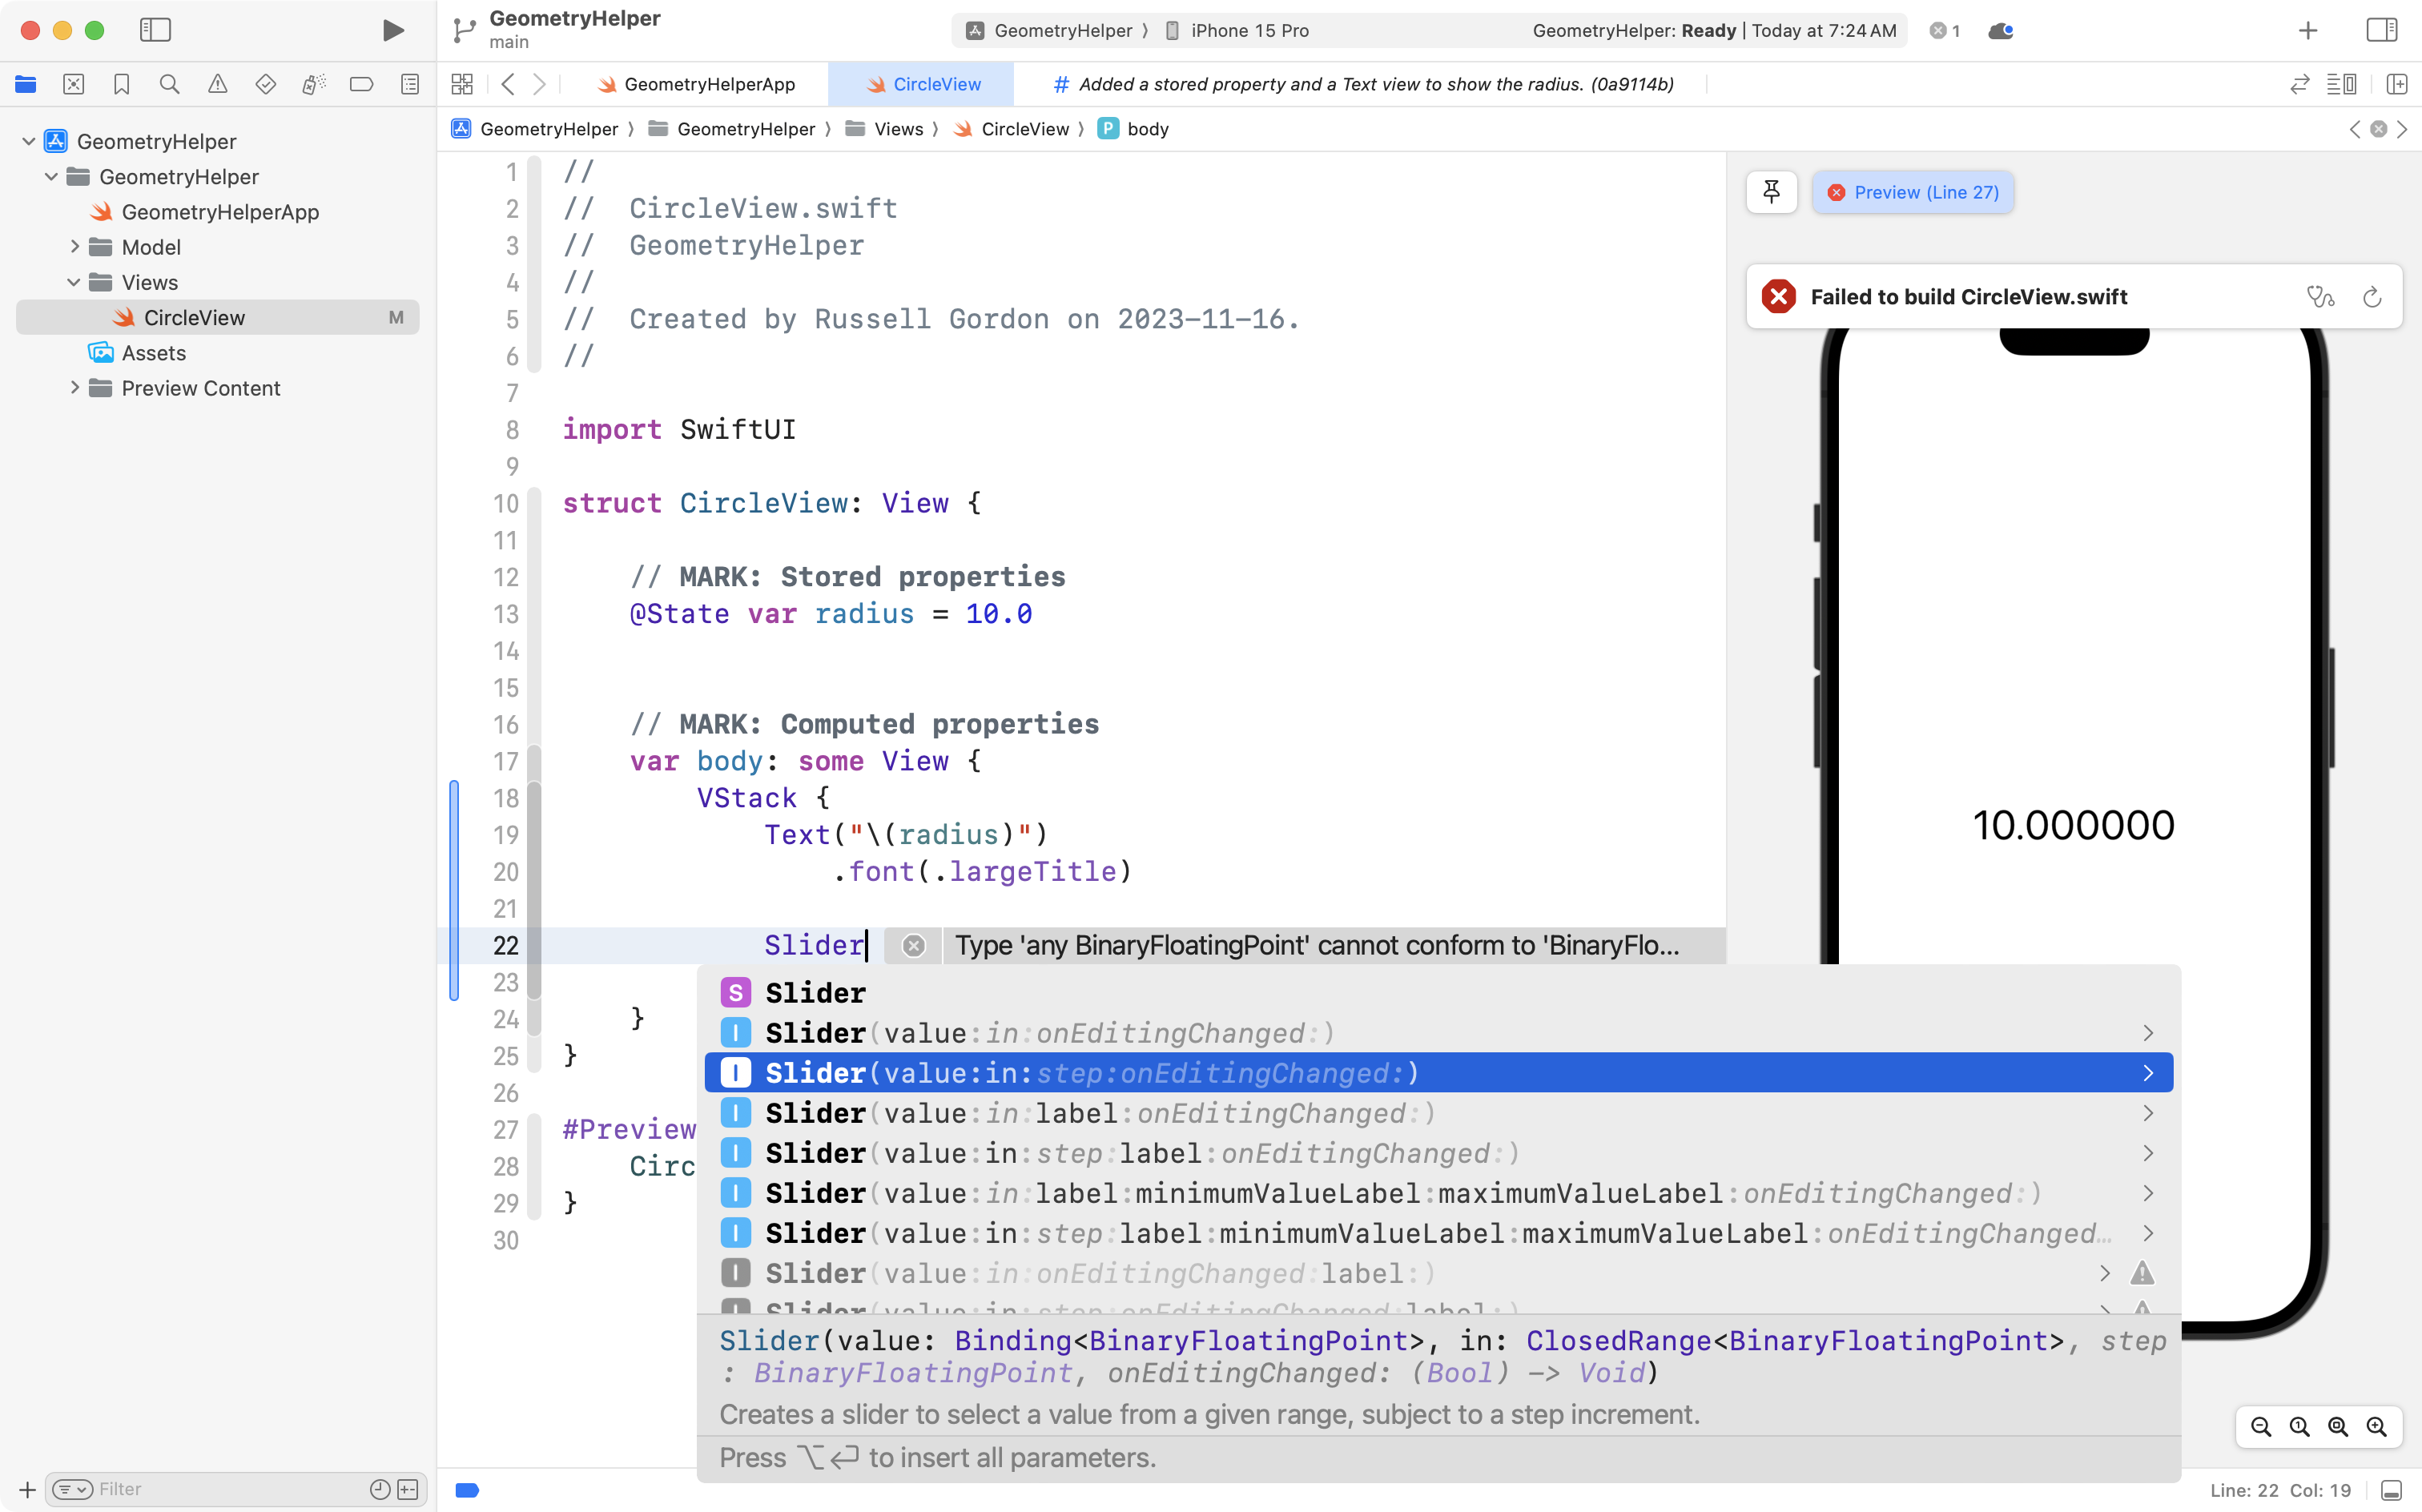
We use $radius bind the Slider to the radius stored property:
And we provide an argument of 0...100 for the in parameter so that the slider can move only between the values of zero to 100:
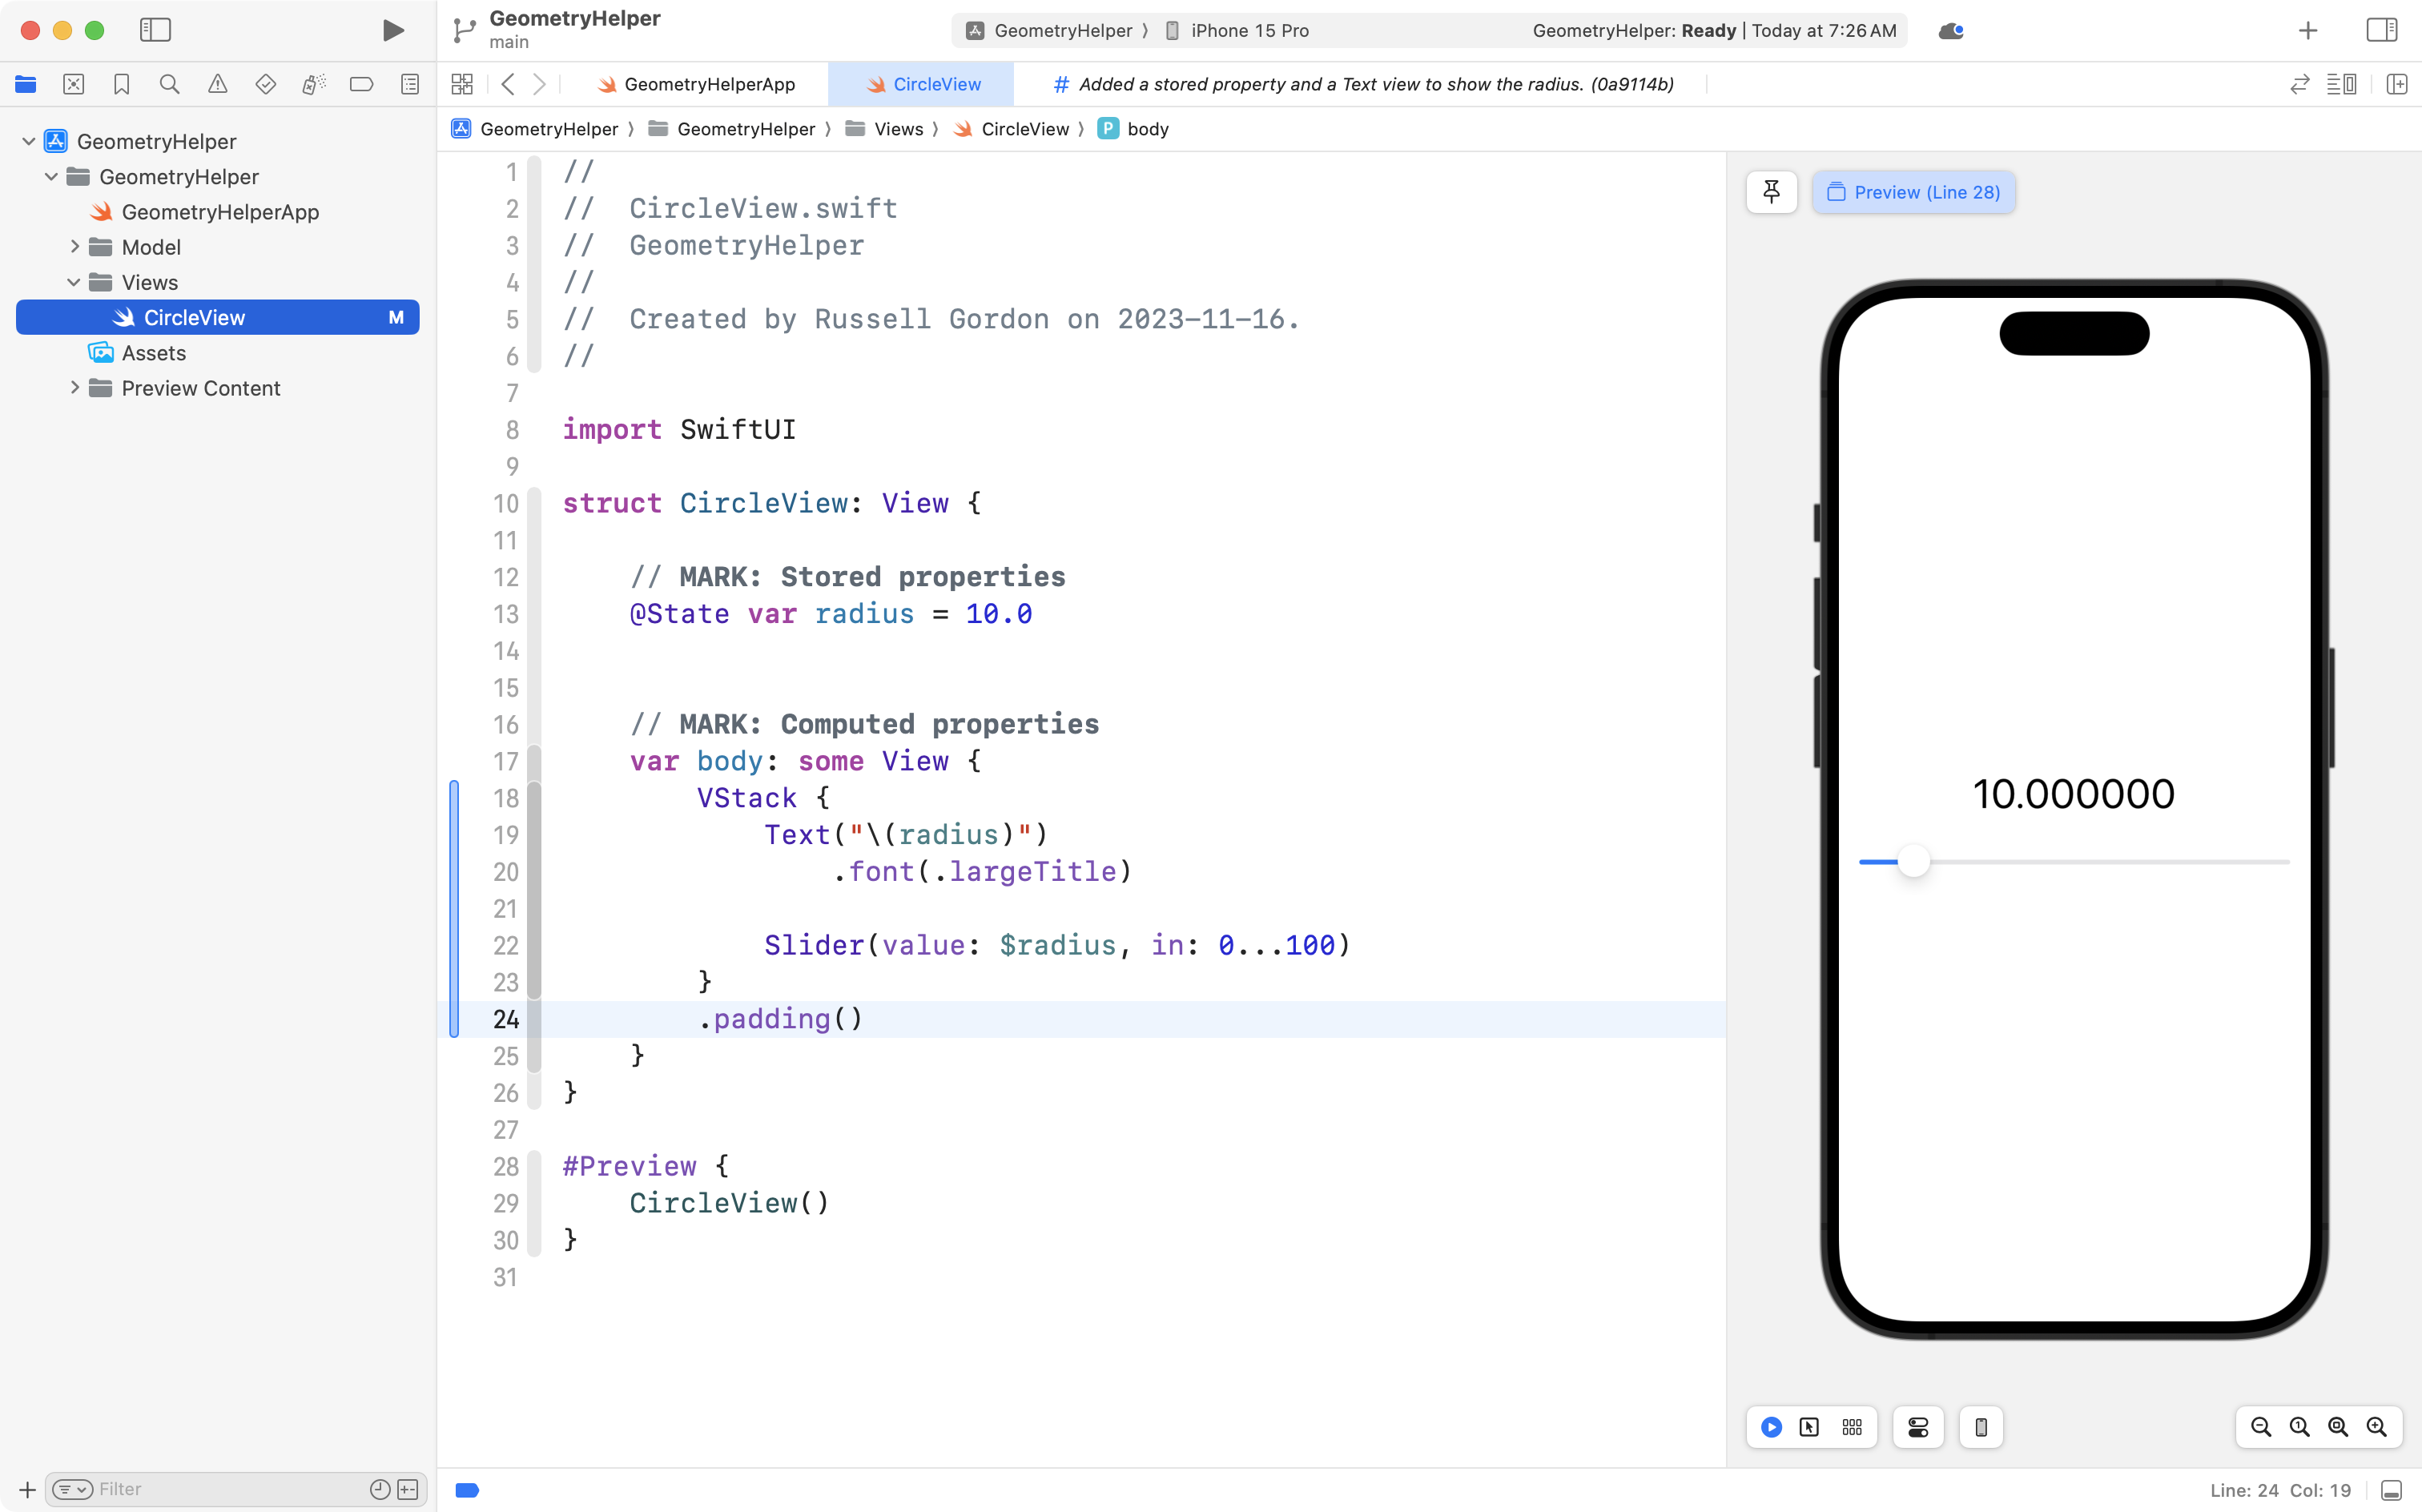
Finally, a bit of padding keeps the interface from touching the edges of the device:
You can now drag the slider, and see the radius change on screen:
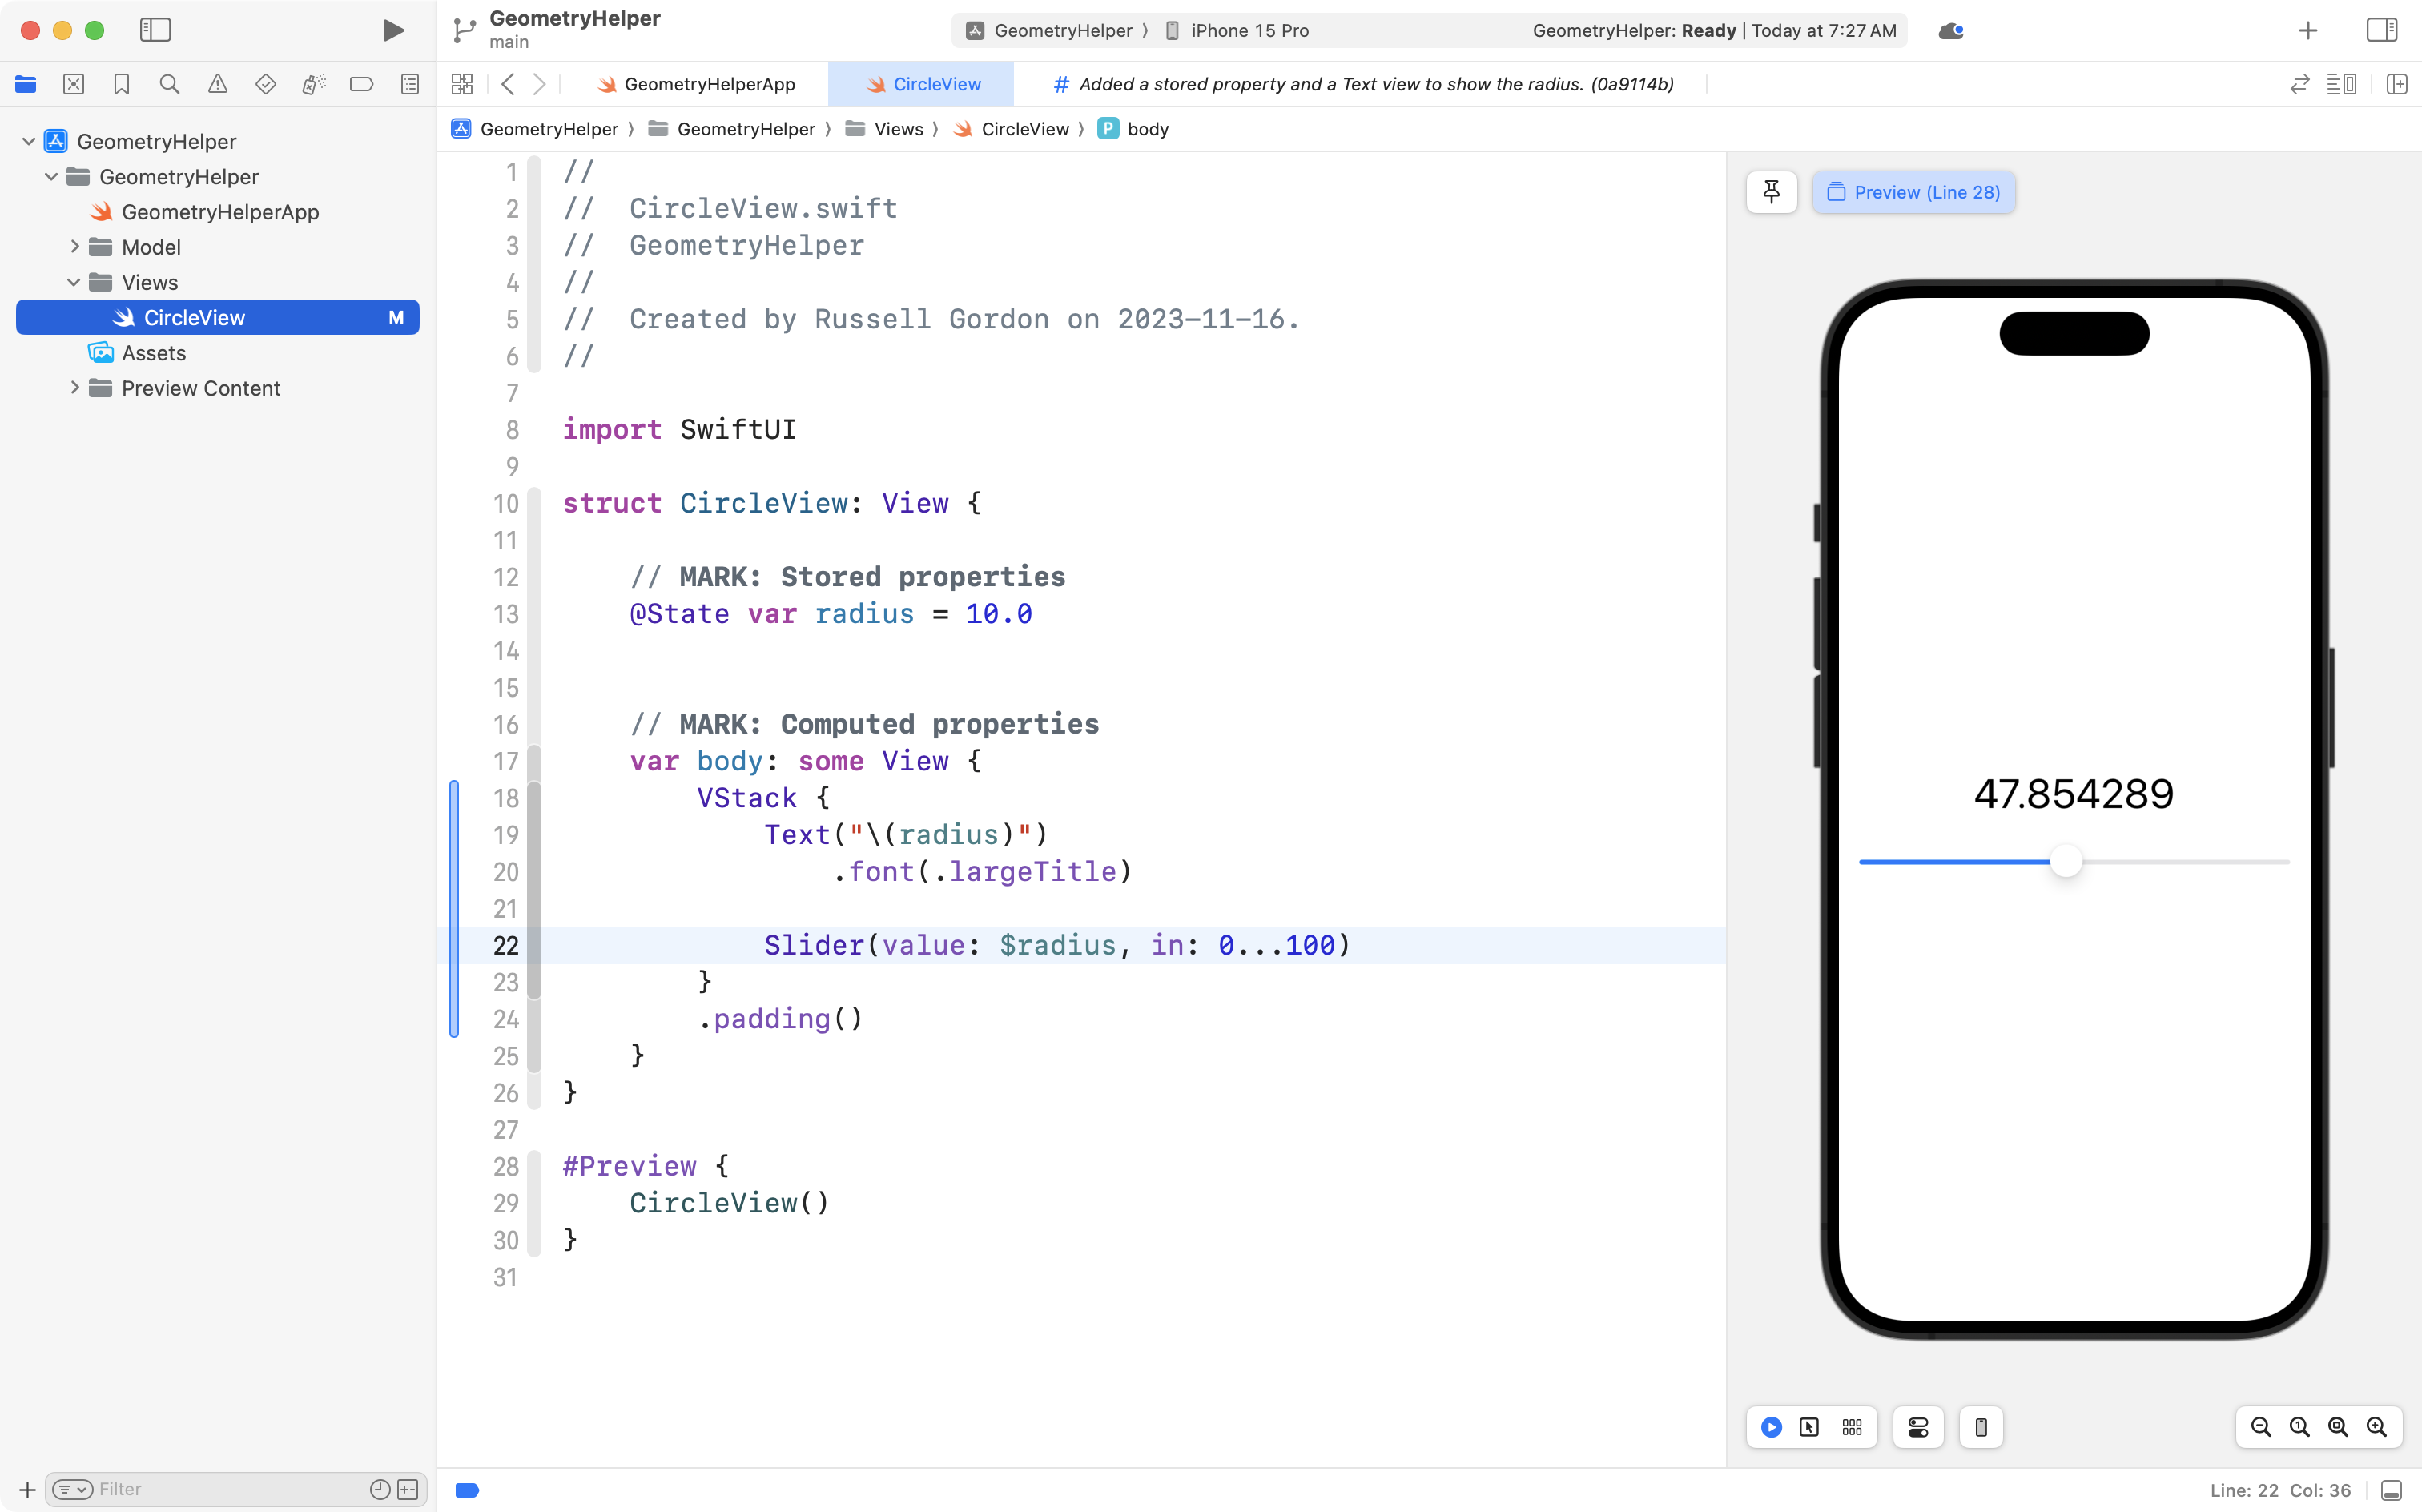
This is great progress, so commit and push your work now with this message:
Added a slider to let the user change the radius of the circle.
Add the model
What we will do next is add the model code.
First, create a new file in the Model group named Circle:

Then, you can copy and paste this code:
struct Circle {

    // MARK: Stored properties
    var radius: Double

    // MARK: Computed properties
    var diameter: Double {
        return 2 * radius
    }

    var perimeter: Double {
        return 2 * Double.pi * radius
    }

    var area: Double{
        return Double.pi * radius * radius
    }
}
… into the new Circle file:
Please commit and push you work with this message:
Added a model file to describe a circle.
Use the model
Now that we have added the model file to our project, we can use it directly in our app.
Rather than re-create individual properties within our view for the radius of a circle, and then computed properties for the diameter, area, and perimeter… we can just use the existing code that already exists in the Circle structure.
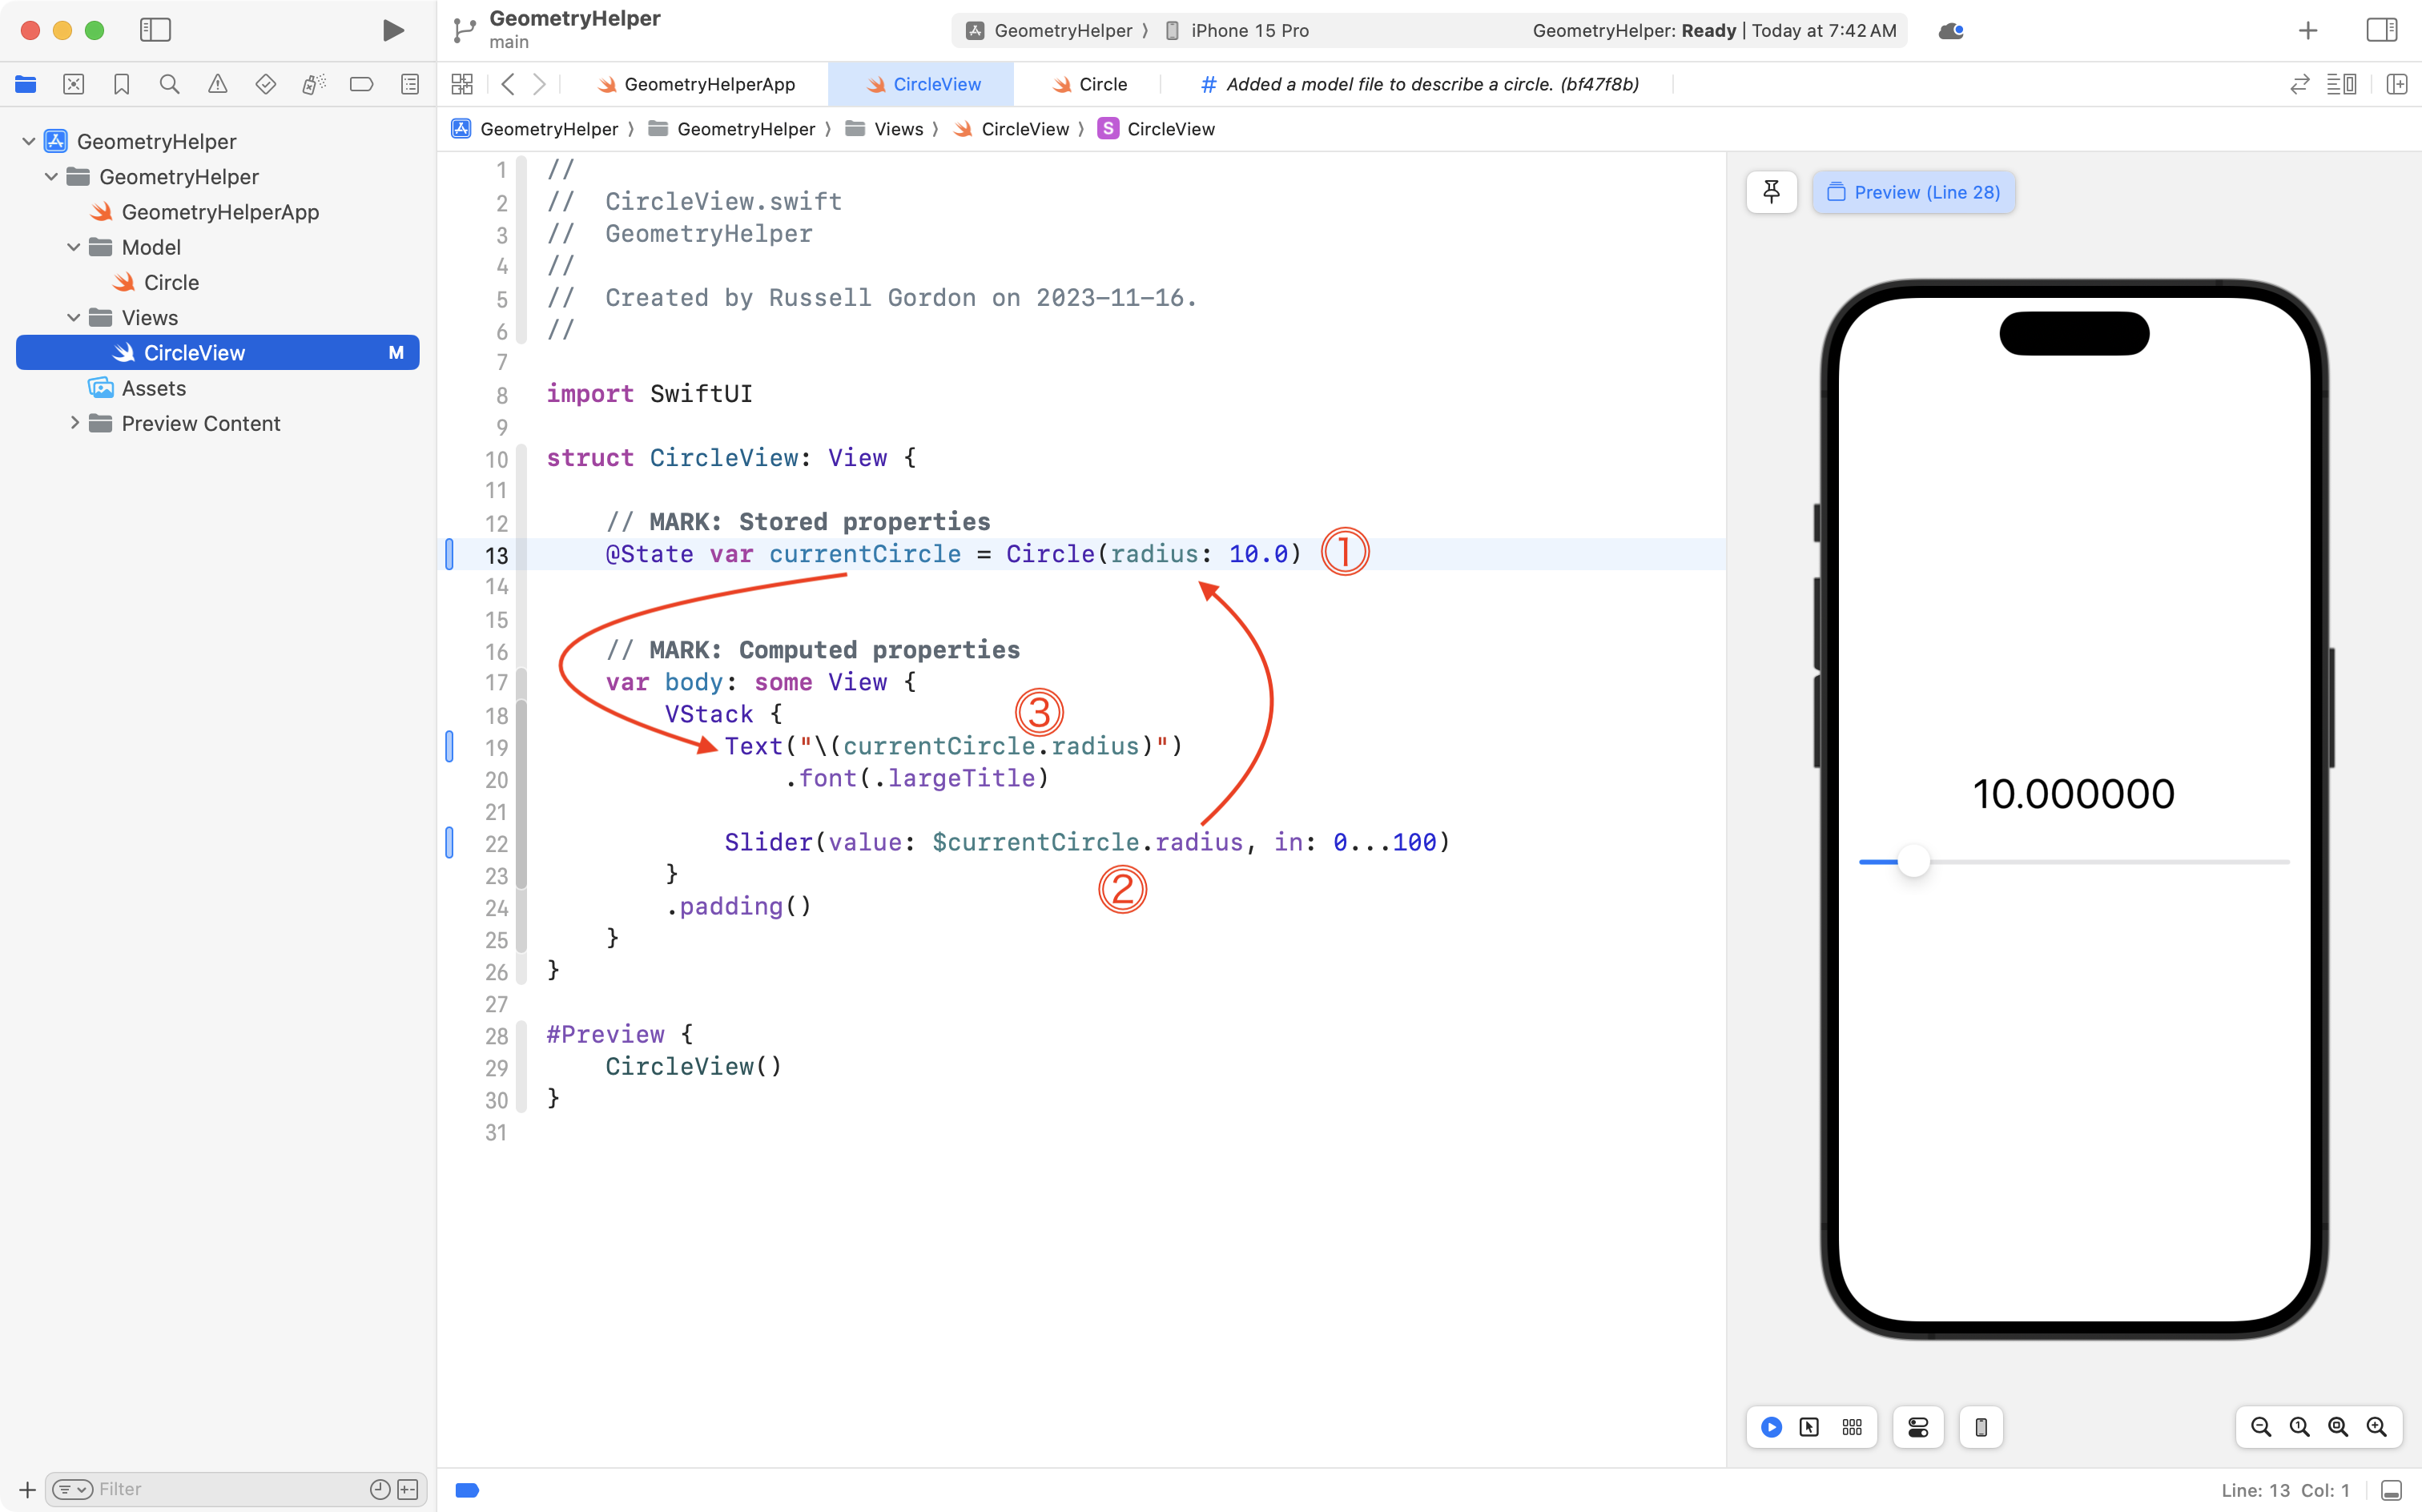
Replace the old code on line 13 (in grey) with the new code (in blue):
Above, we make a stored property in our view that is simply an instance of our Circle structure.
The instance of our Circle structure is called currentCircle.
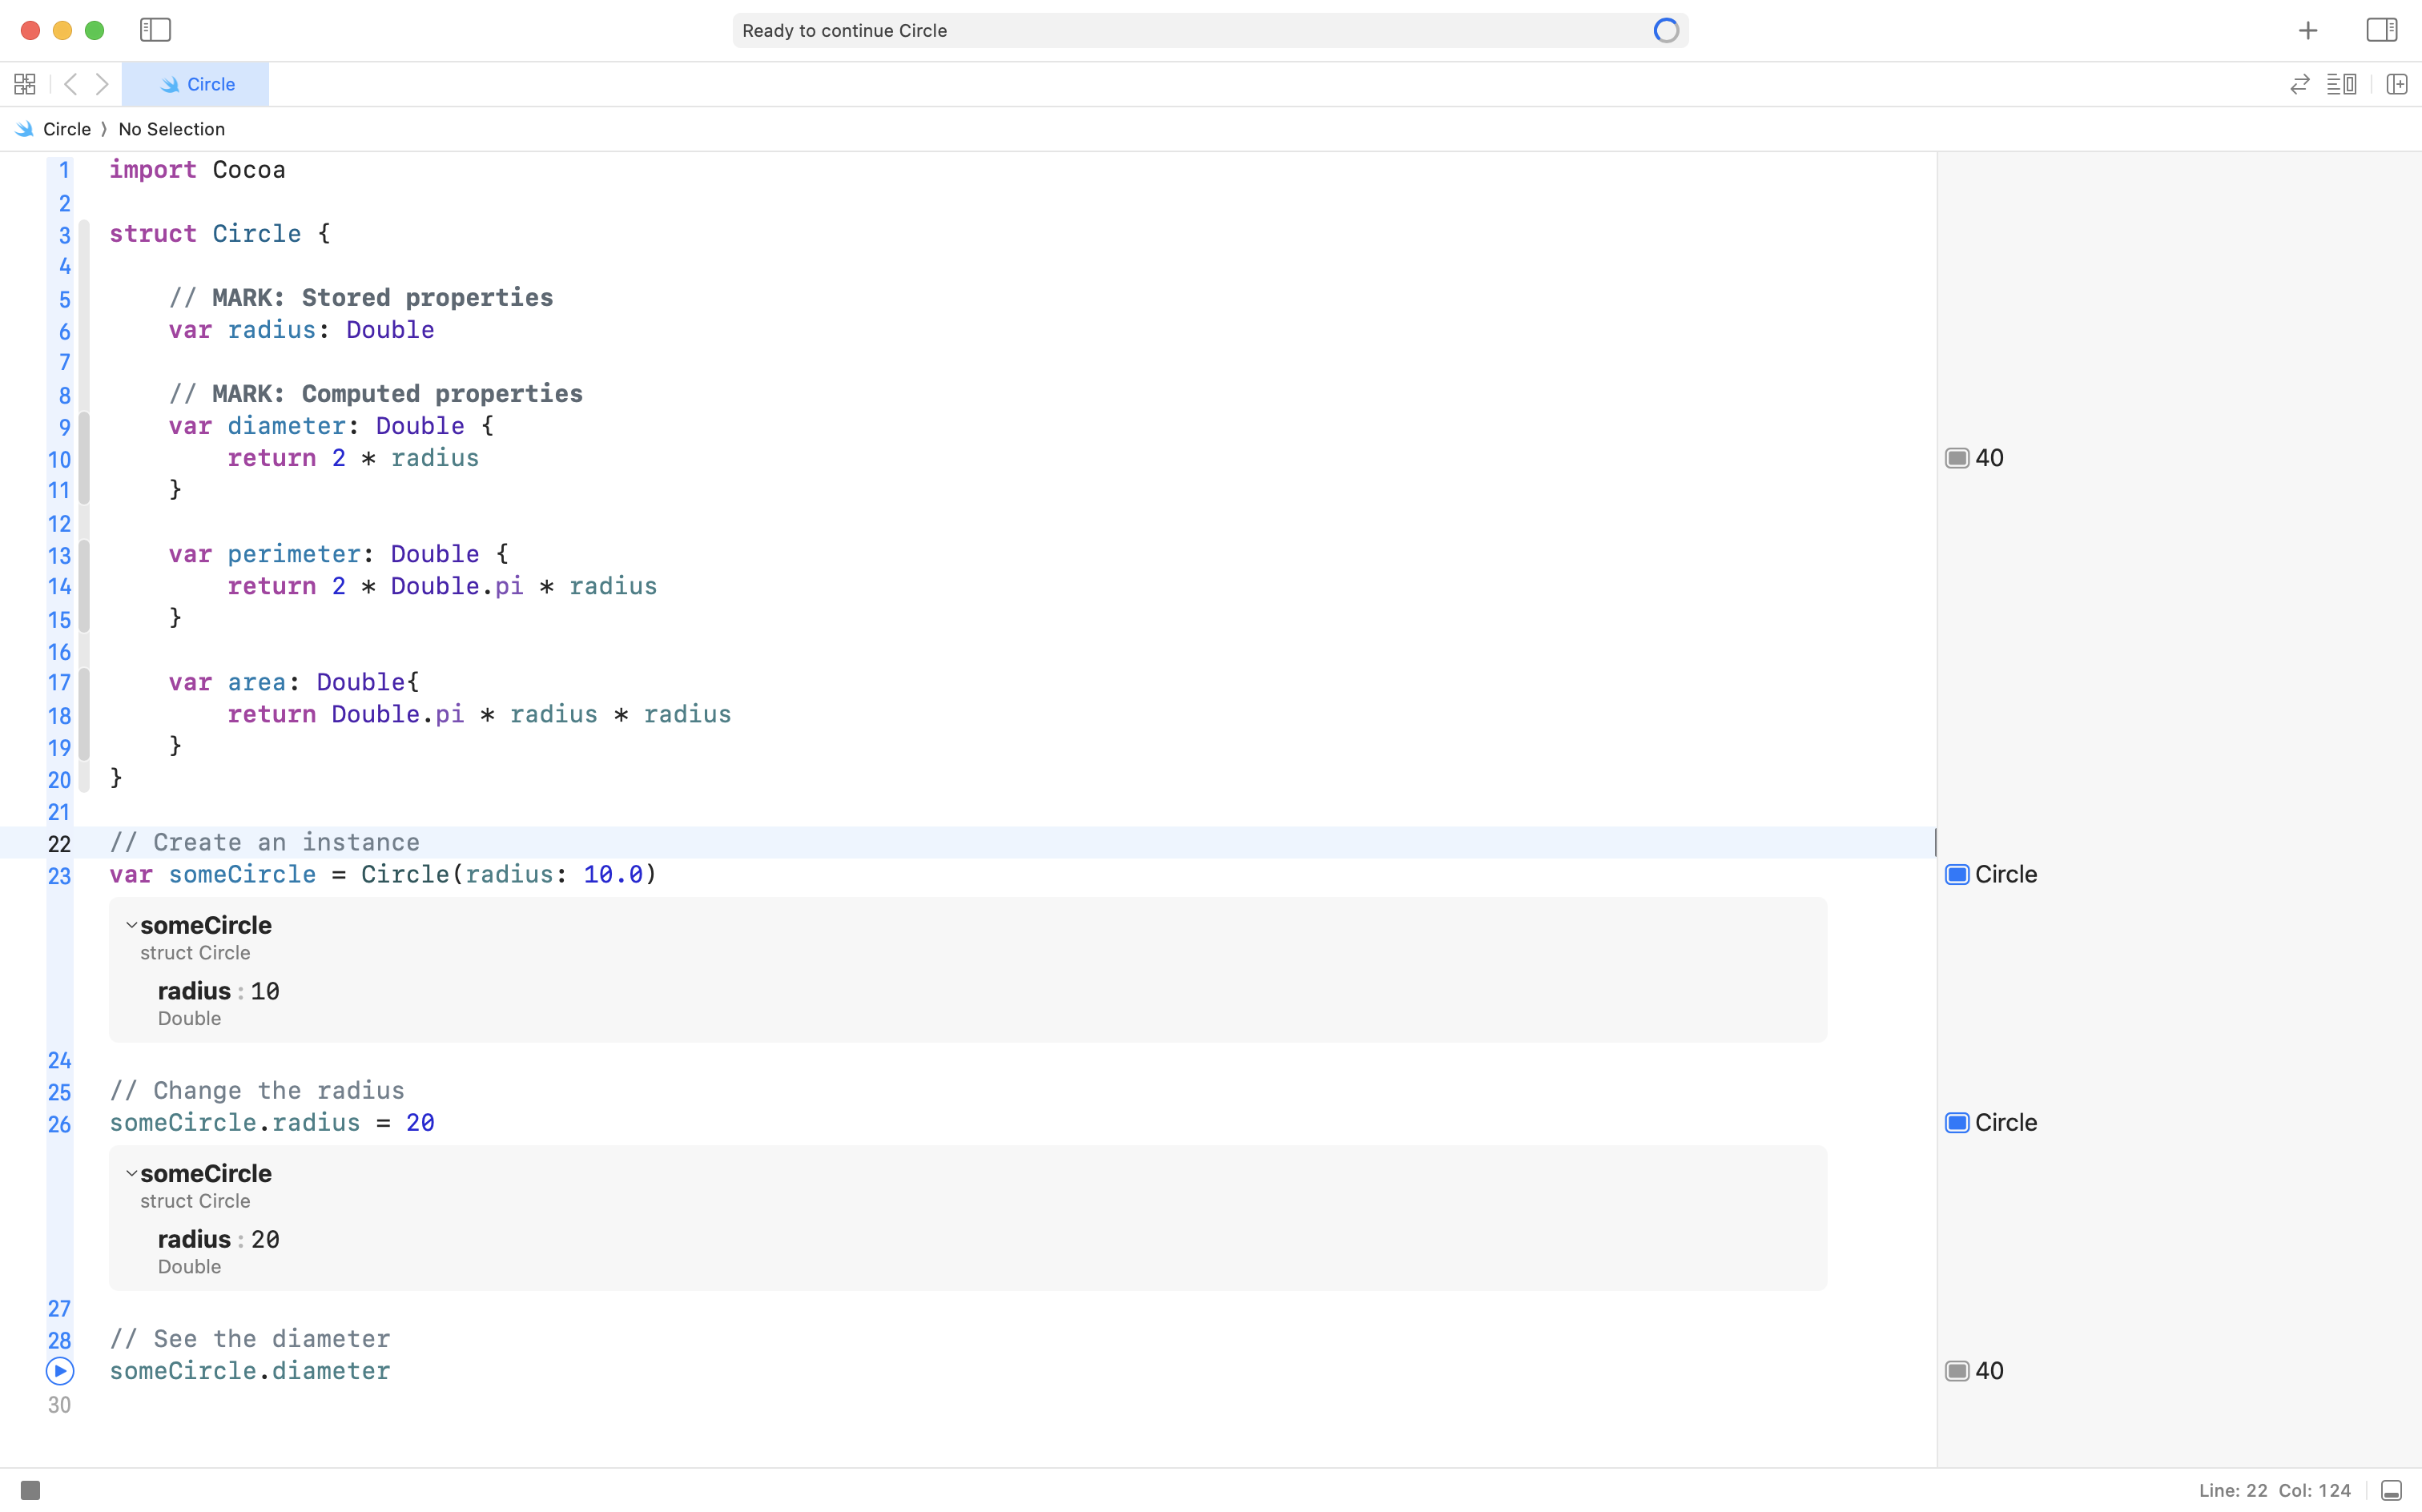
NOTE
Creating an instance of the
Circlestructure on line 13 is the same thing we did earlier in this course within a simple playground file, shown below on line 23:
Next, in our CircleView file on line 22, we change the slider so that it has a binding to the radius property that is inside the currentCircle instance of Circle structure:
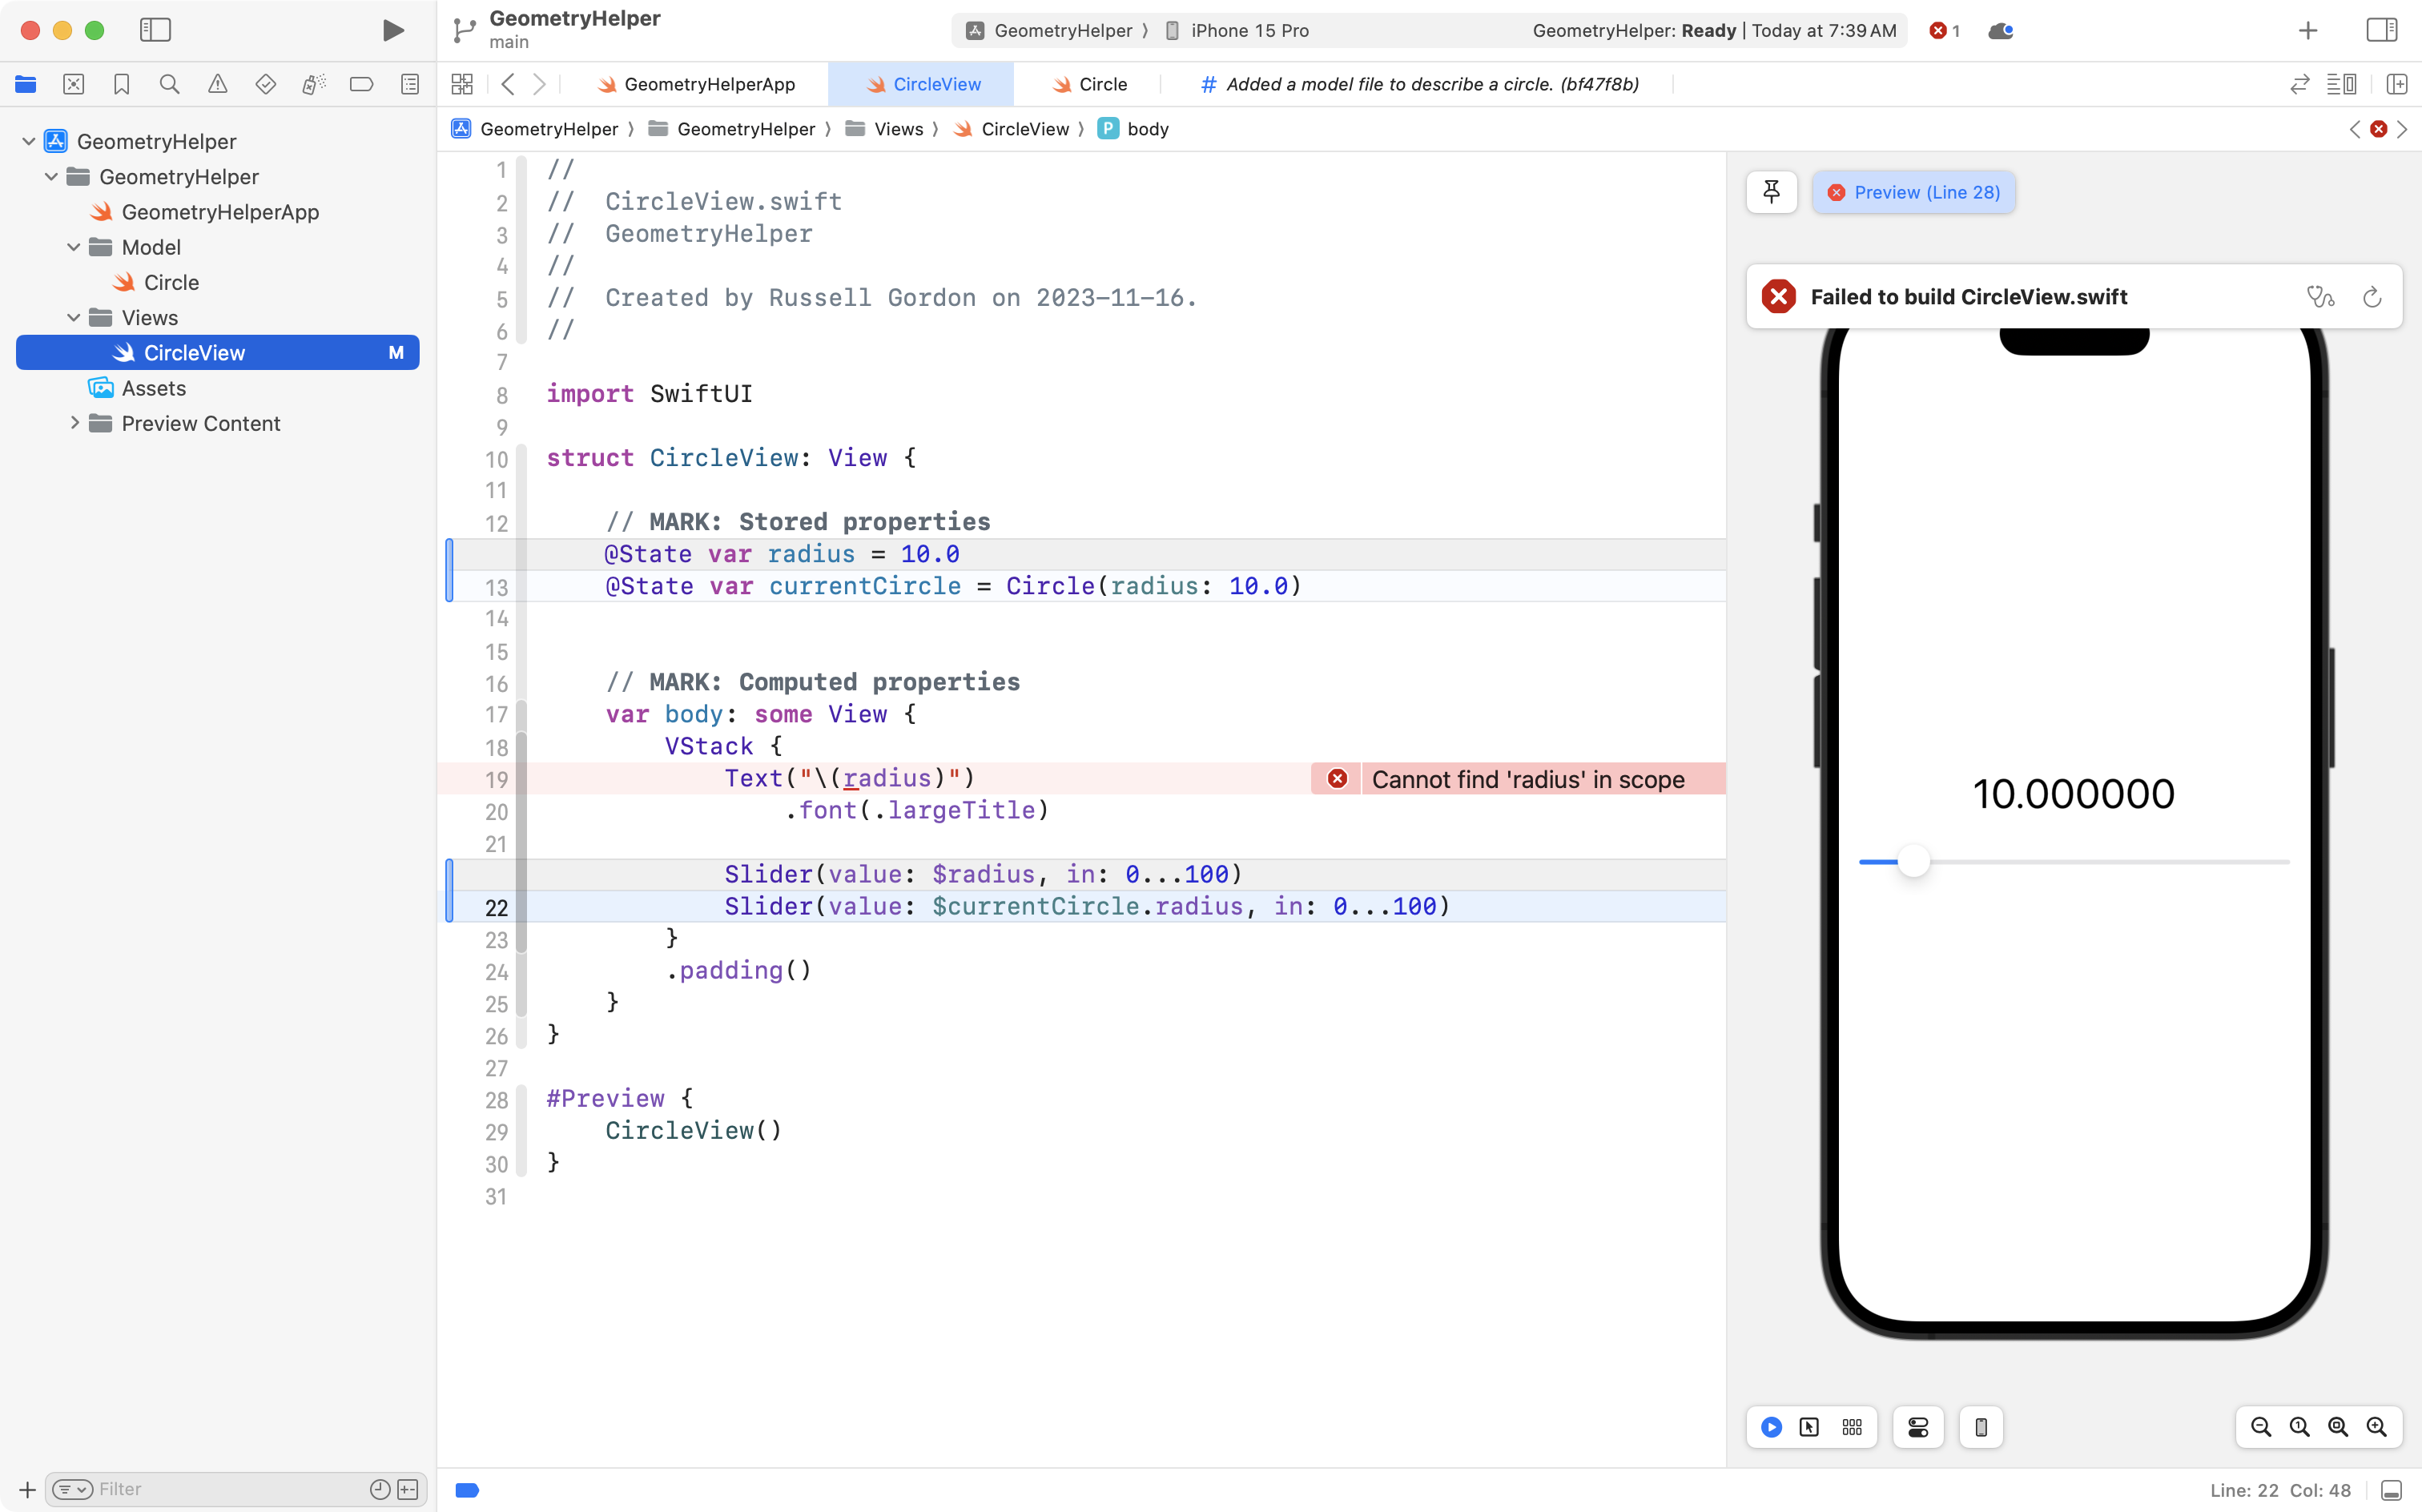
Finally, on line 19, we adjust the Text view so that it shows the value being stored in the radius property of the currentCircle instance:
Let’s break down what is happening in detail:
DISCUSSION
We create an instance of the
Circlestructure namedcurrentCircle.We set the radius to
10.0initially.Since
currentCircleis a property marked with@State, whenever any sub-properties are changed, such asradius, the user interface will be updated by SwiftUI.The slider has a binding to
$currentCircle.radiuswhich allows the user to change the value of theradiussub-property ofcurrentCircle.When data inside
currentCirclechanges, SwiftUI updates theTextview to show the new radius.
This is great progress, so commit and push your work with this message:
In our view, we are now making use of the existing Circle structure from our model.
Use computed properties of the model
Now that we are using the Circle structure from our model, without much additional effort, we can show output from any of it’s existing computed properties. 🎉
For example, make this addition to your code, so that the diameter of the circle is shown in the view:

Commit and push your work with this message:
Now using a computed property from the Circle structure to show the diameter of the circle on screen.
Exercises
Improve the interface
Using your knowledge of stacks, spacers, and custom structures, improve the user interface of CircleView so that it looks something more like this:
You may find this formula sheet useful for capturing necessary screenshots.
Add your own structure
Earlier in this course, you wrote a structure that described a 2D or 3D shape from this formula sheet.
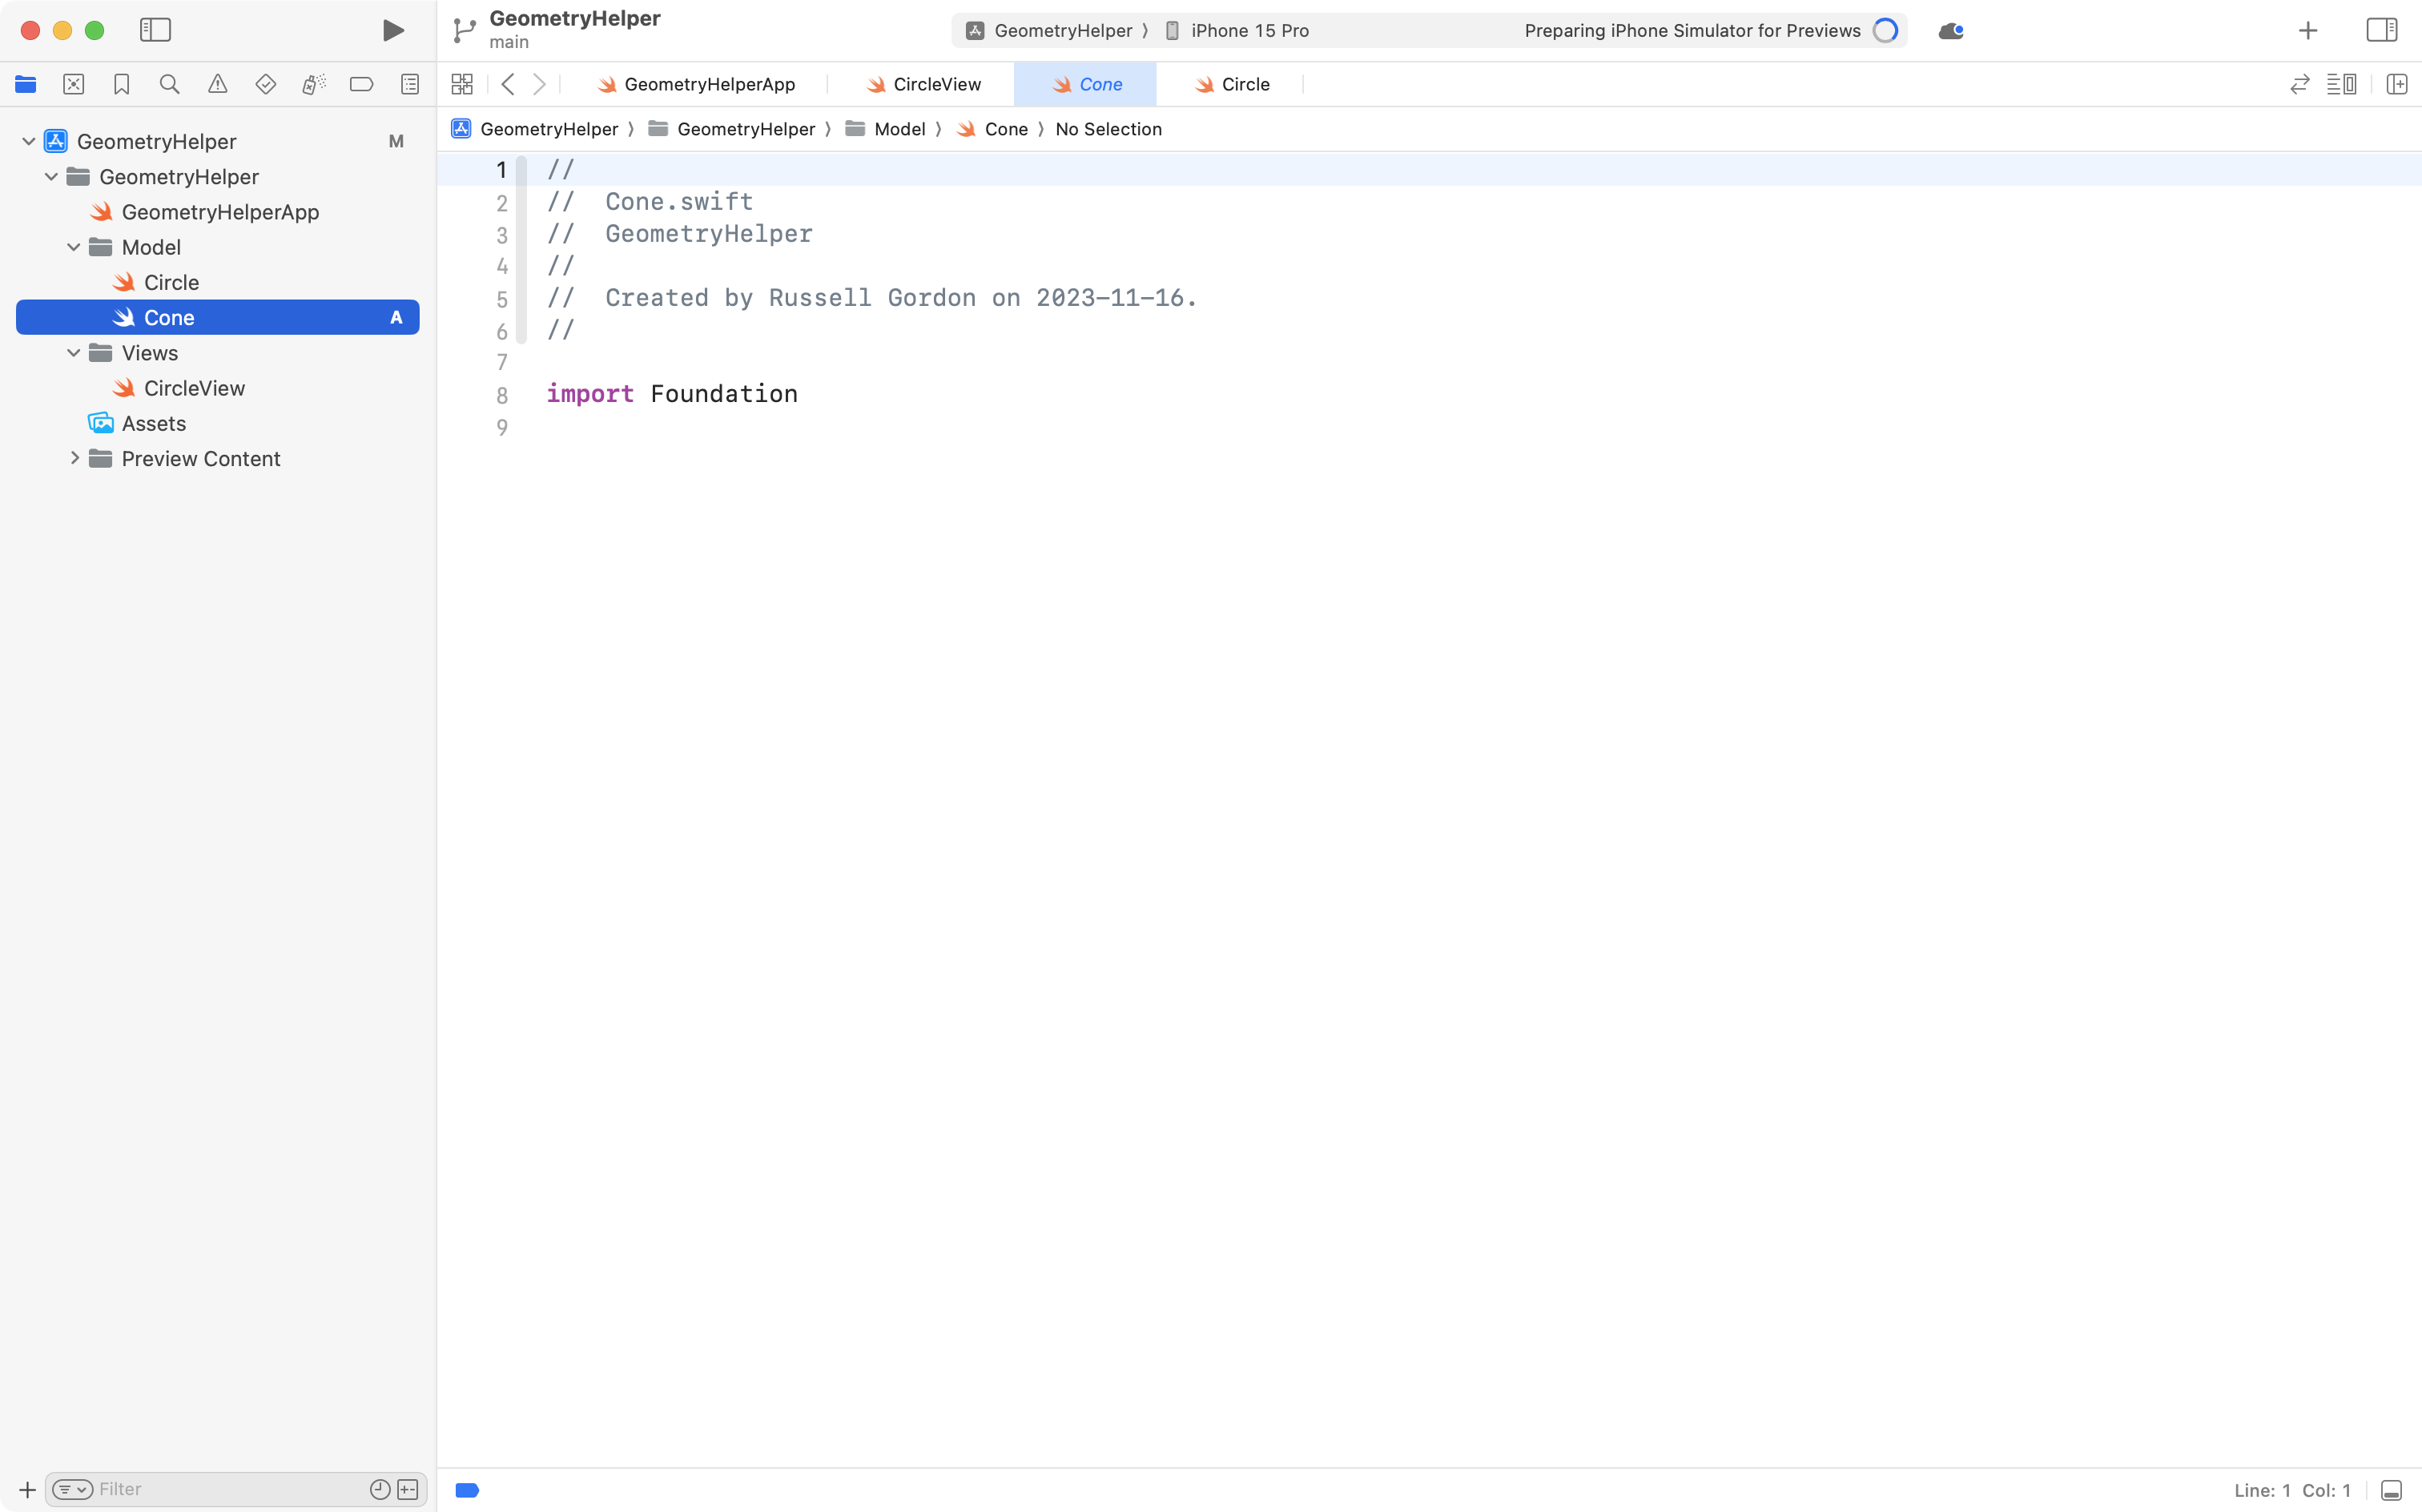
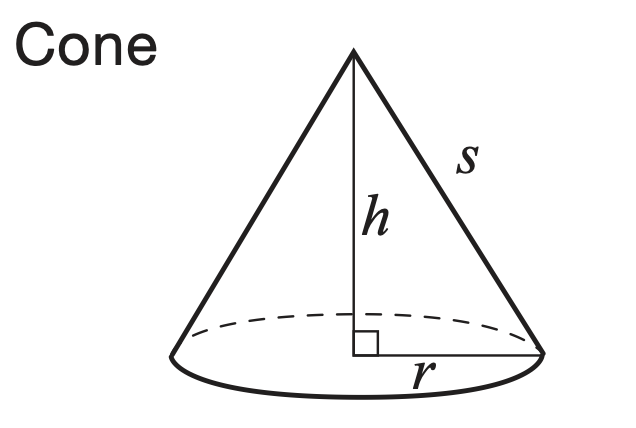
For example, say your task earlier in this module was to create a structure that describes a cone.
You would copy your existing code that describes a cone into a new file named Cone within the Model group:
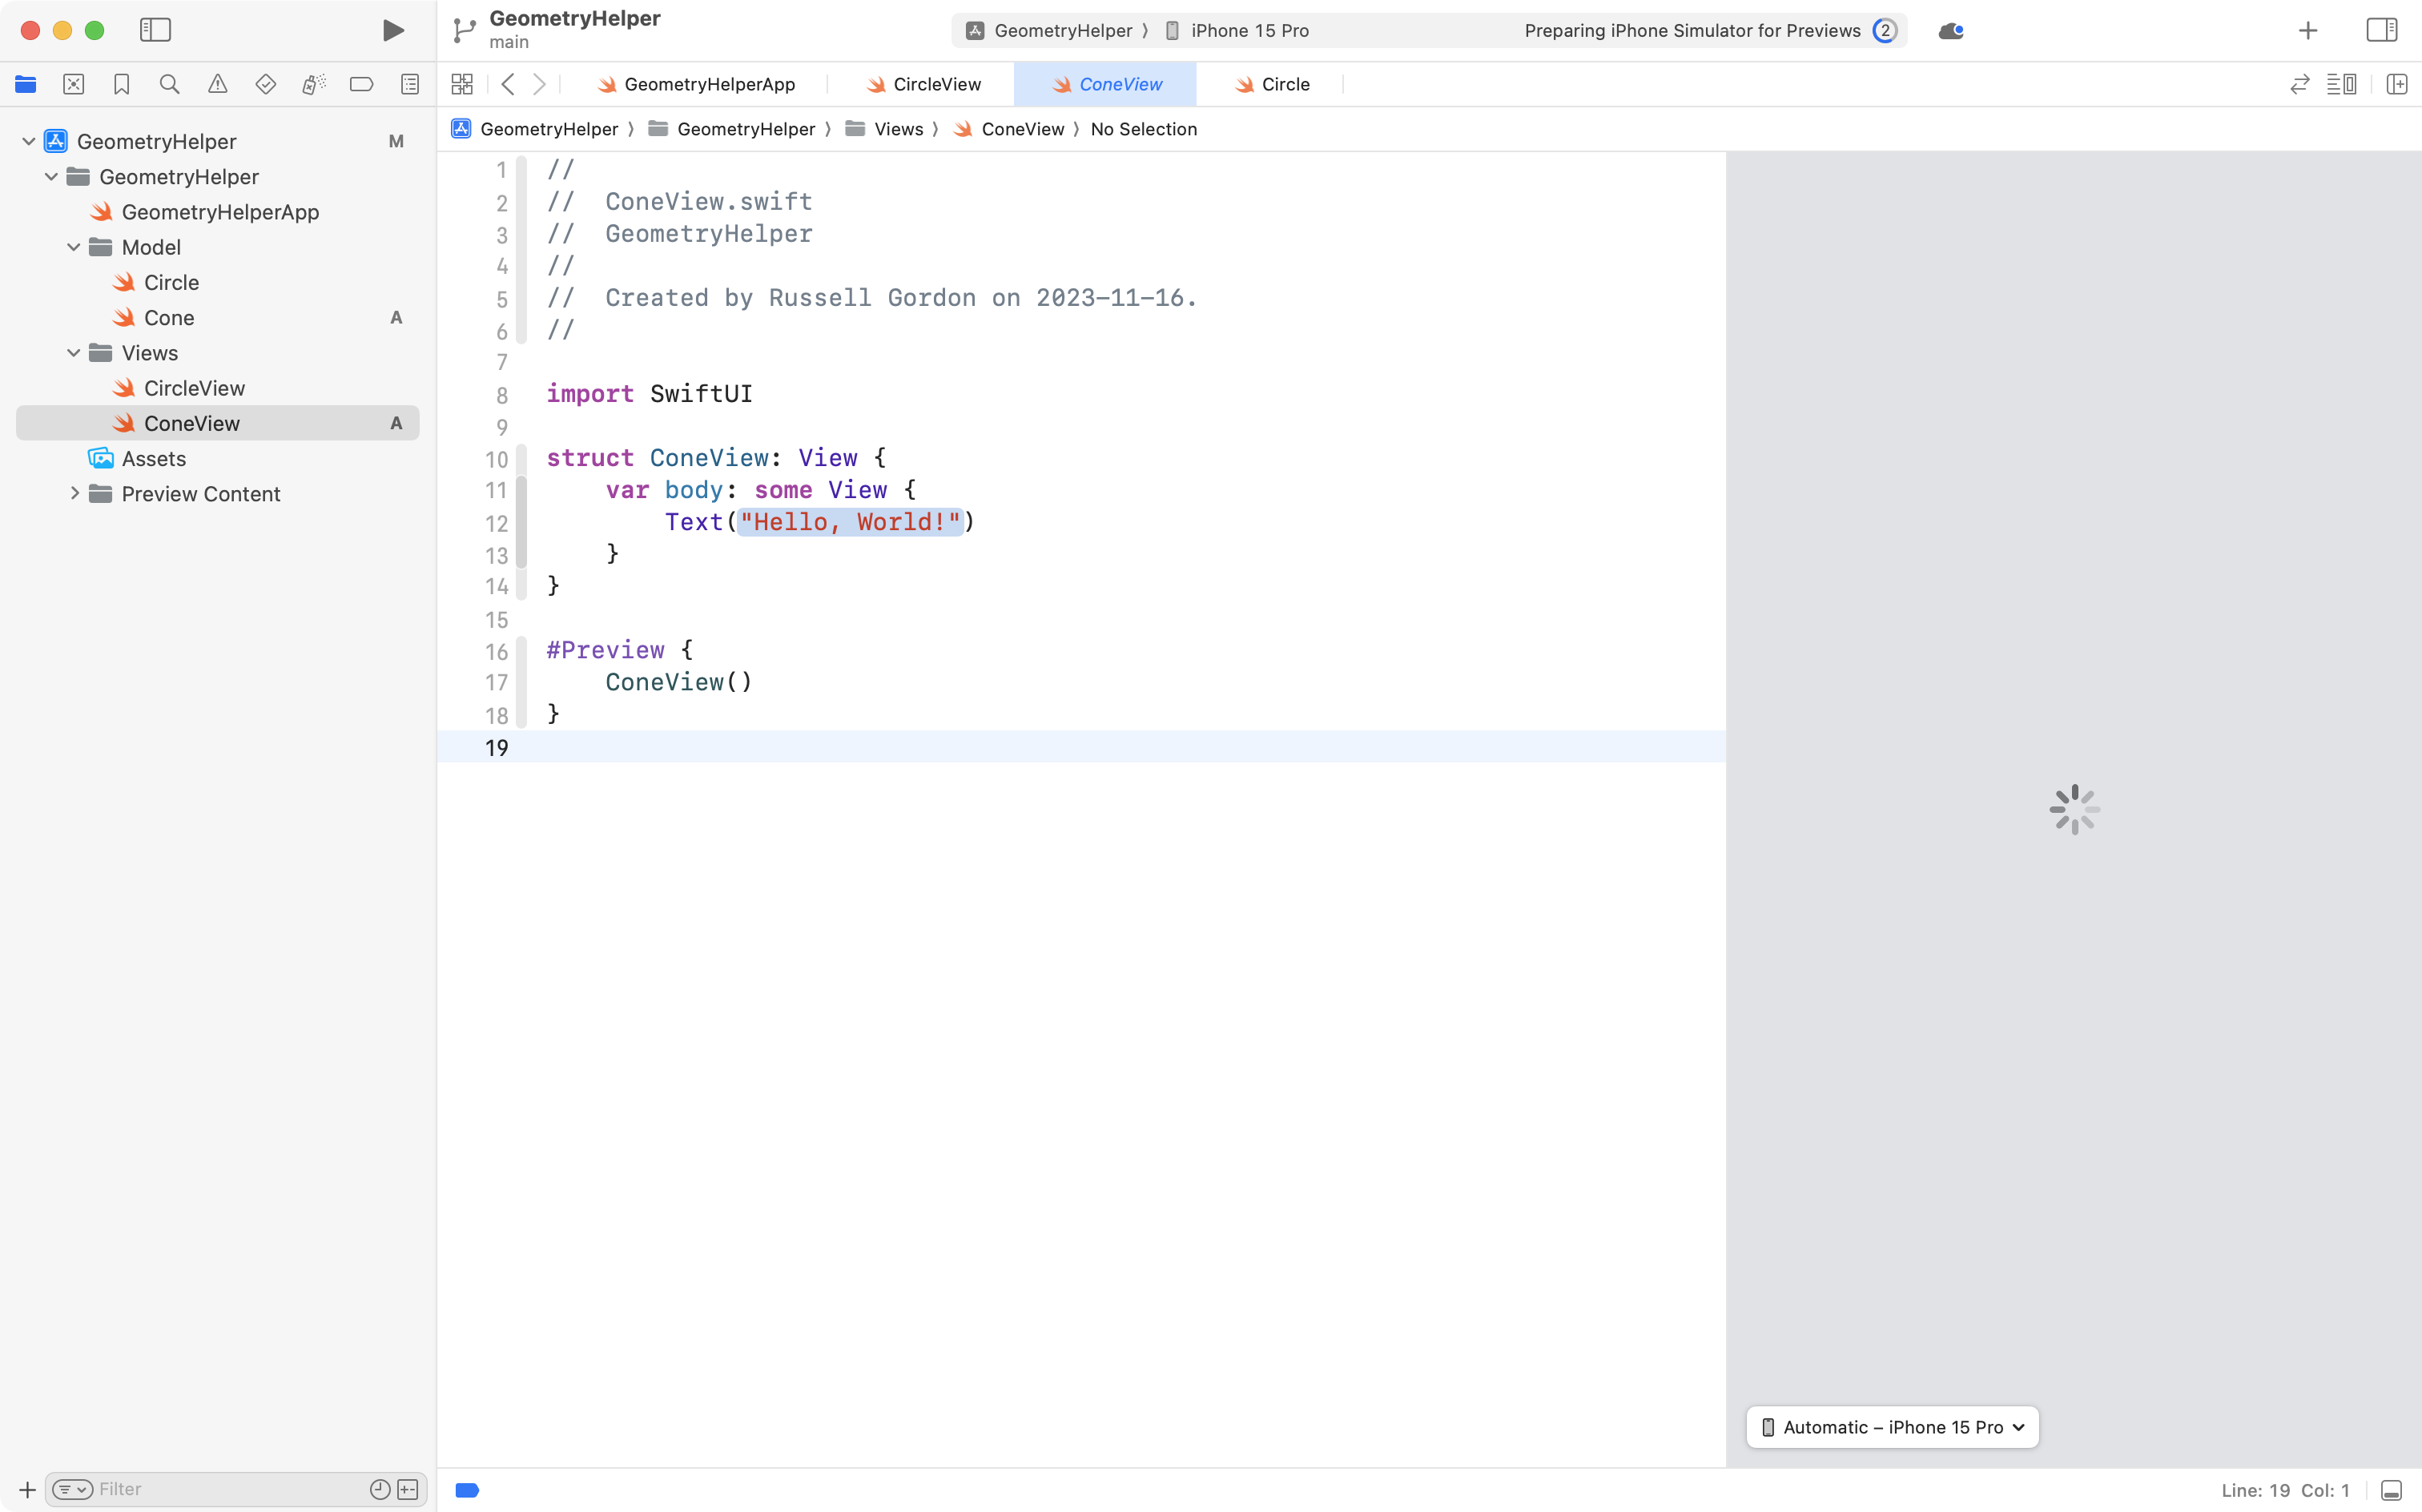
Then you would create a new file named ConeView within the View group:
Then, apply the skills you’ve learned in this activity to make an interface that allows the user to provide all necessary inputs for your figure.
For a cone, you would need sliders for the radius of the base, , the height of the cone, , and the slant height of the cone, :
Finally, you would use Text views to show output from the computed properties for the surface area and volume.